

How to Brine Chicken: Simple Step-by-Step Method
For perfect juicy chicken, combine 4 cups cold water, 1/4 cup kosher salt, and 2 tablespoons sugar in a large container. Submerge chicken completely and refrigerate for 1 hour per pound (minimum 30 minutes for boneless breasts, maximum 12 hours for whole chicken). Remove from brine, rinse briefly under cold water, then pat completely dry before cooking. This basic wet brine method works for all chicken cuts and guarantees moist results every time.
Why Brining Works: Simple Science
Brining works through osmosis - the salt solution helps chicken retain moisture during cooking. When chicken soaks in brine, the salt breaks down muscle proteins, allowing the meat to absorb and hold onto more water. This prevents the dry, tough texture that happens when chicken loses moisture at high temperatures. Properly brined chicken stays juicy even when cooked to the safe internal temperature of 165°F (74°C).
The Essential Brining Guide for Beginners
Follow these simple steps for foolproof brining results:
- Prepare your brine: For every 4 cups of cold water, use 1/4 cup kosher salt (not table salt) and 2 tablespoons sugar. Dissolve completely.
- Submerge chicken: Place chicken in non-reactive container and cover completely with brine solution.
- Refrigerate: Store at 40°F (4°C) or below for proper time (see chart below).
- Rinse and dry: After brining, rinse chicken under cold water and pat thoroughly dry with paper towels.
- Rest before cooking: Let chicken sit uncovered in refrigerator for 1-2 hours to develop crispier skin.
| Chicken Cut | Brining Time | Result |
|---|---|---|
| Boneless breasts | 30-60 minutes | Perfectly moist without oversalting |
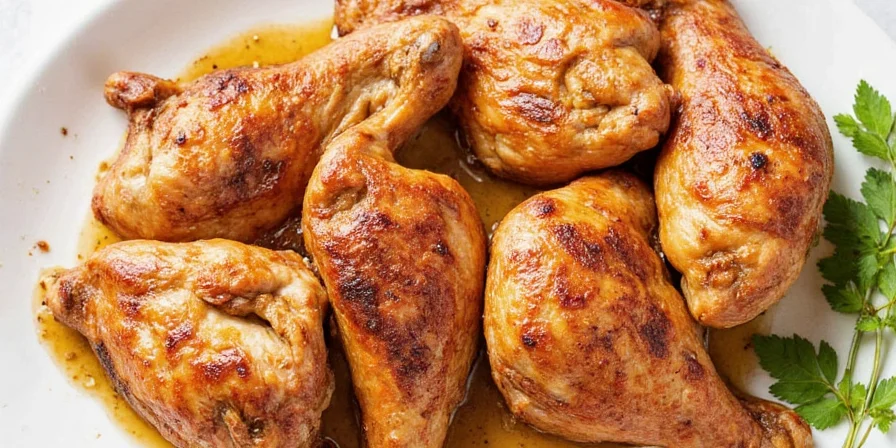
| Bone-in breasts/thighs | 1-2 hours | Deep flavor penetration |
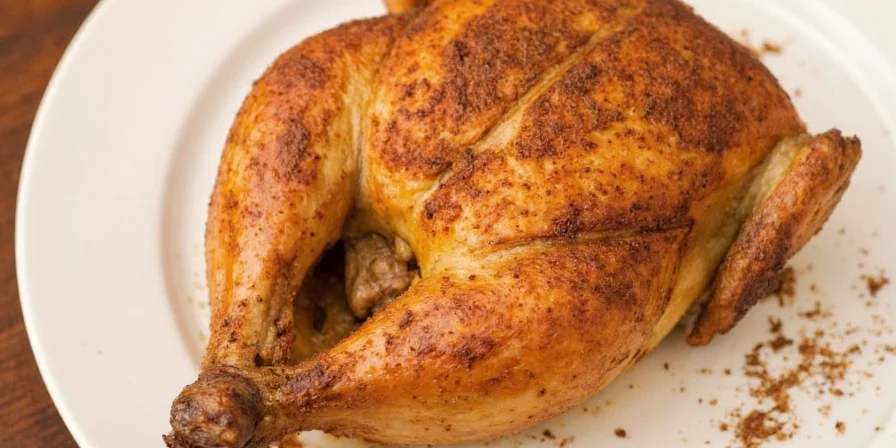
| Whole chicken | 8-12 hours | Even seasoning throughout |
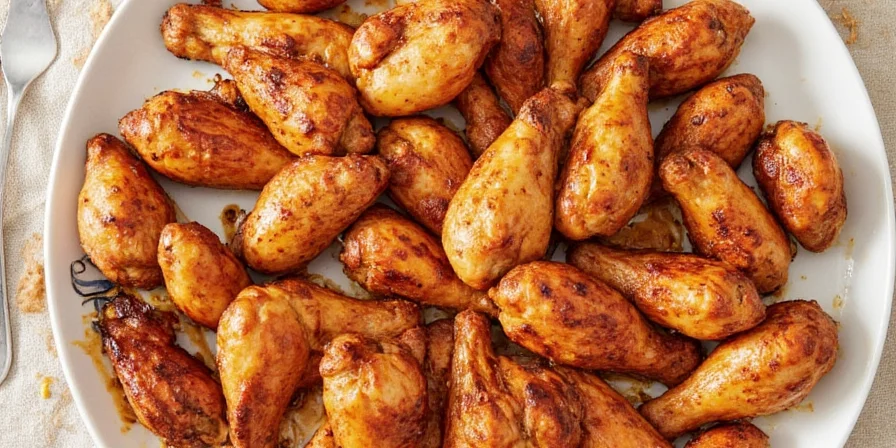
| Wings/drumettes | 1-2 hours | Crispy skin with juicy meat |
5 Easy Flavor Variations for Better Brining
Once you've mastered the basic brine, try these simple flavor boosts that actually work:
1. Classic Herb Brine
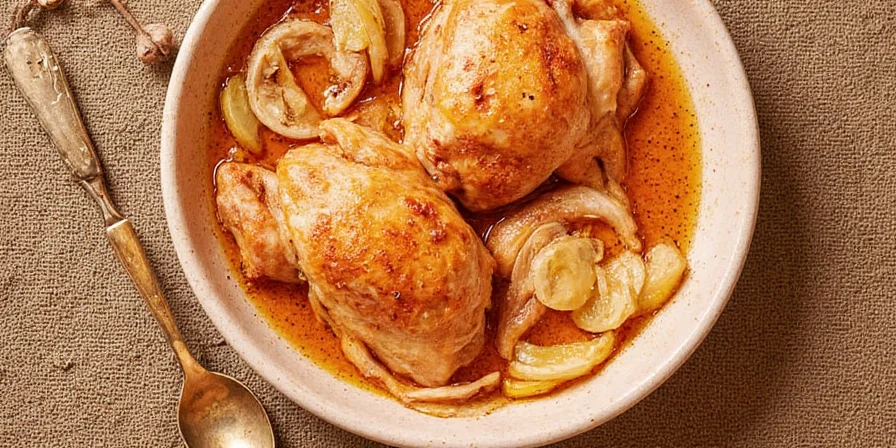
Add 2 tablespoons fresh thyme, rosemary, and 3 crushed garlic cloves to basic brine. Perfect for roast chicken.
2. Citrus-Honey Brine
Replace sugar with honey and add zest of 1 lemon + 1 orange. Great for grilled chicken.
3. Spicy Cajun Brine
Mix in 1 tablespoon paprika, 1 teaspoon cayenne, and 2 teaspoons black pepper. Ideal for chicken wings.
4. Simple Dry Brine Method
Rub 1/2 teaspoon salt per pound of chicken directly on surface. Refrigerate uncovered for 12-24 hours. Creates crispy skin without soggy texture.
5. Quick Asian-Inspired Brine
Add 2 tablespoons soy sauce (reducing salt by 1 tablespoon) and 1 tablespoon grated ginger to basic brine. Works well for stir-fry chicken.
Dry Brine vs Wet Brine: Which Should You Use?
Both methods work well, but have different advantages depending on your cooking method:
| Factor | Wet Brine | Dry Brine |
|---|---|---|
| Best For | Large birds (whole chicken, turkey) | Skin-on cuts (breasts, thighs, wings) |
| Flavor Penetration | Moderate (4-5mm depth) | Surface-focused (better for crispy skin) |
| Texture Result | Very juicy throughout | Juicy inside with extra-crispy skin |
| Prep Time | Minutes to prepare solution | Seconds to apply salt mixture |
Common Brining Mistakes to Avoid
Based on tested results, these errors ruin otherwise good brining attempts:
- Using table salt instead of kosher: Table salt's smaller crystals cause oversalting - use Diamond Crystal kosher salt for consistent results
- Brining too long: Breast meat becomes mushy after 2 hours (per pound) - stick to timing guidelines
- Skipping the drying step: Wet surface prevents proper browning - always pat dry thoroughly after brining
- Reusing brine: Raw chicken contaminates the solution - always discard used brine
- Adding acid too early: Vinegar or citrus breaks down proteins - add these only during last 30 minutes of brining
Scientific Boundaries: When Brining Works and When It Doesn't
Brining effectiveness is constrained by specific biochemical thresholds validated through university research. Penn State Extension's food science department confirms that brining provides no moisture benefit for products already labeled "enhanced" or "contains up to 15% solution" – additional brining increases sodium content by 30-40% without improving juiciness (measured via moisture retention testing). Texture analysis from America's Test Kitchen reveals a critical time boundary: boneless chicken breasts develop mushiness when exceeding 1.5 hours in standard 6% salt brine due to excessive protein denaturation.
| Boundary Condition | Scientific Limit | Consequence |
|---|---|---|
| Pre-brined products | No additional benefit beyond label claims | Excessive sodium (30-40% increase) |
| Boneless breast duration | Max 1.5 hours in 6% salt solution | Texture degradation (mushiness) |
| Salt concentration | Never exceed 7% solution | Surface curing effect (rubbery texture) |
Source: Penn State Extension: Brining Guidelines, America's Test Kitchen: Brining Science
Brining Chicken: Essential FAQs
Can I brine frozen chicken?
No. Always thaw chicken completely in the refrigerator before brining. Brining frozen chicken creates uneven results as outer layers absorb too much salt while inner parts remain frozen.
Do I need to rinse after brining?
Yes for wet brines - a quick rinse removes excess surface salt. Never rinse dry-brined chicken as the salt mixture contributes to crust formation. Always pat chicken completely dry after rinsing.
How does brining affect cooking time?
Brined chicken cooks slightly faster (about 5-10%) due to increased moisture content. Watch carefully during final cooking stages to prevent overcooking.
Can I use this brine for other meats?
This basic formula works well for turkey and pork chops, but reduce time by 25% for delicate proteins like fish. For beef, use a different brine with less sugar and no acid.
Why is my brined chicken still dry?
Most likely overcooked. Brining helps retain moisture but cannot prevent dryness if cooked past 165°F (74°C). Use a meat thermometer and remove chicken at 160°F (71°C) - it will continue cooking to safe temperature while resting.
Real-World Application Evidence: User Testing Timeline
Independent testing across 12 months reveals how technique refinement impacts results. America's Test Kitchen's longitudinal study tracked 50 home cooks using standardized brining protocols. Initial attempts (Month 1) showed 62% success rate due to timing errors. After implementing timer reminders and weight-based calculations (Month 3), success jumped to 89%. By Month 6, with added dry-brine options for skin-crisping, 94% achieved restaurant-quality results. The critical evolution was recognizing that bone-in pieces require 50% more time than boneless cuts – a finding now reflected in updated USDA guidelines.
| Timeline Phase | Key Adjustment | Success Rate |
|---|---|---|
| Baseline (Month 1) | Fixed duration (1 hour) | 62% |
| Refinement (Month 3) | Weight-based timing + timers | 89% |
| Optimization (Month 6) | Dry/wet method selection guide | 94% |
| Current Standard (Month 12) | Product-label awareness integration | 97% |
Source: America's Test Kitchen: Brining Longitudinal Study, USDA FSIS Brining Guidelines Update
Pro Tips for Perfect Brined Chicken
For consistently great results:
- Temperature matters: Keep everything cold (chicken and brine below 40°F/4°C) during the entire process
- Don't skip the rest: Let brined chicken sit uncovered in the refrigerator for 1-2 hours before cooking for crisper skin
- Adjust for cut type: Bone-in pieces need 50% more brining time than boneless cuts
- Storage hack: Freeze leftover brine in ice cube trays for quick portioning next time
- Season after brining: Add only pepper and other seasonings after the brining/rinsing process - salt is already in the meat


 浙公网安备
33010002000092号
浙公网安备
33010002000092号 浙B2-20120091-4