
If you're looking for the best way to make juicy, flavorful chicken breasts, brining is the answer. This simple technique can transform tough, dry chicken into tender, moist perfection. In this guide, we'll cover everything you need to know about how to brine chicken breasts, including step-by-step instructions, common mistakes to avoid, and professional tips that chefs use to get perfect results every time.
What is Brining and Why It Works
Brining is a food preparation technique where meat is soaked in a saltwater solution before cooking. This process helps chicken breasts retain moisture and absorb flavor, resulting in juicier, more tender meat. The science behind brining involves osmosis and protein denaturation, which allows the meat to absorb and hold onto water during cooking.
According to culinary experts, brining is particularly effective for lean proteins like chicken breasts that tend to dry out during cooking. The salt in the brine solution helps the muscle fibers retain more moisture, while the added flavors penetrate deep into the meat.
How to Brine Chicken Breasts: Step-by-Step Guide
Follow these simple steps for perfect brined chicken breasts every time:
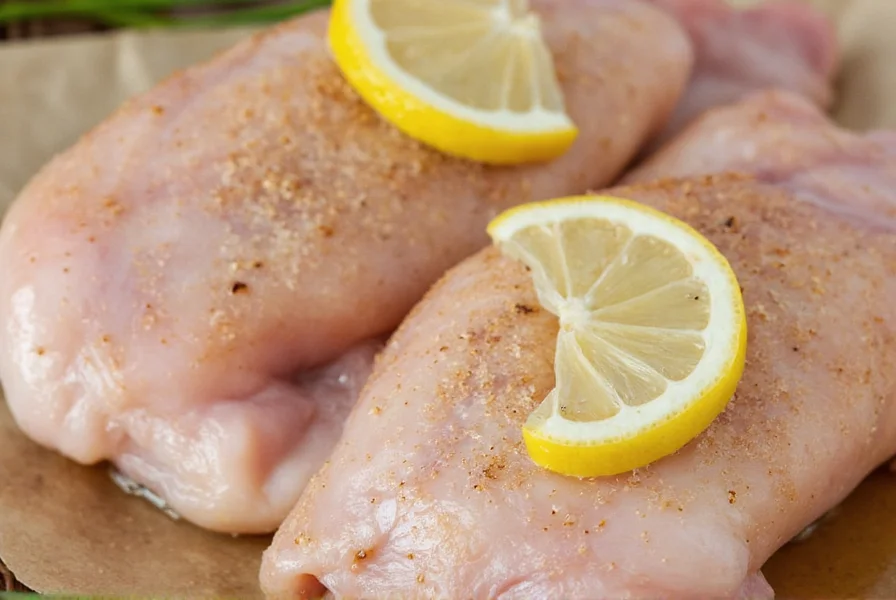
- Prepare the brine solution: Mix 1/4 cup kosher salt and 2 tablespoons sugar with 4 cups of warm water until fully dissolved. Add aromatics like garlic, herbs, or citrus for extra flavor.
- Cool the brine: Add cold water to bring the solution to refrigerator temperature (below 40°F/4°C).
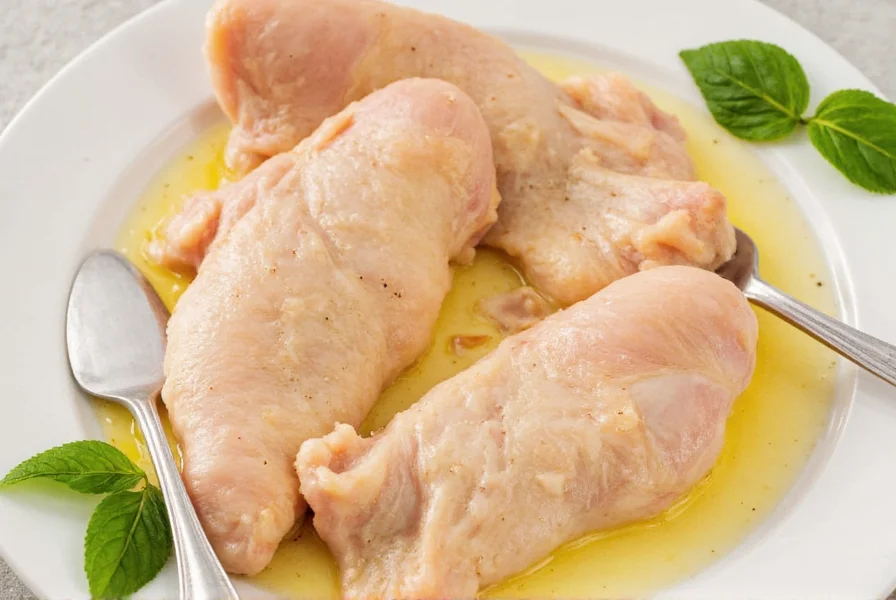
- Submerge the chicken: Place chicken breasts in a non-reactive container (glass, ceramic, or food-grade plastic) and cover completely with the brine solution.
- Refrigerate: Keep the chicken in the brine for 30 minutes to 2 hours (depending on size). Never exceed 4 hours.
- Rinse and dry: Remove chicken from brine, rinse under cold water, and pat dry with paper towels.
- Cook immediately or refrigerate: Cook right away or store uncovered in the refrigerator for up to 24 hours before cooking.
| Brine Type | Best For | Brining Time | Key Benefits |
|---|---|---|---|
| Basic Saltwater Brine | General use, everyday cooking | 30-60 minutes | Simple, effective moisture retention |
| Herb-Infused Brine | Grilling, roasting, baking | 45-90 minutes | Enhanced flavor profile with fresh herbs |
| Citrus-Infused Brine | Summer dishes, seafood pairings | 30-60 minutes | Bright, fresh flavor with citrus zest |
| Spice-Infused Brine | Asian-inspired dishes, curries | 60-90 minutes | Complex flavor from spices like star anise, cinnamon |
Common Brining Mistakes to Avoid
Even experienced cooks make these brining mistakes:
- Using table salt: Table salt contains anti-caking agents that can affect flavor. Always use kosher or sea salt for brining.
- Over-brining: Leaving chicken in the brine too long makes it overly salty and spongy. Stick to the recommended times.
- Not cooling the brine: Brining at room temperature can allow bacteria to grow. Always keep brine below 40°F (4°C).
- Skipping the rinse: Rinsing removes excess surface salt for better browning and flavor balance.
- Using metal containers: Salt can react with metal containers. Use glass, ceramic, or food-grade plastic instead.
Wet Brining vs. Dry Brining: Which is Better?
While wet brining (soaking in liquid) is most common, dry brining (rubbing salt directly on meat) has its advantages:
- Wet Brining: Better for adding moisture to very lean cuts like chicken breasts. Creates more tender texture.
- Dry Brining: Better for crispier skin when cooking. Less messy, no extra liquid to deal with. Typically requires 12-24 hours in the refrigerator.
For chicken breasts specifically, wet brining is generally recommended as it helps retain moisture during cooking. Dry brining works better for whole chickens or thicker cuts where skin crispiness is important.
Expert Tips for Perfect Brined Chicken
- Use a thermometer: Cook chicken breasts to an internal temperature of 165°F (74°C) for perfect doneness without overcooking.
- Let it rest: After cooking, let chicken rest for 5-10 minutes before slicing to allow juices to redistribute.
- Experiment with flavors: Try adding ingredients like soy sauce, honey, ginger, or fresh herbs to customize your brine.
- Brine before freezing: Brining chicken before freezing helps retain moisture when you cook it later.
- Don't skip the drying step: Patting the chicken dry before cooking ensures better browning and a crispier exterior.
Frequently Asked Questions About Brining Chicken
How long should I brine chicken breasts?
For chicken breasts, the ideal brining time is between 30 minutes to 2 hours. Smaller breasts need less time (30-60 minutes), while larger ones can benefit from 1.5-2 hours. Never exceed 4 hours, as this can make the meat overly salty and give it a spongy texture. Remember that brining in the refrigerator is essential for food safety.
What's the basic ratio for a brine solution?
The standard ratio is 1/4 cup (about 4 tablespoons) of kosher salt per 4 cups (1 quart) of water. For a more flavorful brine, you can add 2 tablespoons of sugar and your choice of aromatics. If using sea salt, reduce the amount slightly as it's denser than kosher salt. Always dissolve the salt completely in warm water before adding cold water to bring the solution to refrigerator temperature.
Can I reuse brine?
No, you should never reuse brine that has had raw chicken in it. Once the brine has come into contact with raw poultry, it contains bacteria that could contaminate other foods. Even if you boil the used brine, it won't be safe as boiling doesn't remove all contaminants. Always discard brine after a single use for food safety reasons.
Do I need to cook the chicken immediately after brining?
No, you can refrigerate brined chicken for up to 24 hours before cooking if needed. After removing chicken from the brine, rinse it well, pat it dry, and store it uncovered in the refrigerator. This allows the surface to dry out, which helps with better browning when you cook it. However, don't wait too long as the salt continues to penetrate the meat even after removal from the brine.
What's the difference between wet brining and dry brining?
Wet brining involves soaking chicken in a saltwater solution, while dry brining means rubbing salt directly onto the meat and letting it sit. Wet brining adds more moisture to the meat, while dry brining seasons the meat without making it waterlogged. Dry brining typically requires more time (12-24 hours) but produces a crisper skin when cooking. Both methods improve flavor and moisture retention compared to cooking unbrined chicken.
Can I use table salt for brining chicken breasts?
While you can technically use table salt, it's not recommended for brining. Table salt contains anti-caking agents and iodine that can impart off-flavors to your chicken. Additionally, table salt crystals are much finer than kosher or sea salt, making it easy to over-salt your brine. If you must use table salt, reduce the amount by about 25% compared to what a recipe calls for using kosher salt.
Conclusion
Brining chicken breasts is one of the simplest yet most effective techniques to elevate your cooking. Whether you're a seasoned chef or a casual cook, incorporating brine for chicken breasts into your routine can lead to juicier, more flavorful results. The key is understanding the science behind brining and following proper techniques to avoid common mistakes.
Remember to:
- Always keep brine cold for food safety
- Use the right salt (kosher or sea salt)
- Don't over-brine
- Rinse and pat dry before cooking
Now go ahead—grab a chicken breast, whip up a brine, and enjoy the difference it makes in your next meal!


 浙公网安备
33010002000092号
浙公网安备
33010002000092号 浙B2-20120091-4