
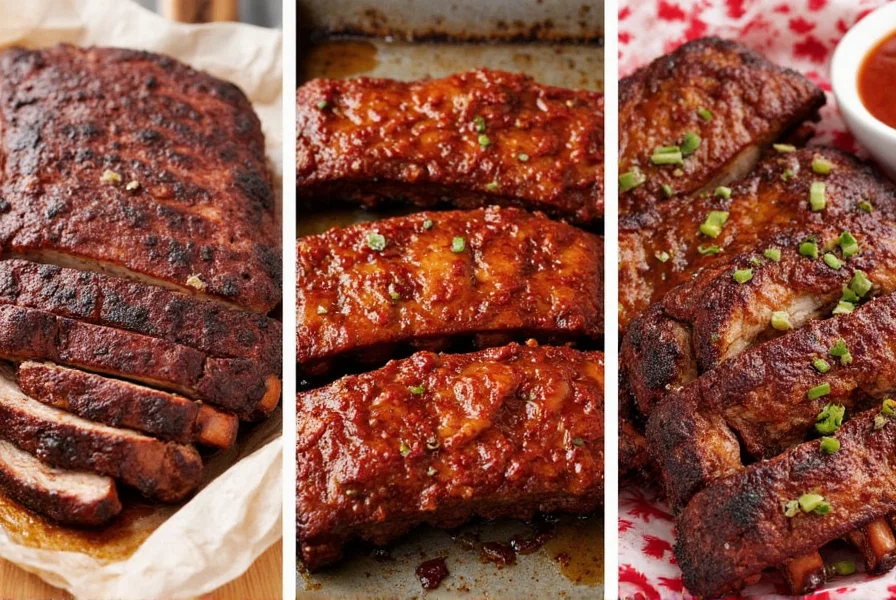
Smoking ribs is a precise art that combines science, patience, and technique to create fall-off-the-bone perfection. Whether you're a beginner or experienced pitmaster, these proven methods will help you achieve consistently delicious results.
Key Takeaway: The secret to perfect smoked ribs lies in understanding rib cuts, proper preparation, temperature control, and timing. Follow these essential steps for tender, flavorful ribs every time.
| Rib Type | Texture | Cooking Time | Best For |
|---|---|---|---|
| St. Louis Cut | Firm yet tender | 4–5 hours | Beginners, even cooking |
| Back Ribs | Tender, leaner | 3–4 hours | Quick smoke sessions |
| Spareribs | Fattier, more marbled | 5–6 hours | Experienced smokers |
Step 1: Select the Right Rib Cut
Choosing the correct rib type is critical for your desired outcome. St. Louis cut offers consistent thickness for even cooking, while back ribs cook faster but are leaner. Spareribs provide richer flavor but require longer cooking times.
Step 2: Dry Brine for Flavor Lock-In
Apply a dry brine mixture (salt, sugar, and aromatics) 12-24 hours before smoking. This process helps retain moisture and builds deep flavor layers throughout the meat.

Step 3: Remove the Membrane
Peel off the silver skin membrane from the bone side using a butter knife and paper towel. This allows better seasoning penetration and prevents rubbery texture.
Step 4: Master the Rub
Use a balanced spice ratio: 3 parts brown sugar, 2 parts paprika, 1 part salt, 1 part black pepper, and ½ part garlic/onion powder. This creates perfect bark formation and caramelization during smoking.

Step 5: Choose the Right Wood
| Wood Type | Flavor Profile | Best For |
|---|---|---|
| Hickory | Strong, bacon-like | Heavy meats like brisket or spareribs |
| Oak | Mellow, earthy | All-purpose smoking |
| Apple | Sweet, fruity | Back ribs or milder profiles |
| Cherry | Subtle sweetness, dark color | Glazed finish lovers |
Pro Tip: Blend hickory with apple for balanced flavor without overpowering the meat.
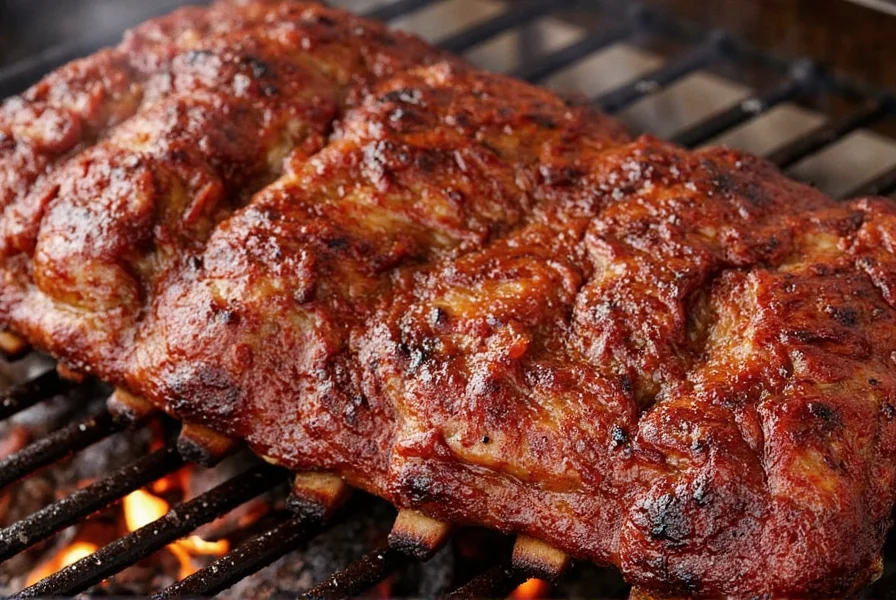
Step 6: Proper Wrapping Technique
Wrap ribs in foil or butcher paper after 3 hours of smoking (when bark forms). Foil creates faster cooking with softer bark, while butcher paper maintains firmer texture. Add apple juice for extra moisture.

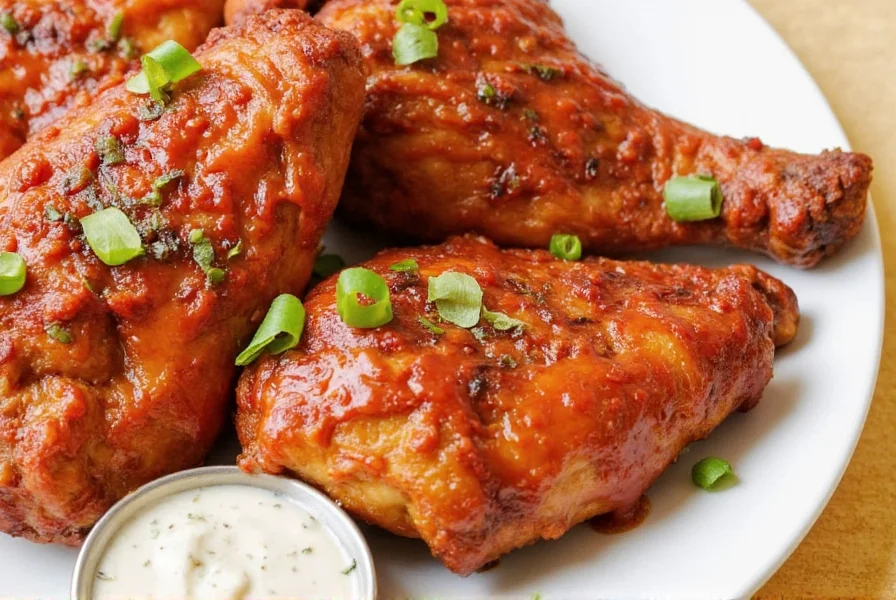
Step 7: Rest Before Serving
Let ribs rest for 20-30 minutes after reaching 195-203°F internal temperature. This redistributes juices for maximum tenderness and flavor.
FAQs About Smoking Ribs
How do I know when ribs are done?
Ribs are done when they reach 195-203°F internal temperature and pass the bend test (bend easily when lifted with tongs). The meat should pull back slightly from the bones.
What temperature should I smoke ribs at?
Maintain consistent 225-250°F for most ribs. This low-and-slow approach allows connective tissues to break down properly without drying out the meat.
Should I remove the membrane?
Yes. Removing the silver membrane improves texture and flavor penetration. Leaving it on results in tough, rubbery bites.
| Product | Features | Advantages | Use Case |
|---|---|---|---|
| Digital Meat Thermometer | Wireless, dual-probe, app-connected | Accurate readings without opening the smoker | Long cooks, multitasking cooks |
| Cast Iron Offset Smoker | Adjustable dampers, heavy insulation | Better temp control, classic flavor | Traditionalists, backyard pitmasters |
| Charcoal Chimney Starter | No lighter fluid needed, quick startup | Eco-friendly, faster ignition | Campfire-style cooks |
| Spice Grinder | Adjustable grind settings, stainless steel blades | Custom spice blends, fresher flavors | Home spice enthusiasts |
These tools aren't just gadgets—they're investments in better flavor, easier prep, and more consistent results.


 浙公网安备
33010002000092号
浙公网安备
33010002000092号 浙B2-20120091-4