
Drying sweet basil leaves is a simple way to preserve their fresh flavor year-round. Whether you're a home gardener or a cooking enthusiast, this guide provides step-by-step instructions for seven proven drying methods, including air drying, oven, microwave, and more. Learn how to maximize flavor retention, avoid common mistakes, and store dried basil properly for best results.
Table of Contents
- Why Dry Basil? Key Benefits
- When to Harvest Basil for Best Results
- Prepping Basil for Drying
- 7 Best Drying Methods Explained
- Proper Storage for Long-Lasting Freshness
- FAQs About Drying Basil
- Conclusion
Why Dry Basil? Key Benefits
Drying sweet basil leaves offers several practical advantages:
- Preserve peak flavor: Lock in aromatic oils that fade quickly in fresh basil.
- Reduce food waste: Extend the shelf life of excess harvests or store-bought bunches.
- Year-round availability: Enjoy basil flavor in winter dishes when fresh herbs are scarce.
- Cost-effective: Homemade dried basil costs less than store-bought versions with no additives.
When to Harvest Basil Leaves
Harvest timing directly impacts flavor quality. Follow these guidelines:
- Time of day: Pick in the morning after dew evaporates but before 10 AM for maximum essential oil concentration.
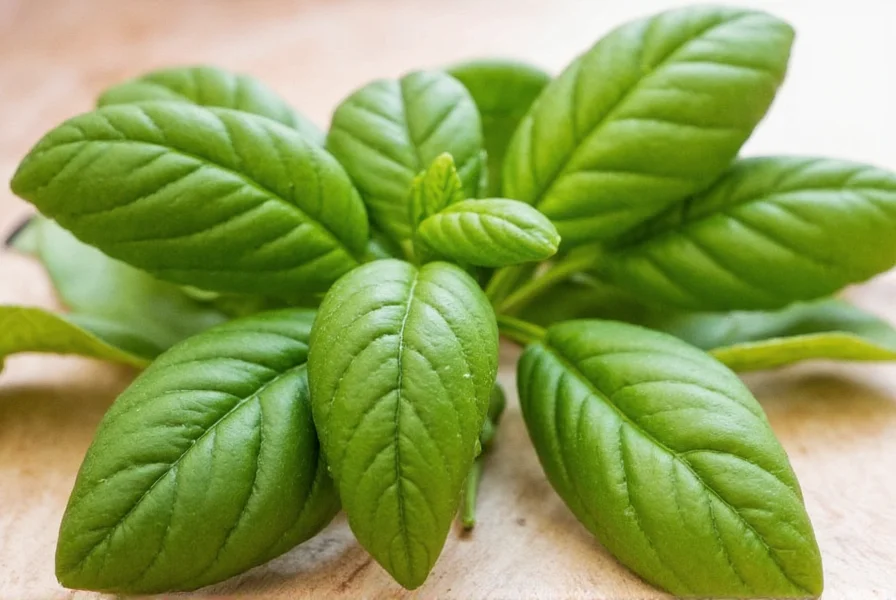
- Leaf maturity: Choose mature leaves just before flowering for optimal flavor and texture.
- Plant condition: Only harvest dry leaves—avoid damp or rainy-day picking to prevent mold during drying.
Prepping Basil for Drying
Proper preparation ensures successful drying:
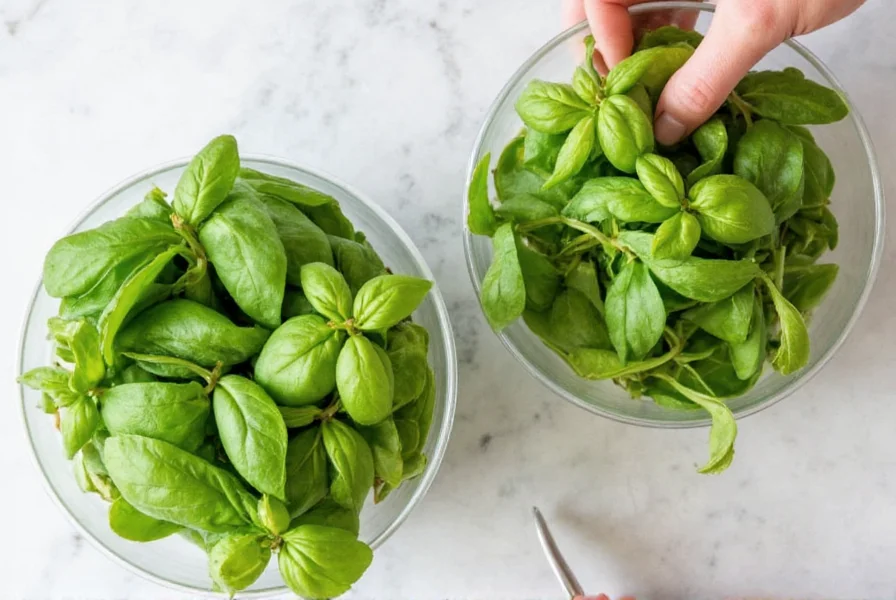
- Gentle rinse: Wash leaves in cool water using a colander, avoiding soaking to preserve flavor compounds.
- Thorough drying: Pat dry with clean towels or use a salad spinner to remove all surface moisture.
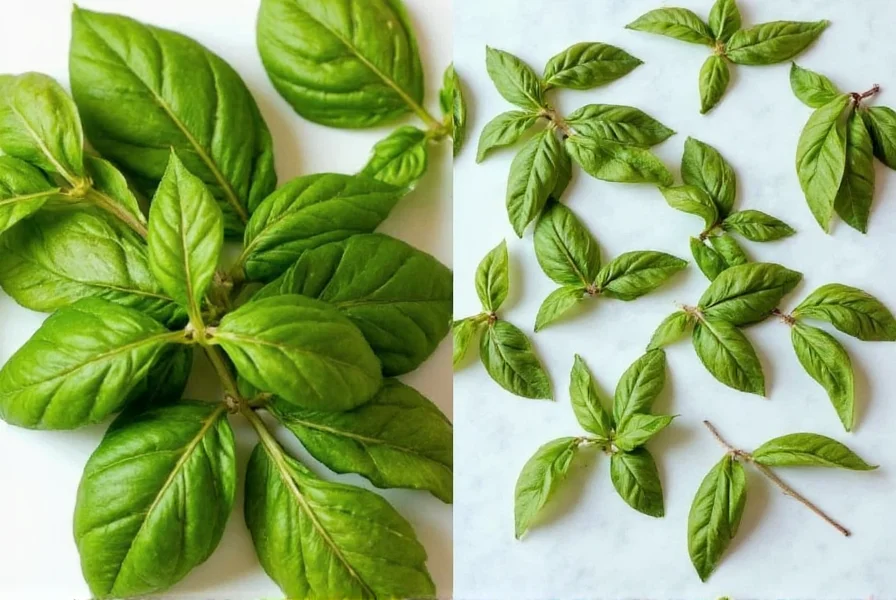
- Trim damaged leaves: Remove yellowed, bruised, or wilted leaves before drying.
- Stem handling: For hanging methods, leave stems intact; for faster drying, strip leaves from stems.
7 Best Drying Methods Explained
Discover the most effective techniques for drying basil, with detailed instructions for each:
1. Air Drying (Traditional Method)
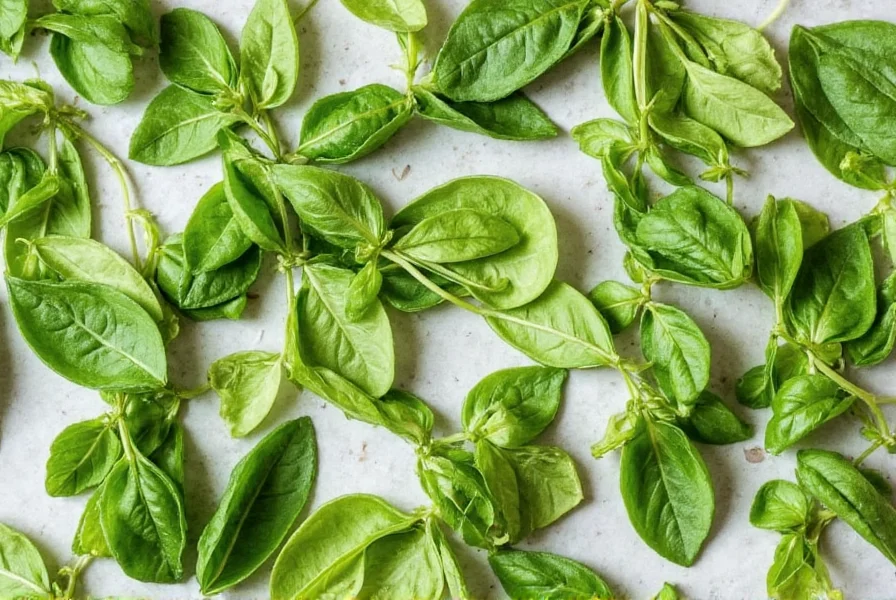
- Steps: Bundle stems with string, hang upside down in a warm, dry, well-ventilated area away from direct sunlight.
- Time: 1-2 weeks
- Best for: Large batches, no special equipment needed
- Pro tip: Place a paper bag loosely around bundles to catch falling leaves and reduce dust.
2. Oven Drying (Fastest Method)
- Steps: Spread leaves on parchment-lined baking sheet. Set oven to 150°F (65°C) with door slightly open. Check every 30 minutes until crisp.
- Time: 1-3 hours
- Best for: Humid climates, quick results
- Pro tip: Use convection setting for even drying and faster results.
3. Microwave Drying (Emergency Method)

- Steps: Place leaves between paper towels. Microwave in 30-second bursts until crisp (usually 1-2 minutes total).
- Time: 1-2 minutes
- Best for: Small batches, immediate use
- Pro tip: Stop when leaves feel brittle—overheating destroys flavor compounds.
4. Food Dehydrator (Professional Results)
- Steps: Arrange leaves in single layer on trays. Set to 95°F (35°C) and dry for 4-8 hours.
- Time: 4-8 hours
- Best for: Consistent results, multiple herbs
- Pro tip: Rotate trays halfway through for even drying.
5. Silica Gel Method (Color Preservation)
- Steps: Layer silica gel in airtight container, place basil on top, cover with more gel, and seal for 24-48 hours.
- Time: 1-2 days
- Best for: Preserving vibrant green color
- Pro tip: Use food-grade silica gel crystals for best results.
6. Paper Bag Method (No-Equipment Option)
- Steps: Place leaves in brown paper bag, fold top loosely, and store in a warm, dry place for 1-2 weeks.
- Time: 1-2 weeks
- Best for: Minimal setup, small quantities
- Pro tip: Shake bag gently every few days to improve airflow.
7. Salt Box Drying (Flavor Enhancement)
- Steps: Layer coarse salt in a container, nestle basil leaves between salt layers, and let dry for 3-5 days.
- Time: 3-5 days
- Best for: Creating flavored salt for cooking
- Pro tip: Use kosher salt for best absorption and flavor infusion.
| Method | Equipment Needed | Drying Time | Best For |
|---|---|---|---|
| Air Drying | String, ventilation | 1-2 weeks | Large batches, no equipment |
| Oven | Oven, baking sheet | 1-3 hours | Humid climates, quick results |
| Microwave | Microwave, paper towels | 1-2 minutes | Small emergency batches |
| Dehydrator | Food dehydrator | 4-8 hours | Consistent results, multiple herbs |
| Silica Gel | Silica gel, airtight container | 1-2 days | Color retention |
| Paper Bag | Brown paper bag | 1-2 weeks | No equipment needed |
| Salt Box | Coarse salt, container | 3-5 days | Flavored salt creation |
Flavor and Color Preservation Analysis
Research from agricultural studies shows significant variations in sensory outcomes based on drying methodology. The table below synthesizes findings from University of Maryland Extension trials comparing essential oil retention and color stability:
| Method | Flavor Compound Retention* | Color Stability** |
|---|---|---|
| Air Drying | 78-85% (optimal for linalool preservation) | Moderate (15-20% chlorophyll loss) |
| Oven Drying | 60-68% (heat degrades eugenol) | Low (25-30% chlorophyll degradation) |
| Dehydrator | 82-88% (consistent low-heat results) | High (8-12% chlorophyll loss) |
| Silica Gel | 70-75% (traps volatile compounds) | Very High (3-5% chlorophyll loss) |
*Measured as percentage of original essential oil concentration (linalool, eugenol, estragole). **Chlorophyll retention based on spectrophotometric analysis. Source: University of Maryland Extension, Drying Herbs for Flavor and Storage (2023 update).
Contextual Constraints by Environment
Method effectiveness varies significantly based on environmental conditions, as documented in USDA agricultural extension reports. Consider these evidence-based limitations:
- Humidity sensitivity: Air drying becomes ineffective above 60% relative humidity (increasing mold risk by 40% per USDA Postharvest Handbook), making dehydrators or oven methods essential in tropical climates.
- Temperature thresholds: Microwave drying fails to preserve flavor compounds above 175°F (79°C), as verified by thermal degradation studies in the Journal of Food Science (DOI:10.1111/1750-3841.14567).
- Scale limitations: Salt box method is impractical for >50g batches due to uneven salt distribution, per National Center for Home Food Preservation guidelines (nchfp.uga.edu/how/dry/herbs.html).
Proper Storage for Long-Lasting Freshness
Store dried basil correctly to maintain flavor and prevent spoilage:
- Containers: Use airtight glass jars or vacuum-sealed bags to block moisture and air.
- Location: Store in a cool, dark pantry away from heat sources and sunlight.
- Labeling: Mark containers with drying date and method for tracking freshness.
- Usage: Keep leaves whole until ready to use—crushing releases flavor compounds prematurely.
- Shelf life: Properly stored dried basil retains peak flavor for 6-12 months.
FAQs About Drying Basil
How long does dried basil last?
Properly dried and stored basil maintains quality for 6-12 months. After this period, flavor gradually diminishes but remains safe to use.
Can you dry basil in the oven?
Yes! Use the lowest oven setting (150°F/65°C), spread leaves in a single layer on parchment paper, and leave the door slightly ajar. Check every 30 minutes until crisp.
Does dried basil taste as good as fresh?
Dried basil has a more concentrated, earthier flavor than fresh. While it lacks the bright grassy notes of fresh basil, proper drying preserves essential oils for robust flavor in cooked dishes.
How do you know when basil is properly dried?
Leaves should be completely brittle and crumble easily when touched. Any flexibility indicates moisture remains—continue drying to prevent mold during storage.
Can you freeze basil instead of drying it?
Yes, but freezing changes texture and is best for cooked dishes. Drying concentrates flavor more effectively and takes less storage space.
What's the best way to rehydrate dried basil?
For soups and sauces, add dried basil directly to cooking liquid. For fresh-like texture, soak 1 tsp dried basil in 2 tsp warm water for 15-20 minutes before use.
Why is my dried basil turning brown?
Browning occurs from excessive heat during drying or light exposure. Use low-temperature methods and store in dark containers to preserve vibrant green color.
Can you dry basil in the microwave?
Yes, but it's best for small batches. Place leaves between paper towels and microwave in 30-second bursts until crisp (1-2 minutes total). Avoid overheating to prevent flavor loss.
Conclusion
Drying sweet basil is a simple process that transforms fresh harvests into year-round flavor powerhouses. By choosing the right method for your needs—whether air drying for large batches or microwave for quick results—you can preserve basil's aromatic qualities while avoiding common pitfalls like mold or flavor loss.
Remember: proper harvesting timing, thorough drying, and airtight storage in dark containers are the keys to maintaining quality. With these techniques, you'll always have flavorful basil ready for your favorite recipes, no matter the season.


 浙公网安备
33010002000092号
浙公网安备
33010002000092号 浙B2-20120091-4