
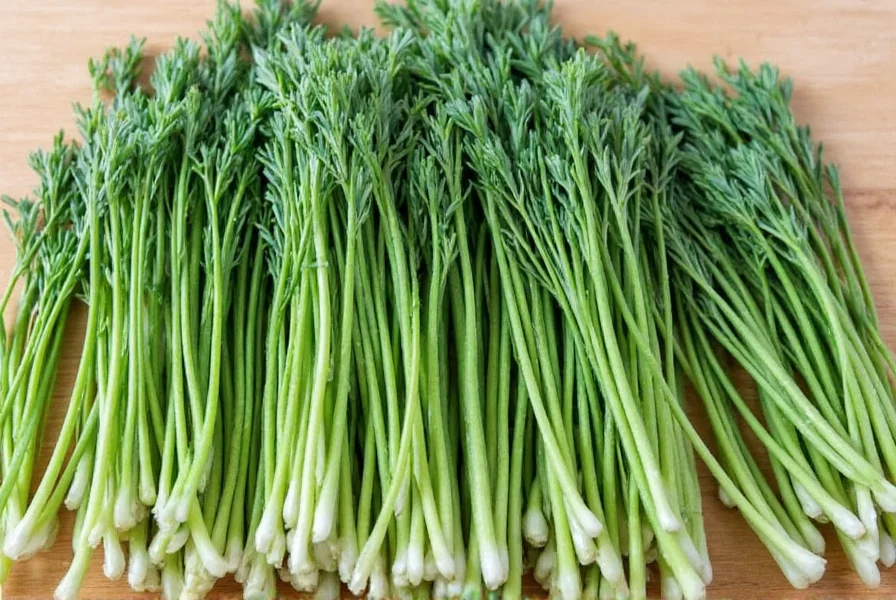
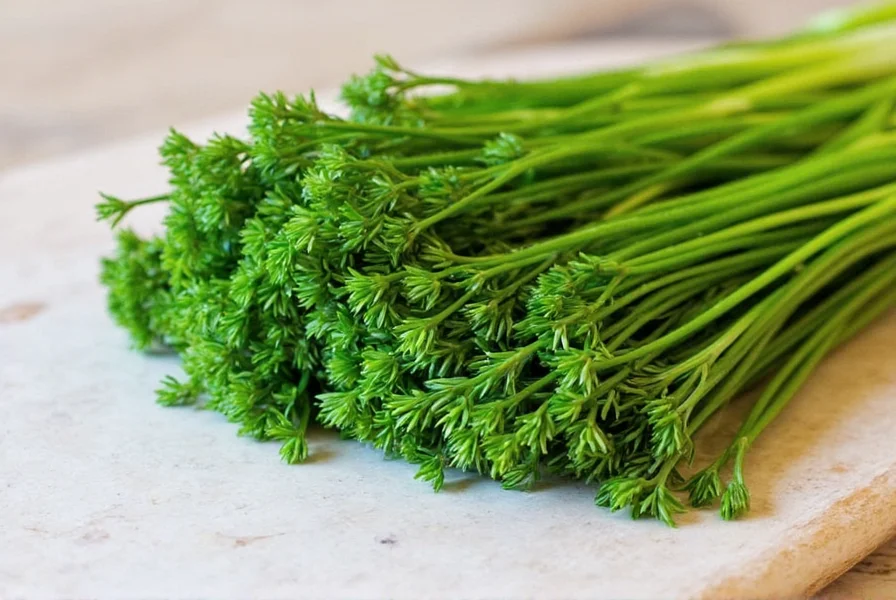
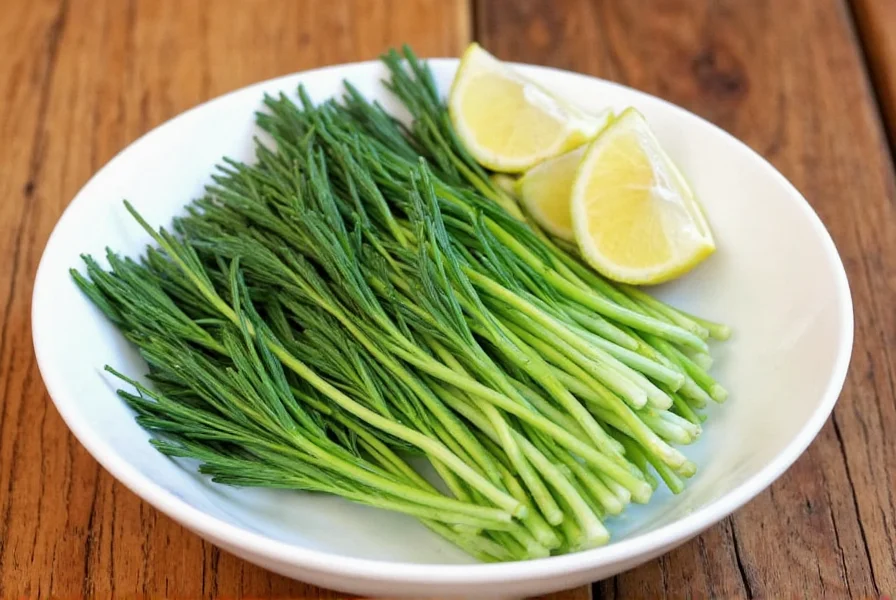
If you've ever found yourself staring at a bunch of chives wilting in the fridge or getting soggy in your spice drawer, you're not alone. But here's the good news — dehydrating chives is one of the most effective ways to preserve their flavor and extend their shelf life. Whether you're a home cook with a flourishing herb garden or a culinary pro stocking up on bulk ingredients, this guide will show you exactly how to dehydrate chives like a pro.
Top 7 Methods to Dehydrate Chives
There's no one-size-fits-all approach to dehydrating chives. Each method has its pros and cons depending on your kitchen setup, time constraints, and desired outcome. Let's dive into the seven best techniques for drying chives at home:
1. Oven Method – Fast & Reliable
The oven is an accessible tool for quick dehydration, especially when you don't own a dedicated food dehydrator.
- Step 1: Preheat your oven to its lowest setting (usually around 150°F or 65°C).
- Step 2: Wash and thoroughly dry the chives. Pat them with a paper towel to remove excess moisture.
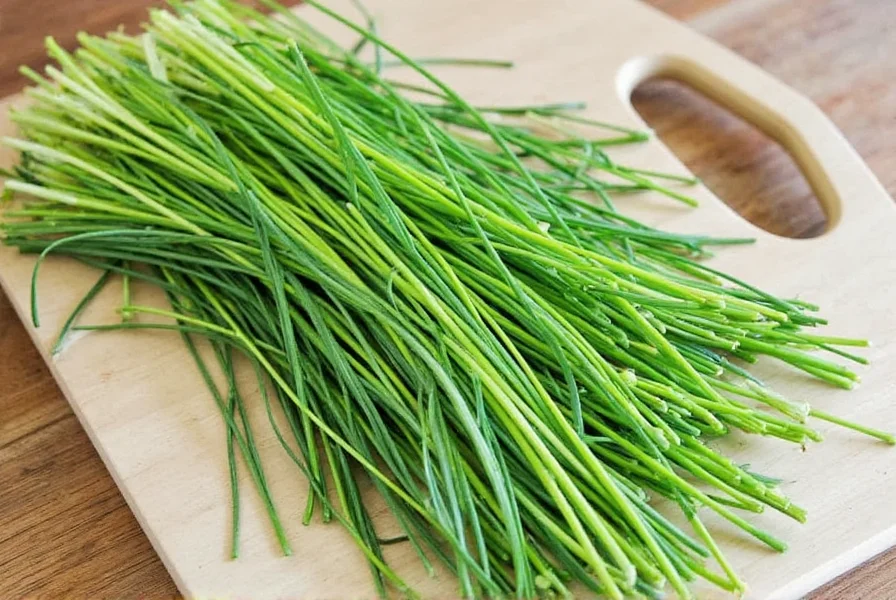
- Step 3: Chop the chives into small pieces (about ½ inch) for faster drying.
- Step 4: Spread them evenly on a baking sheet lined with parchment paper.
- Step 5: Place the tray in the oven and let it dry for 1–2 hours, checking every 30 minutes to avoid burning.
- Step 6: Once crisp and brittle, allow the chives to cool completely before storing in an airtight container.
2. Food Dehydrator – Hands-Free Precision
A food dehydrator is ideal for consistent, hands-off drying. It uses low heat over several hours to gently remove moisture without cooking the chives.
- Step 1: Clean and chop chives as described above.
- Step 2: Lay them flat on the dehydrator trays, ensuring they don't overlap.
- Step 3: Set the temperature to 95°F–115°F (35°C–45°C) and let them run for 4–8 hours.
- Step 4: Test dryness by touching a few pieces; they should snap easily.
3. Air Drying – Zero Equipment Needed
This is the most natural method, perfect for those who love doing things the old-fashioned way.
- Step 1: Bundle 5–10 chive stems together with a rubber band or twine.
- Step 2: Hang them upside down in a warm, dry, and well-ventilated area (not direct sunlight).
- Step 3: Wait 1–2 weeks until the stalks are fully dried and crispy.
- Step 4: Strip the dried leaves from the stems and store them whole or crumbled.

4. Microwave Method – Quick Fix for Small Batches
For those moments when you need dried chives in a hurry, the microwave offers a surprisingly effective solution.
- Step 1: Place chopped chives between two paper towels on a microwave-safe plate.
- Step 2: Microwave on high for 30 seconds, then check. Repeat in 15-second intervals until fully dried.
- Step 3: Allow to cool before transferring to a jar or spice bottle.
5. Sun Drying – Nature's Free Dehydrator
In hot, dry climates, sun drying is a viable option, though less predictable due to weather fluctuations.
- Step 1: Spread chives thinly on a mesh screen or tray outdoors.
- Step 2: Cover loosely with cheesecloth to protect from insects and debris.
- Step 3: Leave in full sun for 2–3 days, stirring occasionally for even drying.
- Step 4: Bring indoors at night to prevent reabsorption of moisture.
6. Air Fryer – Unexpected but Effective
Yes, your air fryer isn't just for making fries — it works surprisingly well for herbs too.
- Step 1: Line the air fryer basket with a mesh liner or parchment paper with holes punched for airflow.
- Step 2: Add a single layer of chopped chives.
- Step 3: Set the air fryer to 150°F (65°C) and cook for 10–15 minutes, shaking halfway through.
- Step 4: Cool completely before storing.
7. Freeze-Drying – For Long-Term Preservation
Freeze-drying preserves color, flavor, and nutrients better than other methods but requires a special machine.
- Step 1: Chop and pre-freeze chives on a tray.
- Step 2: Transfer to freeze dryer according to manufacturer instructions.
- Step 3: Store in vacuum-sealed bags with oxygen absorbers for long-term use.
| Product | Description | Features | Target Audience | Use Cases |
|---|---|---|---|---|
| Excalibur FD1018ELB Electric Food Dehydrator | A top-tier dehydrator with adjustable temperature control and 9 large trays. | Even heat distribution, BPA-free trays, quiet operation | Herb enthusiasts, homesteaders, serious DIYers | Drying multiple batches of herbs, fruits, jerky |
| COSORI Premium Food Dehydrator Machine | Compact yet powerful with digital controls and a sleek design. | Timer function, preset programs, auto shut-off | Urban dwellers, apartment cooks, beginners | Drying small to medium quantities of herbs and snacks |
| Nesco Gardenmaster FD-75PR | Classic fan-forced dehydrator with stackable trays. | Expandable design, economical energy use | Families, budget-conscious users | Bulk drying for meals and seasoning mixes |
| OXO Good Grips Herb Keeper | Not a dehydrator, but a great tool for short-term fresh herb storage. | Water reservoir, clear lid, compact size | Occasional herb users, city renters | Keeping fresh chives usable for a week or two |
| KitchenAid Convection Toaster Oven | Oven with precision settings for low-temperature drying. | Multiple functions, large capacity, convection mode | Multi-functional appliance users | Drying chives alongside other small batch cooking |
How to Store Dehydrated Chives
Proper storage is key to maintaining the potency and longevity of your dried chives. Follow these best practices:
- Airtight Containers: Glass jars with tight lids or vacuum-sealed bags are ideal. Oxygen and moisture are the enemies of preserved herbs.
- Dark Location: Store containers away from light in a pantry or cupboard to preserve color and flavor.
- Desiccant Packets: Include silica gel packets inside the storage container to absorb any residual moisture.
- Label & Date: Always label your containers with the contents and date so you can track freshness.
- Freezing Optional: For extra-long shelf life, place sealed containers in the freezer to further inhibit degradation.
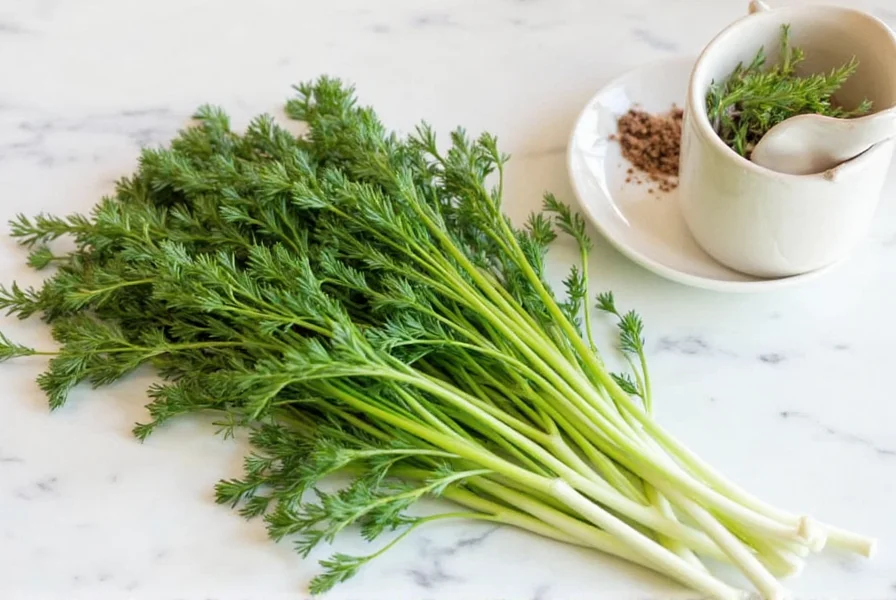
Creative Uses for Dried Chives
You might think dried chives are only for sprinkling on mashed potatoes, but there's so much more you can do! Here are some clever ways to make the most of your preserved chive stash:
- Make Chive Salt: Blend dried chives with coarse sea salt for a flavorful seasoning boost.
- Mix into Butter: Combine with softened butter for a gourmet spread on bread, steak, or veggies.
- Homemade Spice Rubs: Add to BBQ rubs, especially for grilled chicken or pork.
- Bake Into Crackers: Sprinkle into homemade crackers or biscotti dough before baking.
- Infuse Oils or Vinegars: Add to olive oil or vinegar for infused flavors that enhance dressings and marinades.
- DIY Seasoning Blends: Mix with garlic powder, parsley, and lemon zest for a versatile seasoning mix.
- Egg Dishes: Stir into scrambled eggs, frittatas, or quiches for instant flavor.

How long do properly stored dried chives last?
When stored in airtight containers in a cool, dark place with desiccant packets, dried chives maintain peak flavor for 6-12 months. For extended shelf life up to 2 years, store them in the freezer. Always check for color fading or musty smells, which indicate degradation.
Do dried chives taste as good as fresh?
While dried chives have a more concentrated onion flavor than fresh, they lose some of the bright, grassy notes. For best results, use 1 teaspoon dried chives for every 1 tablespoon fresh chives in recipes. The oven and dehydrator methods preserve the most flavor compared to faster techniques like microwave drying.
What's the easiest method for beginners to dry chives?
The oven method (at lowest temperature with door slightly ajar) is most accessible for beginners since most kitchens already have an oven. For truly hands-off processing, a food dehydrator like the COSORI model from our buying guide requires minimal monitoring while delivering consistent results.
Why do my dried chives turn brown during dehydration?
Browning occurs when temperatures exceed 125°F (52°C), essentially cooking rather than drying the chives. Always use the lowest possible heat setting, ensure proper airflow, and check frequently. The microwave method is particularly prone to this issue if done in too-long intervals - stick to 15-second bursts.
Can I dry chives without chopping them first?
Yes, but drying whole stems takes significantly longer (up to 50% more time) and may result in uneven drying. For air drying or bundling methods, whole stems work well. For oven, dehydrator, or microwave methods, chopping to ½-inch pieces ensures faster, more uniform dehydration and better storage efficiency.
Should I wash chives before dehydrating?
Yes, always wash chives thoroughly in cold water to remove dirt and insects, but be sure to pat them completely dry with paper towels before processing. Excess moisture prolongs drying time and increases mold risk. For best flavor retention, wash immediately before dehydrating rather than days in advance.


 浙公网安备
33010002000092号
浙公网安备
33010002000092号 浙B2-20120091-4