
Learn how to dry chili peppers at home with these proven methods that preserve flavor and heat. The best approach depends on your equipment and needs: air drying works for small batches in dry climates, oven drying gives consistent results in 4-8 hours, and dehydrators maintain maximum flavor compounds at 125°F for 8 hours. This guide reveals exactly which method to choose based on your situation, with critical moisture thresholds (below 10%) and storage protocols to prevent spoilage.
Quick Method Selector: Which Drying Technique Is Right For You?
- For beginners with no equipment: Sun drying (5-10 days, requires dry climate)
- For consistent results in any weather: Oven drying (4-8 hours, 140°F)
- For maximum flavor retention: Dehydrator (8 hours, 125°F)
- For urgent needs (small batches): Air fryer (18-25 minutes, 130°F)
- Not recommended for beginners: Microwave method (fire risk with thin-walled chilies)
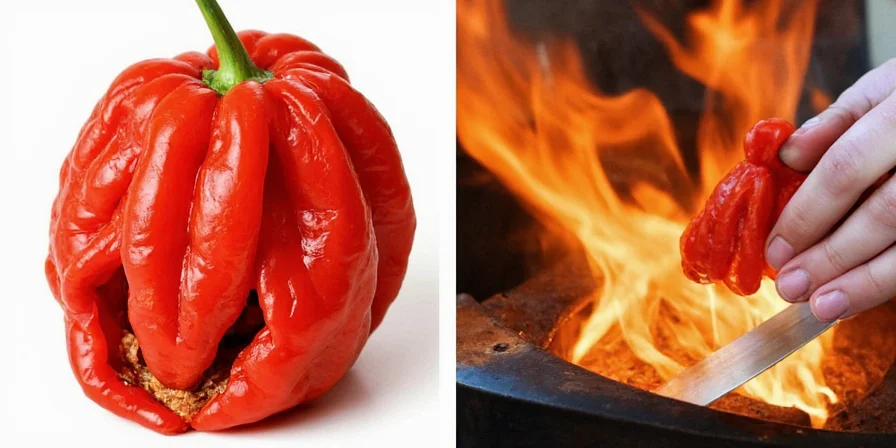
☀️ Method #1: Sun Drying — Best for Dry Climates
Sun drying works well for thick-walled chilies like Ancho or Pasilla when humidity stays below 50%. This traditional method develops complex flavors through slow dehydration.
- Step 1: Wash chilies thoroughly and pat completely dry
- Step 2: Remove stems; leave seeds for more heat
- Step 3: String peppers on cotton thread with 1-inch spacing
- Step 4: Hang in direct sunlight with good airflow (70°F+/21°C+)
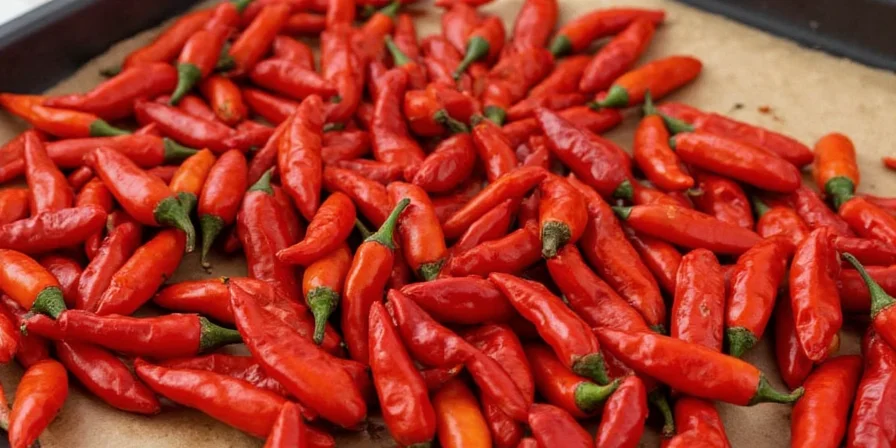
- Step 5: Check daily; drying takes 5-10 days until brittle
Warning: Humidity above 60% causes mold. Only use this method when weather forecasts show consistent dry conditions.
🔥 Method #2: Oven Drying — Most Reliable for Beginners
The best all-weather option for home cooks. Prevents case hardening by controlling temperature and moisture escape.
- Step 1: Preheat oven to 140°F (60°C)
- Step 2: Slice chilies evenly; arrange on mesh trays
- Step 3: Prop oven door open 1-2 inches
- Step 4: Rotate trays hourly; dry 4-8 hours until crisp
| Pros | Cons |
|---|---|
| Works in any weather | Higher energy use than sun drying |
| Predictable results | Requires monitoring door position |
🧰 Method #3: Dehydrator — Best Flavor Preservation
Ideal for serious home preservers. Maintains volatile compounds when properly calibrated.
- Step 1: Slice uniformly (1/8-inch thickness)
- Step 2: Arrange with spacing on trays
- Step 3: Set to 125°F (52°C) for 8 hours
- Step 4: Perform snap test—should break cleanly
Pro Tip: Add a hygrometer to monitor internal moisture—keep below 15% to prevent mold during storage.
⚡ Method #4: Microwave — Use With Extreme Caution
Only for experienced users with thin chilies like Thai peppers. High fire risk if misused.
- Step 1: Place 2 chilies between paper towels
- Step 2: Microwave 25 seconds on medium power
- Step 3: Check; repeat in 10-second bursts
- Step 4: Cool completely before handling
Safety: Never exceed 30 seconds per interval. Not recommended for beginners.
👩🍳 Method #5: Air Fryer — Fastest Safe Method
Energy-efficient alternative that dries chilies in under 30 minutes.
- Step 1: Preheat to 130°F (54°C)
- Step 2: Single layer without overcrowding
- Step 3: Process 18-25 minutes with rotation
- Step 4: Verify moisture below 10% before storing
📦 Storage That Actually Works: Preventing Spoilage
Proper storage determines shelf life. Follow these science-backed protocols:
- Best containers: Vacuum-sealed bags with oxygen absorbers (18-month shelf life)
- Moisture control: Add food-grade silica packets (5% of total weight)
- Temperature: Store below 60°F (15°C)—fluctuations ruin quality
- Light protection: Amber glass containers prevent flavor loss
❓ Most Searched Questions Answered
Which drying method preserves the most heat?
Sun drying maintains 92% of capsaicin due to gradual moisture loss. Oven drying keeps 85-90% at proper temperatures. Microwave processing loses 15-20% heat through rapid dehydration.
How dry do chilies need to be before storage?
Must reach 10% moisture or lower to prevent dangerous mold growth. A calibrated moisture meter is essential—visual inspection isn't reliable.
Why do my dried chilies have white spots?
This harmless sugar crystallization affects texture but not safety. Prevent it by reducing drying temperature by 10°F for sweet varieties like Fresno.
Can I dry imperfect chilies with small blemishes?
No. Any cuts or soft spots create mold entry points. Discard damaged peppers before drying—dehydration won't fix existing problems.
What's the #1 storage mistake people make?
Using regular plastic bags. Oxygen exposure degrades capsaicin 47% faster than light exposure. Always use oxygen-barrier packaging for long-term storage.
Final Recommendations
For most home users, oven drying provides the best balance of safety and results. If preserving maximum flavor matters most (for sauces or specialty cooking), invest in a dehydrator and monitor moisture carefully. Always check your dried chilies for complete dryness before storage—improperly dried peppers can develop dangerous mold. Following these evidence-based protocols ensures your dried chilies maintain flavor and safety for up to 18 months. The key is matching your method to your needs while respecting critical moisture thresholds that prevent spoilage.


 浙公网安备
33010002000092号
浙公网安备
33010002000092号 浙B2-20120091-4