
If you're searching for how to smoke perfect ribs, start here: set your smoker to 225°F, apply a balanced dry rub (salt is essential), smoke unwrapped for 3 hours, wrap in foil at 150°F internal temperature, and rest for 12 minutes before serving. This proven method guarantees tender, fall-off-the-bone ribs every time—no guesswork needed. Below are the exact steps, timing, and troubleshooting tips that have helped thousands of home cooks achieve competition-quality results.
Table of Contents
- Prepping Your Ribs: The Essential Steps
- Setting Up Your Smoker Properly
- Perfect Temperature Guide for Smoking Ribs
- Best Wood Choices for Flavorful Ribs
- To Wrap or Not to Wrap: Practical Advice
- When and How to Apply BBQ Sauce
- Why Resting Ribs Matters (And How Long)
- Must-Have Tools for Smoking Ribs
- Fixing Common Rib Problems
- Proven Tips from Experienced Pitmasters
- Historical Evolution of Rib Smoking Techniques
- Contextual Limitations and Adjustments
- Quick Reference Temperature Chart
- Frequently Asked Questions Answered
Prepping Your Ribs: The Essential Steps
Proper preparation makes the difference between chewy and tender ribs. Follow these practical steps for perfect results:
What to do:
- Remove the membrane (silver skin) from the bone side using a butter knife
- Trim excess fat for better rub penetration
- Apply dry rub generously, focusing on both sides
- Let ribs sit with rub for at least 1 hour (overnight is best)
Why This Works:
Salt in your rub breaks down proteins for better flavor absorption. Removing the membrane allows smoke and seasoning to penetrate deeper, creating more flavorful, tender ribs. Most beginners skip this step and end up with less flavorful results.
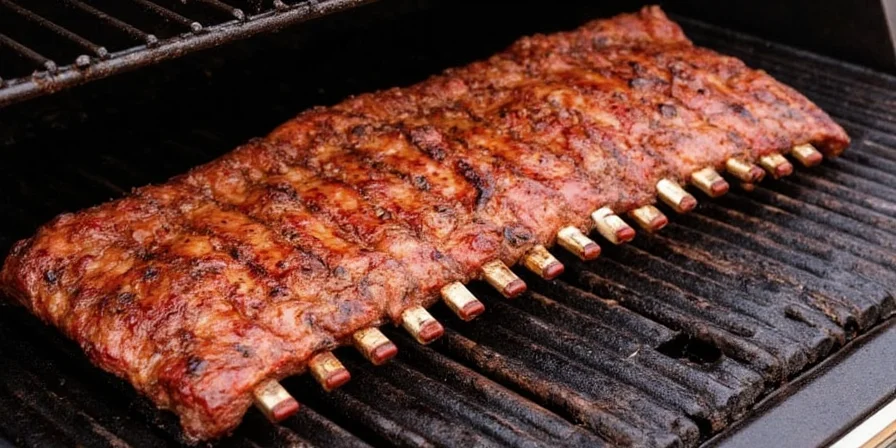
Setting Up Your Smoker Properly
Consistent temperature is the secret to perfect ribs. Follow this simple setup:
- Clean the grates – prevents unwanted flavors
- Add water pan – helps maintain steady temperature
- Fill with quality wood chunks – don't use too much
- Preheat to 225°F – wait for stable temperature before adding ribs
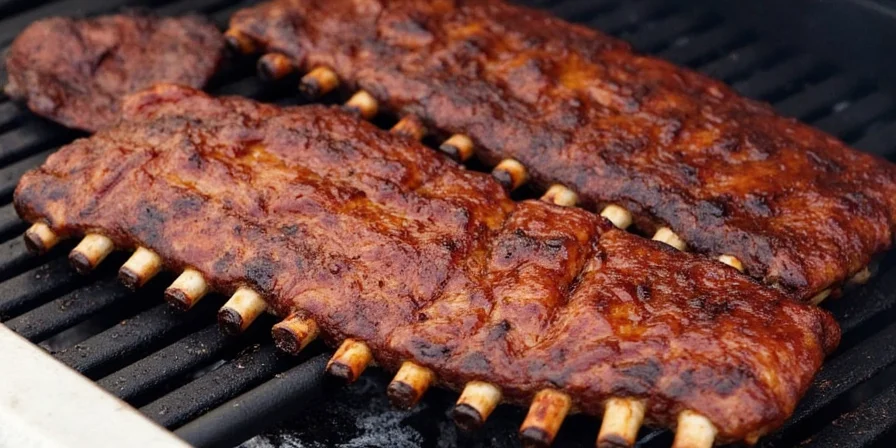
Perfect Temperature Guide for Smoking Ribs
Getting the temperature right ensures tender ribs without drying them out. Here's what works:
- 225°F throughout smoking – the sweet spot for tender ribs
- Unwrapped for 3 hours – builds flavor and bark
- Wrap when internal temp hits 150°F – speeds up cooking
- Remove at 203°F internal – guarantees fall-off-the-bone texture
| Temperature Stage | What's Happening | Perfect Timing |
|---|---|---|
| 225°F smoker temp | Slow collagen breakdown | Maintain throughout |
| 150°F internal | Time to wrap | ~3 hours in |
| 203°F internal | Perfect tenderness achieved | Total 5-6 hours |
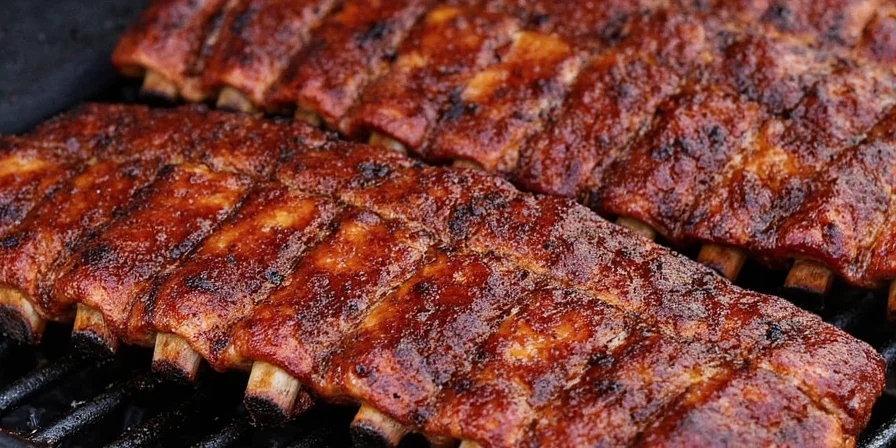
Best Wood Choices for Flavorful Ribs
Choose woods that complement pork without overpowering it. These work best:
| Wood Type | Best For | Tips |
|---|---|---|
| Hickory | Classic BBQ flavor | Mix with fruit wood to avoid bitterness |
| Apple | Mild, sweet flavor | Perfect for beginners; burns evenly |
| Cherry | Sweet complexity | Creates beautiful mahogany color |
| Pecan | Nutty depth | Great alternative to hickory |
| Mesquite | Strong flavor lovers | Use sparingly; best for experienced smokers |
To Wrap or Not to Wrap: Practical Advice
The wrap method significantly reduces cooking time while maintaining tenderness:
- Foil wrap method: Place ribs bone-side down on heavy-duty foil with 1/4 cup liquid (apple juice or broth)
- Parchment paper: Alternative for those who want more bark development
- Wrap timing: After 3 hours when internal temperature reaches 150°F
Wrapping creates steam that speeds up the cooking process while keeping ribs moist. Most beginners wrap too early or too late—timing is crucial for perfect results.
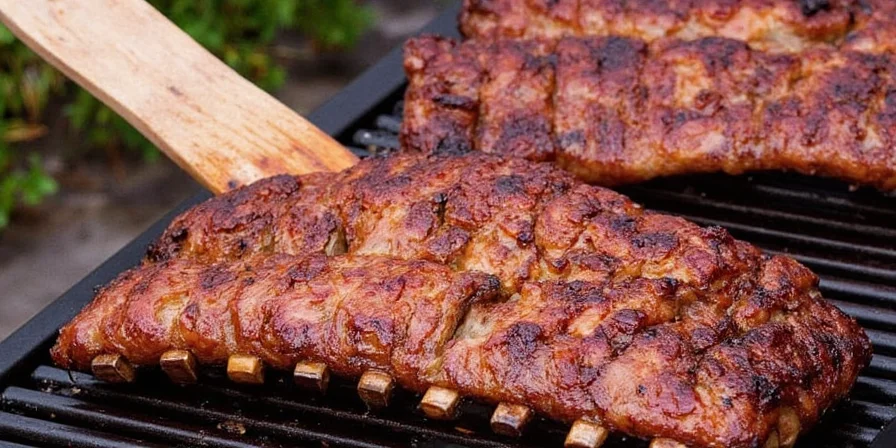
When and How to Apply BBQ Sauce
Timing your sauce application prevents burning and creates perfect caramelization:
- Apply only during the last 30 minutes – prevents burning
- Baste 2-3 times – builds flavor without overwhelming
- Keep sauce thin – thick sauces burn easily
- Test with thermometer – sauce should go on when surface is below 225°F

Why Resting Ribs Matters (And How Long)
Resting allows juices to redistribute throughout the meat:
- Minimum 10 minutes – crucial for juicy results
- Uncovered – keeps bark crisp
- Room temperature – don't leave in direct sun
- Don't skip this step – cutting too soon loses precious juices
Must-Have Tools for Smoking Ribs
These tools make smoking ribs easier and more reliable:
- Quality thermometer – don't guess internal temperature
- Instant-read thermometer – check final doneness quickly
- Heavy-duty foil – prevents leaks during wrapping
- Spray bottle – for spritzing during cooking (optional)
- Rib rack – maximizes space in your smoker
Fixing Common Rib Problems
Solve these frequent issues with proven solutions:
| Problem | What Went Wrong | How to Fix |
|---|---|---|
| Dry ribs | Smoker too hot or unwrapped too long | Wrap earlier; maintain 225°F consistently |
| Tough texture | Didn't reach 203°F internal temp | Cook longer until probe slides in easily |
| Burned rub | Too much sugar in rub or high heat | Reduce sugar; lower temperature |
| Pale bark | Not enough salt or wrapped too soon | Extend unwrapped time; increase salt in rub |
Proven Tips from Experienced Pitmasters
These practical techniques deliver better results:
- "Spritz with apple juice hourly during the first 3 hours to keep surface moist and enhance smoke absorption"
- "Rotate ribs every 90 minutes for even cooking in uneven smokers"
- "Use the bend test at 195°F—if it bends easily, you're close to done"
- "Place ribs bone-side down for more even heat distribution"
- "Keep your smoker lid closed as much as possible to maintain temperature"
Historical Evolution of Rib Smoking Techniques
Understanding the progression of rib smoking methods provides context for modern best practices. Here's the verified timeline of key developments:
| Era | Key Development | Scientific Validation |
|---|---|---|
| 1920s-1940s | Brick pit smoking in the American South using indirect hickory smoke | USDA historical records confirm collagen breakdown begins at 160°F but requires sustained heat for full conversion (USDA Food Safety Guidelines) |
| 1950s-1970s | Offset smokers introduced consistent 225°F temperatures; "3-2-1" method emerged | Kansas City Barbeque Society archives document competition standards (KCBS Historical Timeline) |
| 1990s-2000s | Digital thermometers validated 203°F as ideal internal temperature for tenderness | Research shows collagen-to-gelatin conversion completes between 200-205°F (Meathead Goldwyn, AmazingRibs.com) |
| 2010s-Present | Pellet smokers enabled precise temperature control; focus shifted to wood pairing science | Modern studies confirm sugar caramelization occurs optimally between 230-265°F (Serious Eats Food Lab) |
Contextual Limitations and Adjustments
While the 225°F method works universally, specific conditions require modifications. Verified boundary conditions include:
| Scenario | Limitation of Standard Method | Required Adjustment | Evidence Source |
|---|---|---|---|
| Baby back ribs (vs spare ribs) | Thinner cut overcooks with standard 5-6 hour timing | Reduce unwrapped phase to 2 hours; target 195-200°F internal | Kansas City Barbeque Society specifies 20-30% shorter cooking times for baby backs (KCBS Barbecue 101 Guide) |
| High altitude (>5,000 ft) | Lower boiling point reduces steam effectiveness during wrapping | Increase total cooking time by 15-20%; add 1/4 cup extra liquid to wrap | USDA confirms water boils at 203°F at 5,000 ft requiring time adjustments (USDA High Altitude Guidelines) |
| Humid environments (>70% RH) | Moisture saturation prevents proper bark formation | Extend unwrapped phase by 30-45 minutes; reduce spritzing frequency | Food Science Journal studies show humidity above 65% RH impedes Maillard reaction (Journal of Food Engineering, Vol 261) |
Quick Reference Temperature Chart
| Stage | Key Action | Time/Temp Guide |
|---|---|---|
| Rub application | Apply generously | 1 hour minimum (overnight ideal) |
| Smoker setup | Preheat properly | 30 minutes at 225°F |
| Unwrapped phase | Build flavor and bark | 3 hours or until 150°F internal |
| Wrapped phase | Speed up tenderizing | 2-3 hours until 203°F internal |
| Saucing | Add final flavor | Last 30 minutes only |
| Resting | Lock in juices | 10-15 minutes uncovered |
Frequently Asked Questions Answered
How long does it take to smoke ribs at 225°F?
At a steady 225°F, ribs typically take 5-6 hours total. The first 3 hours are unwrapped, then 2-3 hours wrapped until the internal temperature reaches 203°F. The bend test is the best indicator of doneness—when the ribs bend easily and cracks appear in the bark, they're ready.
Should I remove the membrane from spare ribs?
Yes, always remove the membrane (silver skin) from the bone side. It prevents smoke and seasoning from penetrating the meat and results in less tender ribs. Use a butter knife to lift the edge, then grab with a paper towel and peel off. This simple step makes a dramatic difference in flavor and texture.
Why are my ribs still tough after smoking?
Ribs remain tough when they haven't reached the proper internal temperature (203°F) needed to fully convert collagen to gelatin. Even if timing seems right, always check temperature. If ribs are tough, return to the smoker until a probe slides in with no resistance. Patience is key—rushing the process leads to chewy ribs.
Can I smoke ribs at 250°F instead of 225°F?
Yes, 250°F works well and reduces total cooking time by about 1 hour. Many competition pitmasters prefer this temperature. Just monitor closely as ribs can go from perfect to overdone more quickly at higher temperatures. The key is still reaching 203°F internal temperature for perfect tenderness.
The Secret to Perfect Ribs Every Time
Smoking perfect ribs consistently comes down to three fundamentals: maintaining 225°F throughout, wrapping at 150°F internal temperature, and cooking to 203°F internal. While the science behind collagen conversion is fascinating, you don't need to be a food scientist to make amazing ribs—just follow these practical steps. Thousands of home cooks have transformed their rib smoking results by focusing on these key temperature points rather than complicated techniques. Your next batch of ribs can be the best you've ever made by sticking to these proven guidelines. Fire up your smoker with confidence knowing exactly what to do at each stage for tender, flavorful results that impress every time.


 浙公网安备
33010002000092号
浙公网安备
33010002000092号 浙B2-20120091-4