
Knowing exactly when to dig garlic separates successful harvests from disappointing yields. As a gardener, you've invested months of care into your garlic crop, and harvesting at the perfect moment determines whether you'll enjoy plump, well-formed bulbs or small, underdeveloped cloves. This comprehensive guide reveals the precise visual indicators, regional variations, and step-by-step techniques that guarantee successful garlic harvesting every season.
Recognizing Garlic Maturity: What Your Plants Are Telling You
Garlic doesn't come with a calendar notification when it's ready—instead, your plants provide clear visual signals. The most reliable indicator is leaf condition. As garlic approaches maturity, the lower leaves begin turning brown while the upper leaves remain green. When approximately 40-50% of the leaves have dried (typically 5-6 green leaves remaining), your bulbs have reached full size and are ready for harvest.
This "60% rule" (60% of leaves still green) works consistently across most garlic varieties. Check your plants daily during the expected harvest window, as conditions can change rapidly. Morning is the best time for inspection when dew hasn't yet dried, making color changes more apparent.
| Leaf Condition | Bulb Development | Recommended Action |
|---|---|---|
| 6+ green leaves remaining | Bulbs still developing | Wait 7-10 days |
| 5-6 green leaves remaining | Optimal bulb size | Harvest within 3-5 days |
| 3-4 green leaves remaining | Cloves beginning to separate | Harvest immediately |
| Fewer than 3 green leaves | Over-mature, poor storage | Harvest and use promptly |
This comparison shows why precise timing matters—harvest too early and bulbs won't reach full size; harvest too late and cloves may separate, reducing storage life. The sweet spot delivers bulbs with tight skins and well-defined cloves.
Regional Harvesting Timelines: When to Dig Garlic in Your Area
Garlic harvesting windows vary significantly by climate zone. Understanding your regional pattern prevents missed opportunities:
- Northern regions (USDA zones 3-5): Late July to early August for hardneck varieties; softnecks harvested slightly later in August
- Midwestern regions (USDA zones 5-7): Mid to late July for hardnecks; softnecks ready late July through early August
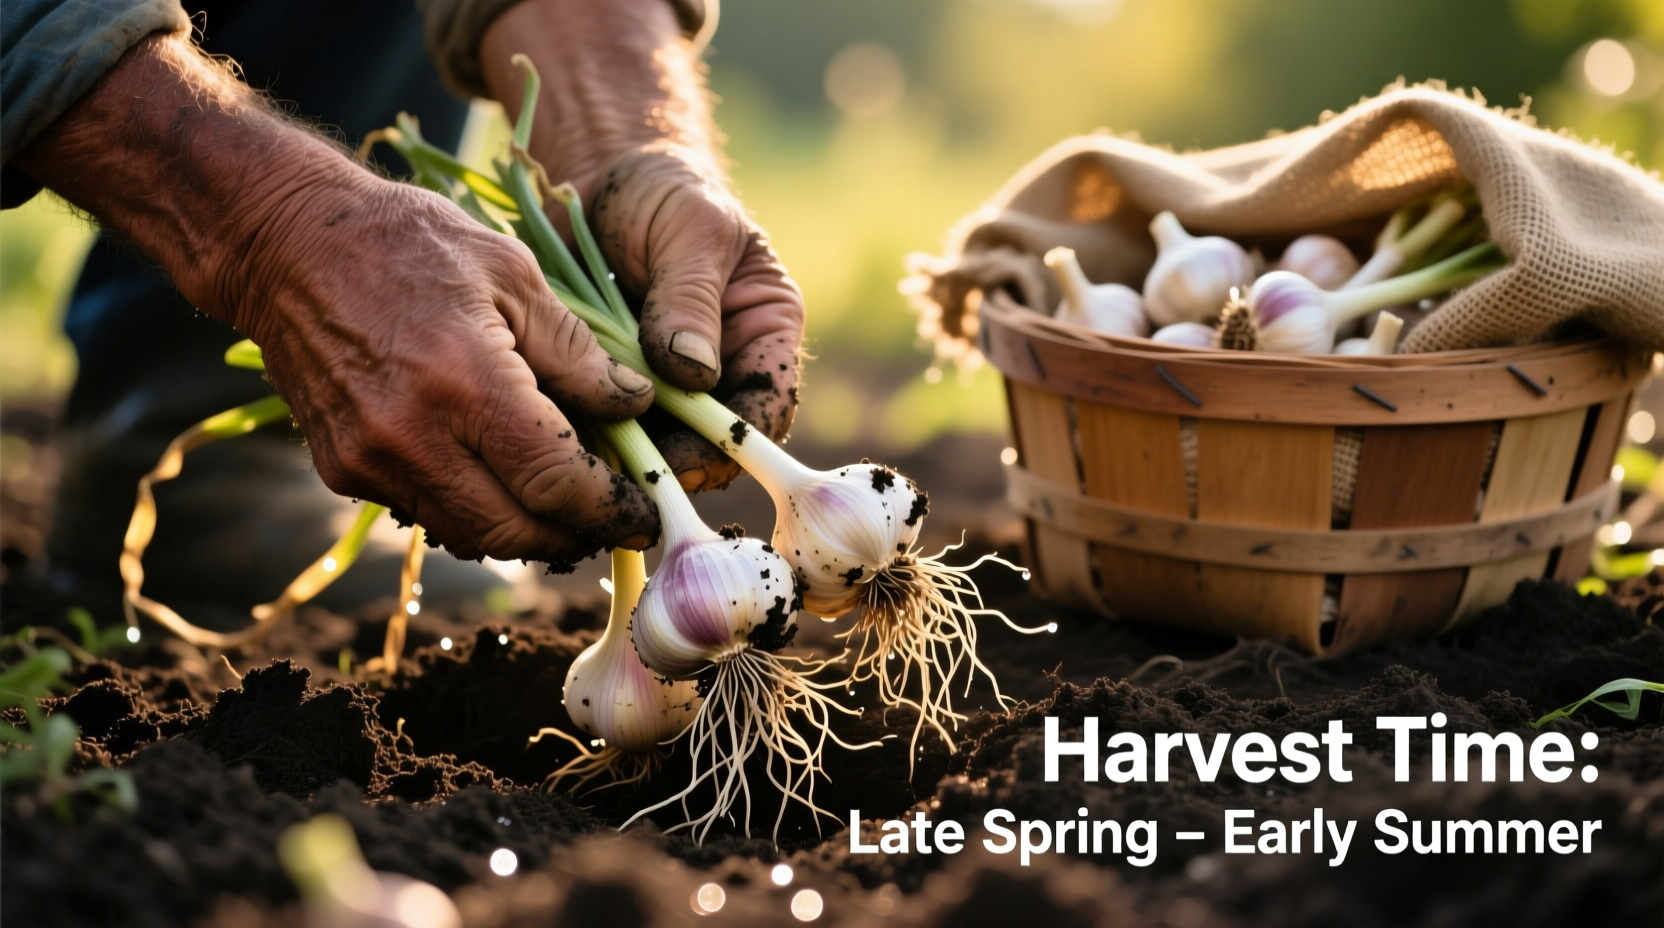
- Southern regions (USDA zones 7-9): May to June for most varieties, with some softnecks ready as early as late April
- Coastal regions: Harvest timing shifts based on microclimates—coastal California garlic often ready in June, while Pacific Northwest crops mature in July
These regional variations reflect how temperature and daylight hours affect bulb development. In warmer climates, garlic matures faster and requires earlier harvesting to prevent over-maturity.

The Step-by-Step Garlic Harvesting Process
When your garlic shows the right maturity signs, follow this proven harvesting sequence:
- Stop watering 1-2 weeks before harvest—this helps dry the soil and begin the curing process
- Choose a dry morning after several days without rain for optimal digging conditions
- Loosen soil around bulbs using a garden fork inserted 6-8 inches from the plant base
- Lift bulbs gently by levering the fork toward you—never pull by the stems
- Shake off excess soil but don't wash bulbs at this stage
- Leave stems intact for proper curing—trim only after complete drying
Proper technique prevents common harvesting mistakes like stem breakage or bulb bruising that compromise storage potential. The entire process should take 15-20 minutes per 10-foot row when conditions are right.
Avoiding Critical Harvesting Mistakes
Even experienced gardeners sometimes make these garlic harvesting errors:
- Harvesting during wet conditions—leads to mold during curing; wait for dry weather
- Using excessive force when digging—causes bruising that invites rot
- Cutting stems too early—reduces nutrient transfer during curing
- Washing bulbs immediately—traps moisture that promotes decay
- Ignoring regional timing differences—applying northern harvest schedules in southern zones
These mistakes can reduce your storage life by 50% or more. The most common error—harvesting too early—results in smaller bulbs with underdeveloped wrappers that don't store well. Conversely, waiting too long causes cloves to separate, making bulbs unsuitable for long-term storage.
Post-Harvest Curing: The Secret to Long-Lasting Garlic
Proper curing transforms freshly dug garlic into storage-ready bulbs. Follow this professional curing protocol:
- Hang bundles of 8-10 plants in a well-ventilated, shaded area with temperatures between 75-85°F
- Maintain good air circulation—use fans if necessary in humid climates
- Cure for 2-3 weeks until outer wrappers become papery and roots dry
- Trim stems to 1-2 inches and roots to ¼ inch after complete drying
- Store in mesh bags or ventilated containers at 55-65°F with 60-70% humidity
Hardneck varieties typically store for 4-6 months under proper conditions, while softnecks can last 8-10 months. Regularly check stored garlic for signs of sprouting or soft spots, removing any compromised bulbs immediately.
Troubleshooting Common Garlic Harvest Issues
Even with careful planning, gardeners sometimes encounter these challenges:
- Small bulbs despite proper timing: Could indicate overcrowding, poor soil nutrition, or variety selection mismatched to your climate
- Early leaf dieback: May signal pest issues (like nematodes) or disease—inspect bulbs for damage
- Split wrappers: Usually caused by rapid moisture changes before harvest—still edible but use first
- Green sprouts inside cloves: Indicates storage temperature is too warm—move to cooler location
Understanding these issues helps refine your approach for future seasons. For example, if you consistently get small bulbs, consider testing your soil and adjusting fertility before planting next season's crop.
Planning for Next Year's Harvest
Successful garlic growing is a year-round commitment. After harvesting this season's crop, begin planning for next year:
- Save your largest, best-formed bulbs for replanting
- Rotate planting locations to prevent disease buildup
- Prepare soil with compost and balanced fertilizer 4-6 weeks before fall planting
- Track your harvest dates and conditions for future reference
Documenting your garlic harvesting season patterns creates a personalized timeline that becomes increasingly accurate with each growing year. Many successful garlic growers maintain detailed journals noting planting dates, weather patterns, and harvest results to refine their timing annually.


 浙公网安备
33010002000092号
浙公网安备
33010002000092号 浙B2-20120091-4