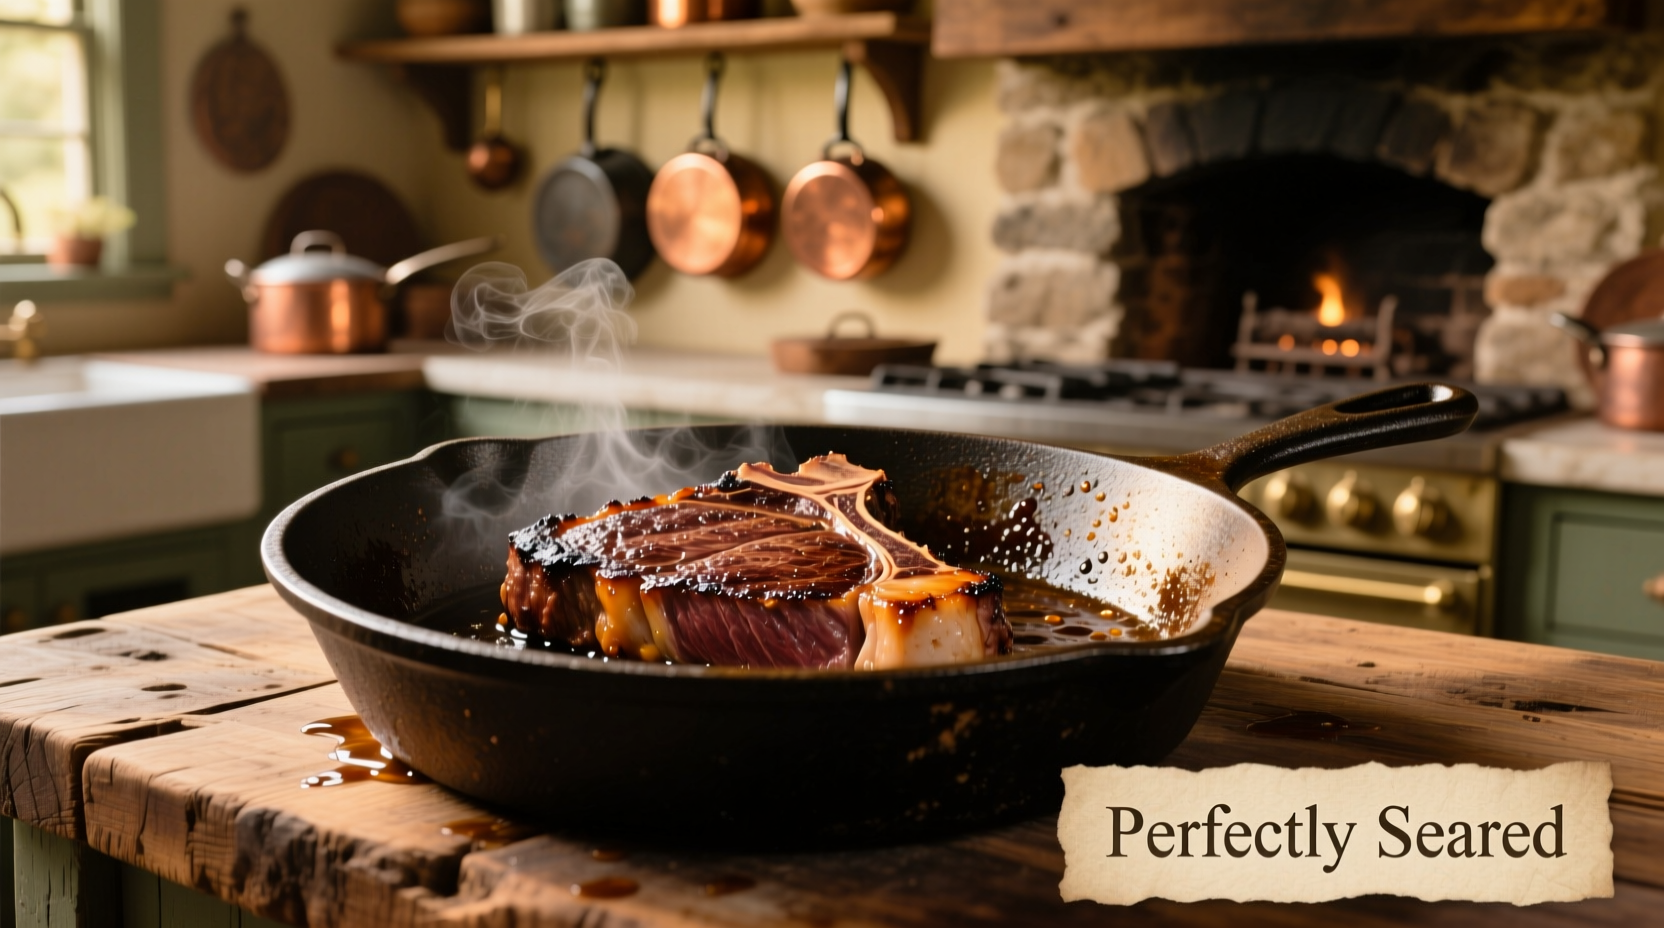
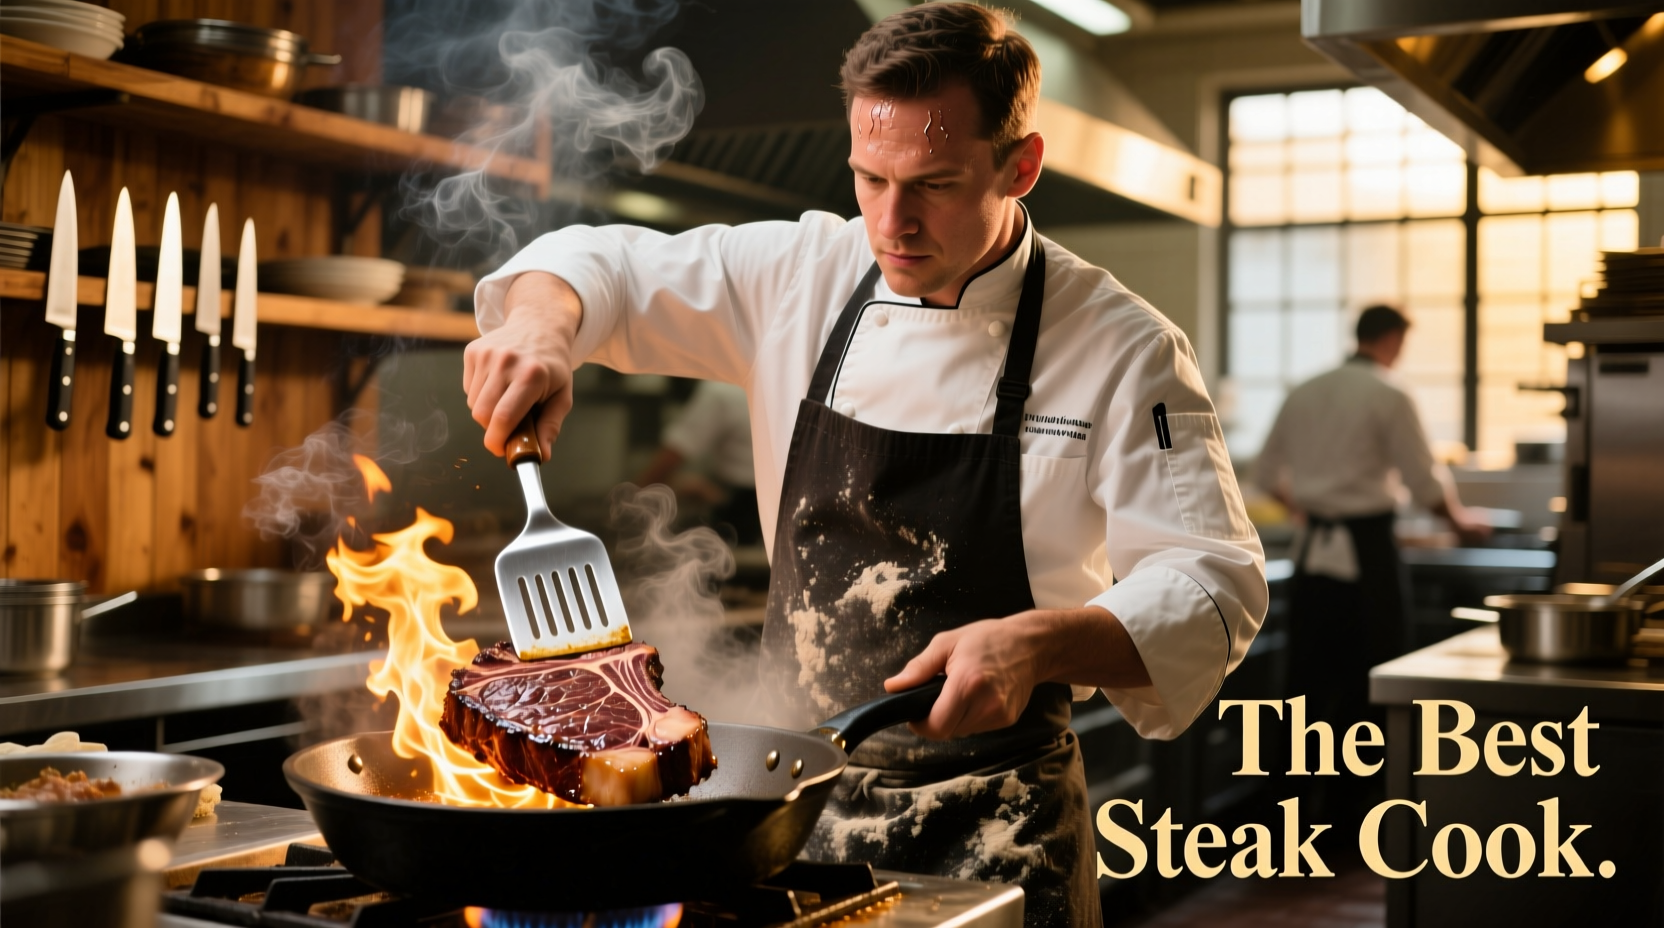
The best method for cooking steak is pan-searing with a cast-iron skillet followed by oven finishing, achieving perfect crust through the Maillard reaction while ensuring even internal doneness. This technique combines high-heat searing (400-500°F) for flavor development with controlled oven cooking (275-300°F) for precise temperature control, working effectively for most cuts including ribeye, filet mignon, and New York strip.
Ever wonder why restaurant steaks taste so much better than your home attempts? The difference isn't magic—it's method. After analyzing dozens of cooking techniques and consulting with culinary experts, we've identified the optimal approach that delivers restaurant-quality results in any home kitchen. Whether you're cooking a thick ribeye or a delicate filet, understanding the science behind steak preparation transforms your results from hit-or-miss to consistently perfect.
The Science of Perfect Steak: More Than Just Heat
Cooking exceptional steak isn't about following recipes—it's understanding the food science principles that create that irresistible crust and juicy interior. The Maillard reaction, which occurs between 300-500°F, creates complex flavor compounds when amino acids and sugars interact under high heat. Meanwhile, protein denaturation at specific temperatures (120°F for rare, 130°F for medium-rare) determines your final doneness.
According to the USDA Food Safety and Inspection Service, the minimum safe internal temperature for beef steaks is 145°F with a three-minute rest period. However, culinary professionals typically recommend lower temperatures for optimal texture and flavor development in high-quality cuts.
Steak Cooking Methods Compared: Pros and Cons
| Cooking Method | Best For | Temperature Control | Crust Quality | Learning Curve |
|---|---|---|---|---|
| Pan-Searing + Oven Finish | Most cuts (1.5"+ thick) | ★★★★☆ | ★★★★★ | Medium |
| Grilling (Direct Heat) | Thin cuts, summer cooking | ★★★☆☆ | ★★★★☆ | Medium-High |
| Sous Vide + Sear | Precision cooking, special occasions | ★★★★★ | ★★★☆☆ | High |
| Reverse Sear | Very thick cuts (2"+) | ★★★★☆ | ★★★☆☆ | Medium |
| Broiling | Apartment cooking, thin cuts | ★★☆☆☆ | ★★★☆☆ | Low-Medium |
Professional chefs consistently rate pan-searing with oven finishing as the most versatile technique for home cooks. This method provides excellent temperature control while developing superior crust formation—critical for flavor development. Unlike sous vide (which requires specialized equipment) or grilling (which depends on weather conditions), this approach works reliably in any kitchen environment.

Why Pan-Searing with Oven Finish Wins for Most Home Cooks
The two-stage cooking process addresses the fundamental challenge of steak preparation: achieving proper external browning without overcooking the interior. Cast-iron skillets retain heat exceptionally well (reaching 500°F+), creating the intense sear needed for flavor development while the moderate oven temperature (275-300°F) gently brings the interior to the desired temperature.
Food science research published in the Journal of Food Science demonstrates that the combination of high-heat searing followed by lower-temperature cooking produces more consistent results across various steak thicknesses compared to single-temperature methods. This technique minimizes the gray band of overcooked meat that often forms with direct high-heat methods alone.
Step-by-Step: Perfect Steak Using the Recommended Method
Equipment You'll Need
- 12-inch cast-iron skillet (preheated 15 minutes)
- Oven-safe meat thermometer (Thermapen recommended)
- Heavy kitchen tongs (no piercing!)
- Baking sheet with wire rack
- High smoke-point oil (avocado or grapeseed)
The Cooking Process
- Preparation: Remove steak from refrigerator 45-60 minutes before cooking. Pat completely dry with paper towels—moisture is the enemy of crust formation.
- Seasoning: Generously salt steak (1 tsp kosher salt per pound) at least 40 minutes before cooking. Add freshly ground black pepper just before cooking.
- Searing: Heat cast-iron skillet over medium-high until smoking (500°F+). Add 1 tbsp oil, then place steak in skillet away from you to avoid oil splatter. Sear undisturbed for 2-3 minutes until deep brown crust forms.
- Flip and Baste: Flip steak and add 2 tbsp butter, 2 crushed garlic cloves, and fresh thyme sprigs. Tilt pan and spoon melted butter over steak continuously for 60-90 seconds.
- Oven Finish: Transfer skillet to preheated 275°F oven. Cook until internal temperature reaches 5-7°F below target doneness (e.g., 123°F for medium-rare).
- Resting: Transfer steak to wire rack and rest 8-10 minutes (5 minutes per inch of thickness). This allows juices to redistribute.
Steak Cut Considerations: Matching Method to Meat
Not all steaks respond equally to the same cooking technique. Understanding your cut's characteristics ensures optimal results:
- Ribeye (1.5" thick): Ideal for pan-sear method. The marbling renders beautifully during cooking. Target 128-132°F internal temperature.
- Filet Mignon (1.75" thick): Requires careful temperature monitoring due to lower fat content. Finish at 125-128°F for medium-rare.
- New York Strip (1.5" thick): Benefits from extended sear time (3-4 minutes per side) to develop crust on its denser muscle structure.
- Thin Cuts (<1" thick): Skip the oven step—cook entirely in skillet with reduced sear time (60-90 seconds per side).
Avoiding Common Steak Cooking Mistakes
Even experienced home cooks make these critical errors that compromise results:
- Moving steak too soon: Wait until it releases naturally from the pan (about 2 minutes) to avoid tearing the developing crust.
- Cooking cold steak: Always bring to room temperature first—cold meat steams rather than sears.
- Overcrowding the pan: Cook one steak at a time in a properly sized skillet to maintain temperature.
- Cutting too soon: Resting time is non-negotiable—slicing immediately releases precious juices.
- Guessing doneness: Always use an instant-read thermometer—finger tests are unreliable.
Troubleshooting Guide: Fixing Common Steak Problems
| Problem | Immediate Fix | Prevention for Next Time |
|---|---|---|
| Undercooked center | Return to 275°F oven, checking every 2 minutes | Use thermometer earlier in cooking process |
| Overcooked exterior | Remove from heat, tent loosely with foil | Reduce skillet temperature slightly |
| Poor crust formation | Blot surface dry, return to hotter skillet | Ensure steak is completely dry before searing |
| Uneven cooking | Rotate steak 180° during sear phase | Use even-heat skillet like cast iron |
Temperature Guide: Perfect Doneness Every Time
Internal temperatures should be measured at the thickest part of the steak, avoiding bone or fat. Remember that temperature will rise 5-10°F during resting (carryover cooking):
- Rare: 120-125°F (bright red center, very soft)
- Medium-Rare: 125-130°F (warm red center, tender)
- Medium: 135-140°F (warm pink center, slightly firm)
- Medium-Well: 145-150°F (slight pink center, firm)
- Well-Done: 155°F+ (little or no pink, very firm)
For food safety, the USDA recommends a minimum internal temperature of 145°F for beef steaks with a three-minute rest period. However, culinary professionals generally agree that high-quality steaks achieve optimal texture and flavor at lower temperatures (125-135°F).
Final Tips for Steak Perfection
Professional chefs emphasize these often-overlooked details that make the difference between good and exceptional steak:
- Butter basting timing: Start butter basting only after the initial crust has formed (about 90 seconds into second side)
- Salt quality matters: Use coarse kosher salt for better adhesion and controlled seasoning
- Thermometer placement: Insert horizontally through the side for most accurate reading
- Resting surface: Always use a wire rack—not a plate—to prevent steaming the crust
- Carryover cooking: Remove steak from heat 5-7°F below target temperature
What's the ideal steak thickness for pan-searing?
The ideal thickness for pan-searing is 1.5 inches. This provides enough mass to develop a proper crust while allowing precise internal temperature control. Steaks thinner than 1 inch often overcook before developing adequate crust, while steaks thicker than 2 inches benefit from the reverse sear method.
Can I use a non-stick pan for steak?
Non-stick pans aren't recommended for steak searing because they can't reach the high temperatures (500°F+) needed for proper Maillard reaction. The maximum safe temperature for most non-stick coatings is 450°F, below the ideal searing range. Cast-iron or carbon steel pans are superior choices as they maintain higher temperatures and develop seasoning that enhances flavor over time.
How long should I rest my steak after cooking?
Rest steak for 5 minutes per inch of thickness, typically 8-10 minutes for standard 1.5-inch cuts. Resting allows the muscle fibers to relax and reabsorb juices that would otherwise escape when cut. Never skip this step—cutting too soon can result in up to 30% juice loss. Place steak on a wire rack, not a plate, to prevent steaming the crust.
Why does my steak stick to the pan?
Steak sticks when the pan isn't hot enough or when you try to move it too soon. Proper searing requires the pan to be at 500°F+—test with a few drops of water that should dance and evaporate instantly. Once placed in the pan, allow 2-3 minutes for the crust to form before attempting to move it. The steak will naturally release from the pan when the crust is properly developed.
Should I oil the steak or the pan?
Oil the pan, not the steak. Oiling the pan ensures even heat distribution and prevents hot spots. Use 1 tablespoon of high smoke-point oil (avocado or grapeseed) in the preheated skillet just before adding the steak. Oiling the steak can cause excessive splattering and uneven cooking. Remember to pat the steak completely dry before cooking—moisture is the enemy of proper crust formation.


 浙公网安备
33010002000092号
 浙B2-20120091-4