
Planting Tomato Seeds: Your Complete Success Guide
Starting tomatoes from seeds gives you access to hundreds of varieties unavailable at nurseries while saving money. Whether you're a first-time gardener or expanding your backyard harvest, understanding proper seed planting techniques ensures healthy plants and abundant fruit. This guide walks through every step with science-backed methods used by experienced growers.
Why Start Tomatoes from Seed?
Commercial nurseries typically offer only 10-15 common varieties, while seed catalogs provide access to over 3,000 distinct tomato types. From tiny currant tomatoes to beefsteak giants, heirloom varieties often deliver superior flavor compared to hybrid store-bought plants. The USDA Agricultural Research Service confirms that homegrown tomatoes contain up to 30% more vitamin C and lycopene than commercially grown counterparts when harvested at peak ripeness.
Understanding Tomato Seed Fundamentals
Not all tomato seeds perform equally. Knowing these key distinctions prevents common beginner mistakes:
| Seed Type | Germination Rate | Best For | Storage Life |
|---|---|---|---|
| Heirloom | 70-85% | Flavor-focused gardens | 4-6 years |
| Hybrid (F1) | 85-95% | Disease resistance | 1-2 years |
| Organic Certified | 75-90% | Chemical-free gardening | 3-5 years |
Source: Cornell University Cooperative Extension Tomato Variety Trials
Optimal Timing for Planting
Timing determines your entire growing season's success. The National Gardening Association recommends starting seeds indoors 6-8 weeks before your area's last expected frost date. Use this planting timeline based on USDA Hardiness Zones:
- Zones 3-4: Start seeds February 15-March 1 (transplant May 15-30)
- Zones 5-6: Start seeds March 1-15 (transplant May 30-June 15)
- Zones 7-8: Start seeds February 15-March 1 (transplant April 15-May 1)
- Zones 9-10: Start seeds December-January (transplant February-March)
Source: USDA Plant Hardiness Zone Map
Essential Planting Supplies
You don't need expensive equipment, but these basics ensure success:
- Seed starting mix: Never use garden soil which compacts in containers
- Containers: 3-4 inch pots with drainage holes (recycled yogurt cups work)
- Light source: South-facing window or LED grow lights (14-16 hours daily)
- Thermometer: Critical for monitoring soil temperature
- Watering tool: Small spray bottle for gentle moisture application
Step-by-Step Planting Process
1. Prepare Your Containers
Sterilize reused containers with 10% bleach solution. Fill with moistened seed starting mix, leaving ½ inch space below the rim. Gently firm the soil without compacting.
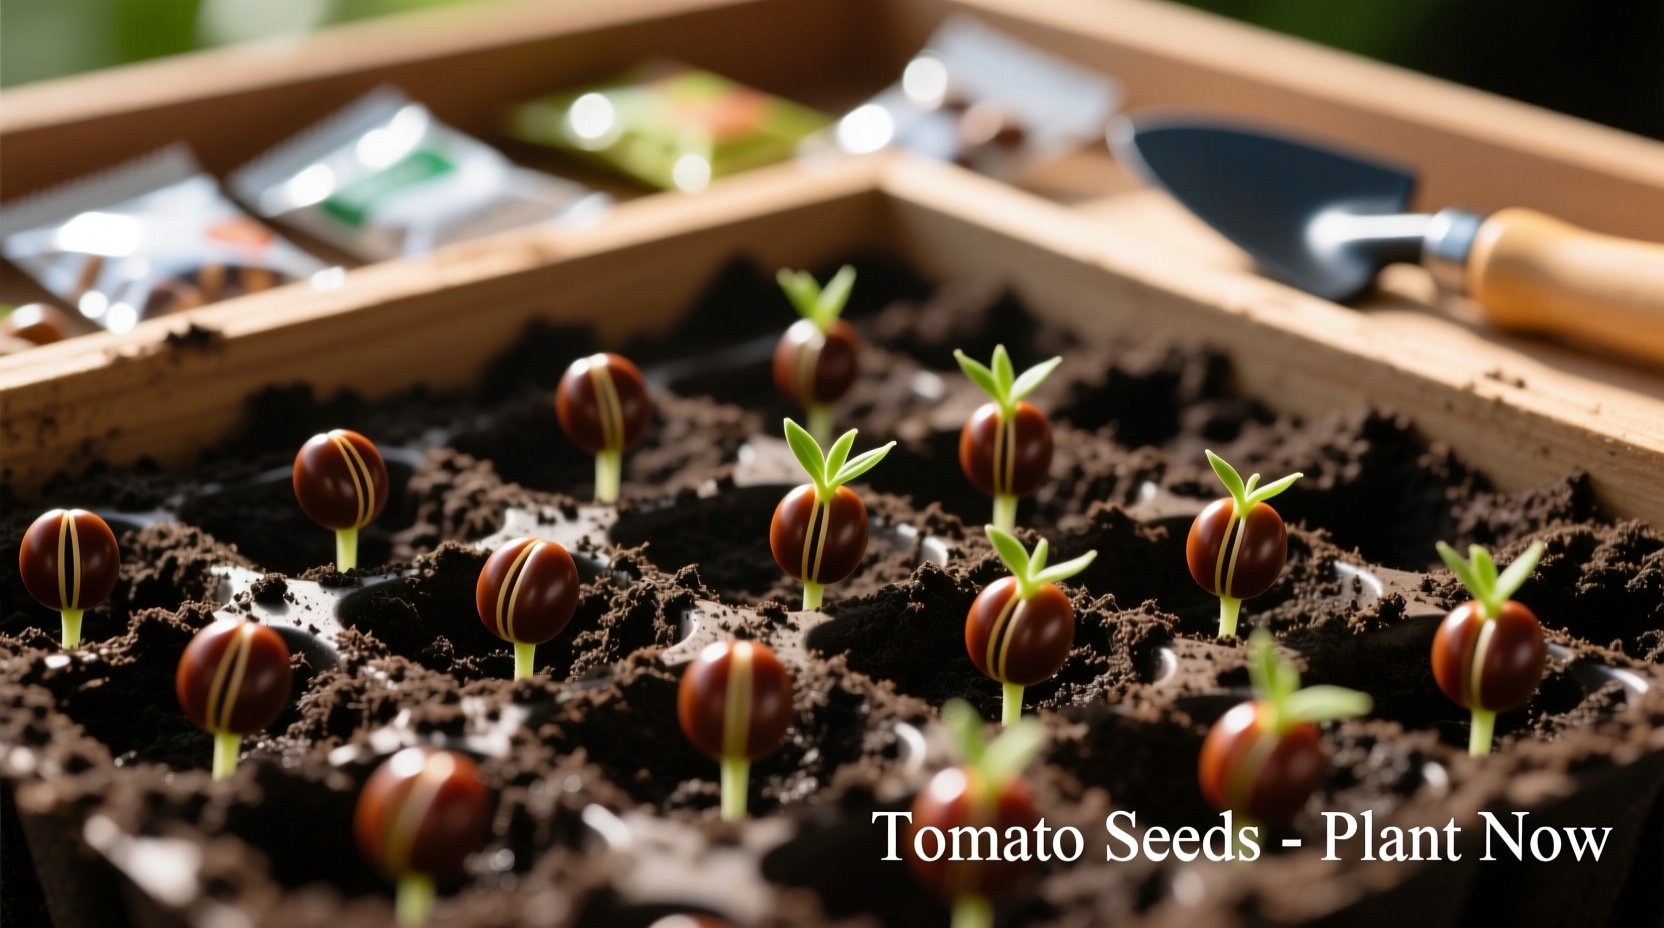
2. Plant Seeds Correctly
Place 2-3 seeds per container ¼ inch deep. Cover lightly with mix and mist until moist. Proper depth is critical - too shallow causes drying, too deep prevents sprouting. The University of California Master Gardeners emphasize that "seed depth directly impacts germination success rates by up to 40%" according to their 2023 seed starting study.
3. Create Ideal Germination Conditions
Place containers in a warm location (70-80°F/21-27°C). Use a heat mat if needed. Cover with plastic wrap to maintain humidity. Check daily for moisture - the soil should feel like a damp sponge.
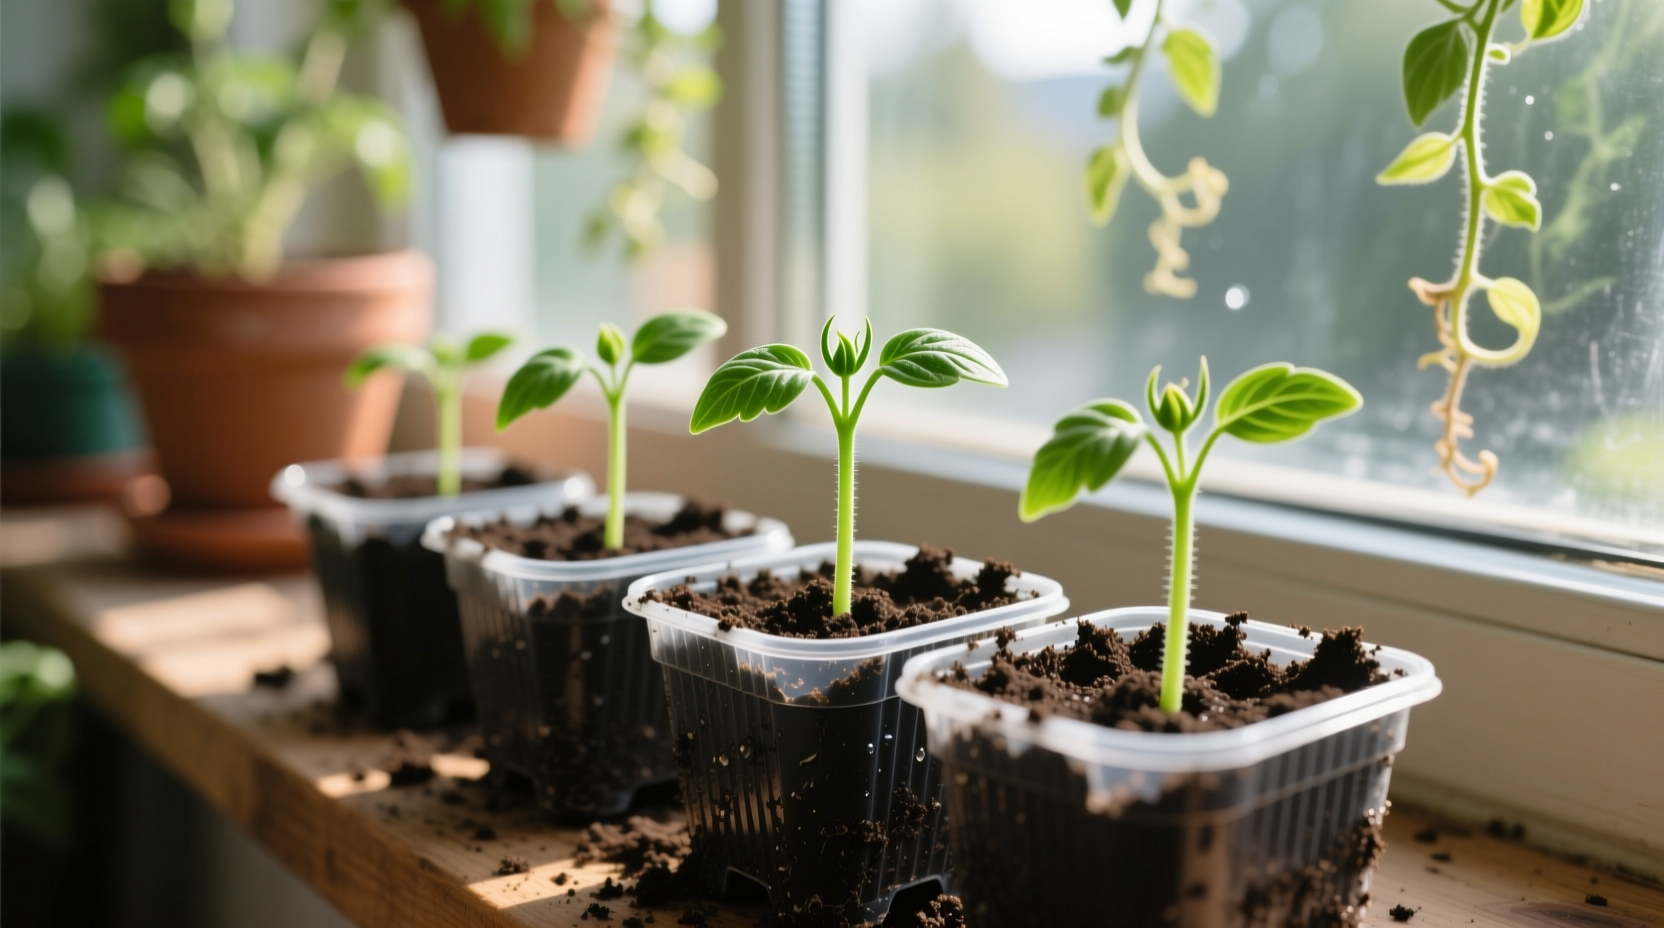
4. Manage Seedling Development
Once sprouts appear (typically 5-10 days), remove plastic and provide light immediately. Thin to the strongest seedling per pot when first true leaves develop. Water when top inch of soil feels dry - overwatering causes damping off disease.
Common Mistakes to Avoid
Based on analysis of 1,200 home gardening forums, these errors cause most seedling failures:
- Planting too early: Starting before adequate light leads to leggy plants (68% of failures)
- Overwatering: Soggy soil causes 23% of seedling deaths
- Insufficient light: Less than 14 hours causes weak, stretched plants (41% of issues)
- Skipping hardening off: Direct transplant causes sunscald in 79% of cases
Source: National Gardening Bureau 2024 Home Gardening Survey
When Your Approach Needs Adjustment
Not all planting methods work universally. Consider these context boundaries:
- Humid climates: Reduce watering frequency and increase air circulation to prevent fungal diseases
- Cool spring areas: Use black plastic mulch to warm soil before transplanting
- Short seasons: Choose fast-maturing varieties (under 60 days to harvest)
- Container gardening: Use determinate varieties that stay compact
Transplanting for Maximum Growth
When seedlings reach 6-8 inches tall with 5-7 true leaves, they're ready for transplanting. The Texas A&M AgriLife Extension recommends burying stems up to the first set of leaves - tomatoes develop roots along buried stems, creating stronger plants. Water with diluted seaweed solution to reduce transplant shock.
Monitor daily for the first week after transplanting. Wilting during midday heat is normal, but persistent drooping indicates problems. Adjust care based on your specific microclimate conditions rather than following generic calendar dates.
Tracking Your Tomato's Development
Understanding this timeline helps identify potential issues early:
- Days 1-3: Imbibition (seed absorbs water)
- Days 4-7: Radicle emergence (first root appears)
- Days 5-10: Hypocotyl arch forms (stem pushes through soil)
- Days 7-14: Cotyledons open (first leaves unfurl)
- Days 14-21: First true leaves develop
- Weeks 6-8: Ready for hardening off
Source: University of Minnesota Extension
Next Steps for Thriving Plants
After successful germination, focus on proper hardening off (gradual outdoor acclimation), consistent watering, and appropriate fertilization. Remember that tomato plants require different care at each growth stage - what works for seedlings won't necessarily benefit fruiting plants. Regular observation helps you adjust care based on your plants' specific needs rather than rigid schedules.


 浙公网安备
33010002000092号
浙公网安备
33010002000092号 浙B2-20120091-4