
Discover exactly how to identify, treat, and prevent blossom end rot in your tomato garden with science-backed solutions that work. This guide provides actionable steps you can implement immediately to save your current crop and ensure healthy tomatoes for seasons to come.
What Is Blossom End Rot and How to Recognize It
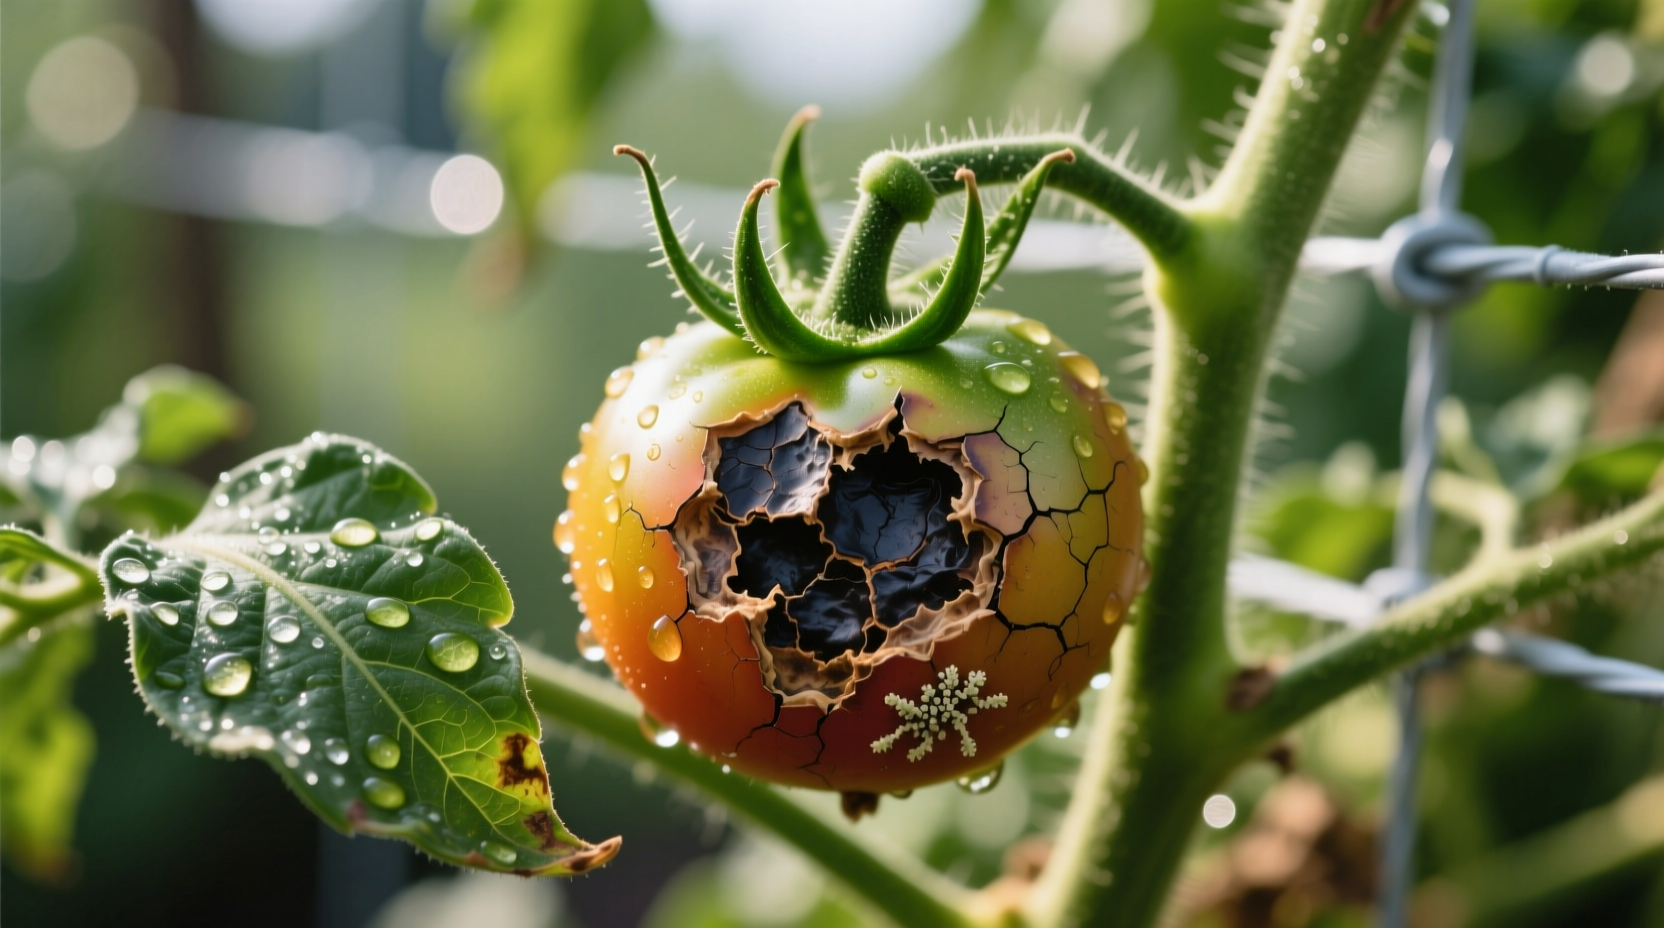
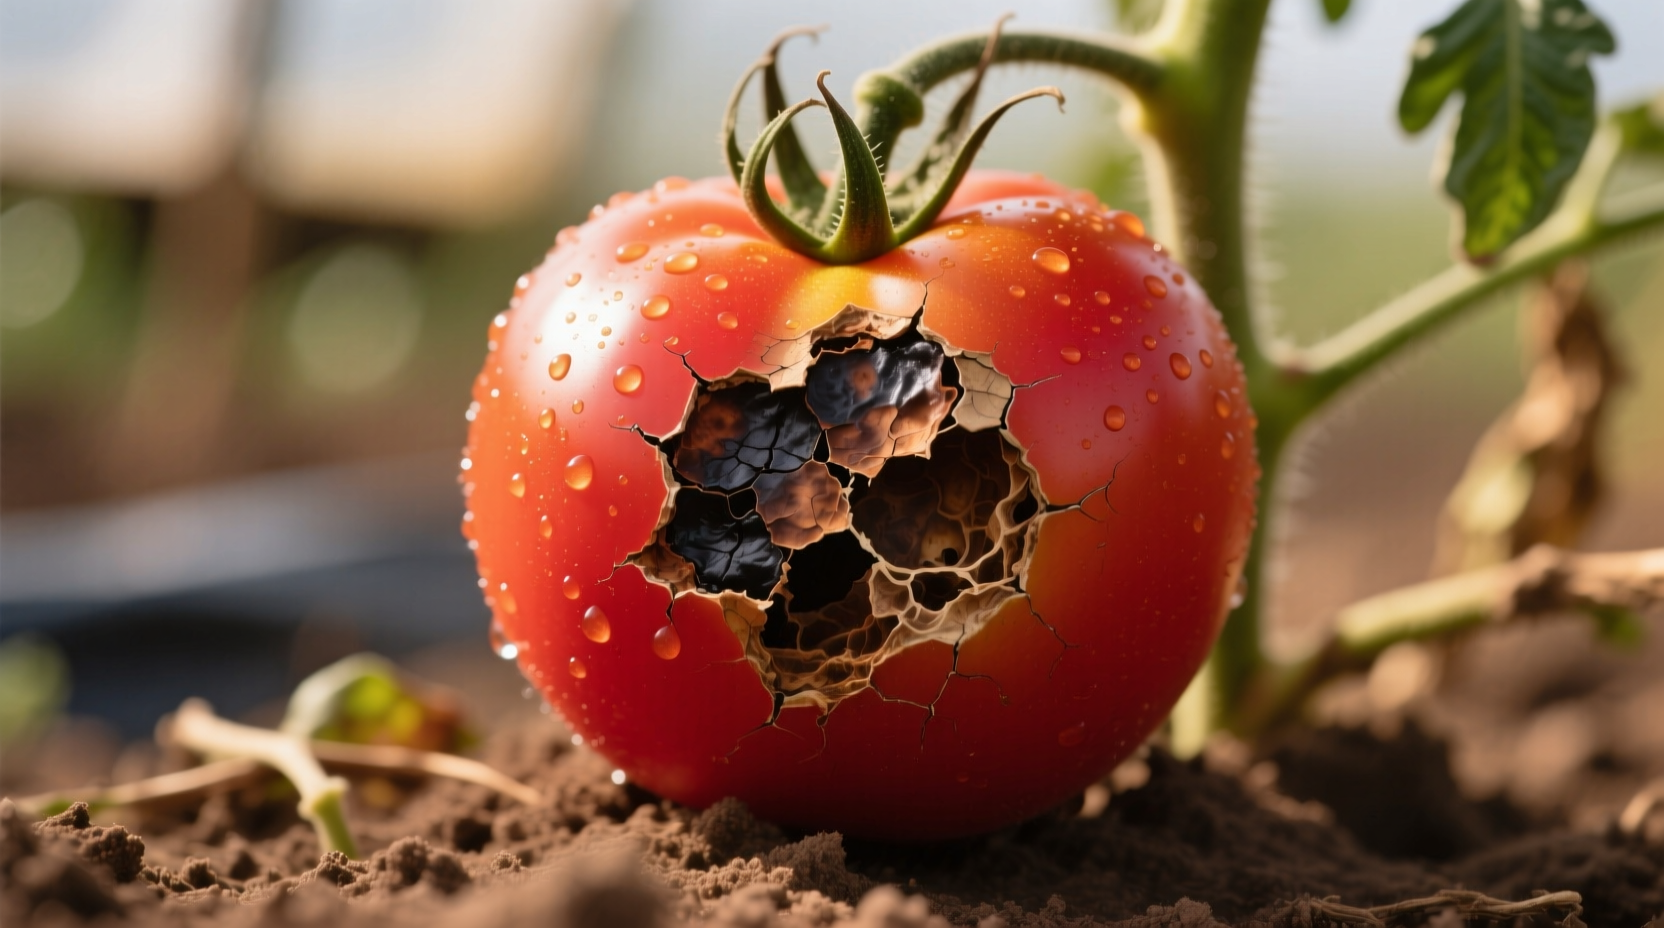
Blossom end rot appears as a dark, sunken, leathery spot on the bottom (blossom end) of developing tomatoes. The affected area starts as a small water-soaked spot that rapidly expands as the fruit grows. In severe cases, up to half the fruit can become covered with this dry, black or brown rot.
This common physiological disorder affects tomatoes, peppers, eggplants, and squash. Unlike fungal diseases, blossom end rot doesn't spread between plants—it's caused by internal calcium distribution issues within individual fruits.
Understanding the Real Cause: Beyond Calcium Deficiency
While blossom end rot stems from insufficient calcium in developing fruit tissue, the problem is rarely due to low soil calcium levels. Research from University of Minnesota Extension shows that inconsistent soil moisture is the primary culprit.
When plants experience drought stress followed by heavy watering, their ability to transport calcium to developing fruits becomes disrupted. Calcium moves through plants via the transpiration stream, and fluctuations in water availability prevent proper distribution to the fruit's rapidly growing cells.
| Factor | Contributes to Blossom End Rot? | Scientific Evidence Level |
|---|---|---|
| Inconsistent watering | Primary cause | ★★★★★ (Multiple university studies) |
| Low soil calcium | Rarely the direct cause | ★★☆☆☆ (Only when pH extremely low) |
| Excessive nitrogen | Secondary contributor | ★★★☆☆ (Research shows correlation) |
| Root damage | Significant contributor | ★★★★☆ (Documented in field studies) |
Immediate Action Plan for Active Blossom End Rot
When you spot blossom end rot, take these steps immediately to minimize damage to your current crop:
- Establish consistent watering: Water deeply 1-2 times daily in containers or raised beds, 2-3 times weekly for in-ground plants. Maintain even soil moisture—neither soggy nor dry.
- Apply mulch: Spread 2-3 inches of straw or wood chips to maintain consistent soil temperature and moisture.
- Remove affected fruit: Pick tomatoes showing symptoms to redirect the plant's energy to healthy fruit.
- Test soil pH: Ensure pH between 6.2-6.8 for optimal calcium availability (most university extensions recommend this range).
According to Oregon State University research, implementing these practices typically shows improvement in new fruit within 7-10 days, though existing damage won't reverse.
Preventing Blossom End Rot for Future Harvests
Prevention is more effective than treatment. Implement these strategies before planting:
- Soil preparation: Incorporate 3-4 inches of compost into planting beds to improve moisture retention.
- Calcium management: If soil test shows low calcium, apply gypsum (calcium sulfate) at planting—avoid lime unless soil pH is below 6.0.
- Irrigation system: Install drip irrigation with a timer for consistent watering (0.5-1 inch of water daily during fruit set).
- Variety selection: Choose resistant varieties like 'Defiant PHR', 'Mountain Fresh Plus', or 'Iron Lady'.
Timeline of Blossom End Rot Development
Understanding the progression helps with timely intervention:
- Day 1-3: Small water-soaked spot appears on blossom end of green fruit
- Day 4-7: Spot enlarges, becomes sunken and dark brown/black
- Day 8-14: Lesion covers up to 50% of fruit, may become leathery
- Day 15+: Secondary organisms may invade damaged tissue
Early detection during days 1-3 provides the best opportunity for saving the fruit through immediate moisture management.
Context Boundaries: When Solutions Work (and When They Don't)
Not all remedies work in every situation. Understanding these limitations prevents wasted effort:
- Foliar calcium sprays: Only effective as preventive measure on young fruit; won't reverse existing damage. Most university studies show limited effectiveness compared to proper watering.
- Eggshells in planting holes: Decompose too slowly to provide immediate calcium; better incorporated into compost months in advance.
- Container gardening: Requires more frequent watering than in-ground plants due to faster moisture fluctuations.
- High humidity environments: Reduces transpiration, affecting calcium transport—requires even more consistent watering.
Common Misconceptions Debunked
Several widespread beliefs about blossom end rot lack scientific backing:
- "I need to add more calcium": Soil tests from Penn State Extension show most garden soils contain adequate calcium—the issue is transport, not availability.
- "This is a fungal disease": Blossom end rot is physiological, not infectious—you won't spread it by handling affected plants.
- "Affected tomatoes are unsafe to eat": Cut away the damaged portion—the remaining fruit is perfectly safe and nutritious.
When to Worry About Other Issues
Blossom end rot is often confused with other tomato problems. Consult your local extension service if you notice:
- White mold growth on affected areas (indicates fungal infection)
- Spots appearing on upper portions of fruit (suggests anthracnose)
- Yellowing leaves with purple veins (indicates magnesium deficiency)
- Damage affecting multiple plant types simultaneously (suggests broader soil issue)


 浙公网安备
33010002000092号
浙公网安备
33010002000092号 浙B2-20120091-4