
Imagine stepping into your garden and plucking perfectly ripe, sun-warmed tomatoes that burst with flavor no store-bought variety can match. Creating a successful tomato patch transforms this dream into reality, giving you control over every aspect of your tomatoes' journey from seed to table. Whether you're working with a sprawling backyard or a modest balcony container garden, understanding the fundamentals of tomato patch cultivation unlocks consistent, high-quality harvests that elevate your cooking and connect you to the seasonal rhythm of nature.
Understanding Tomato Patch Fundamentals
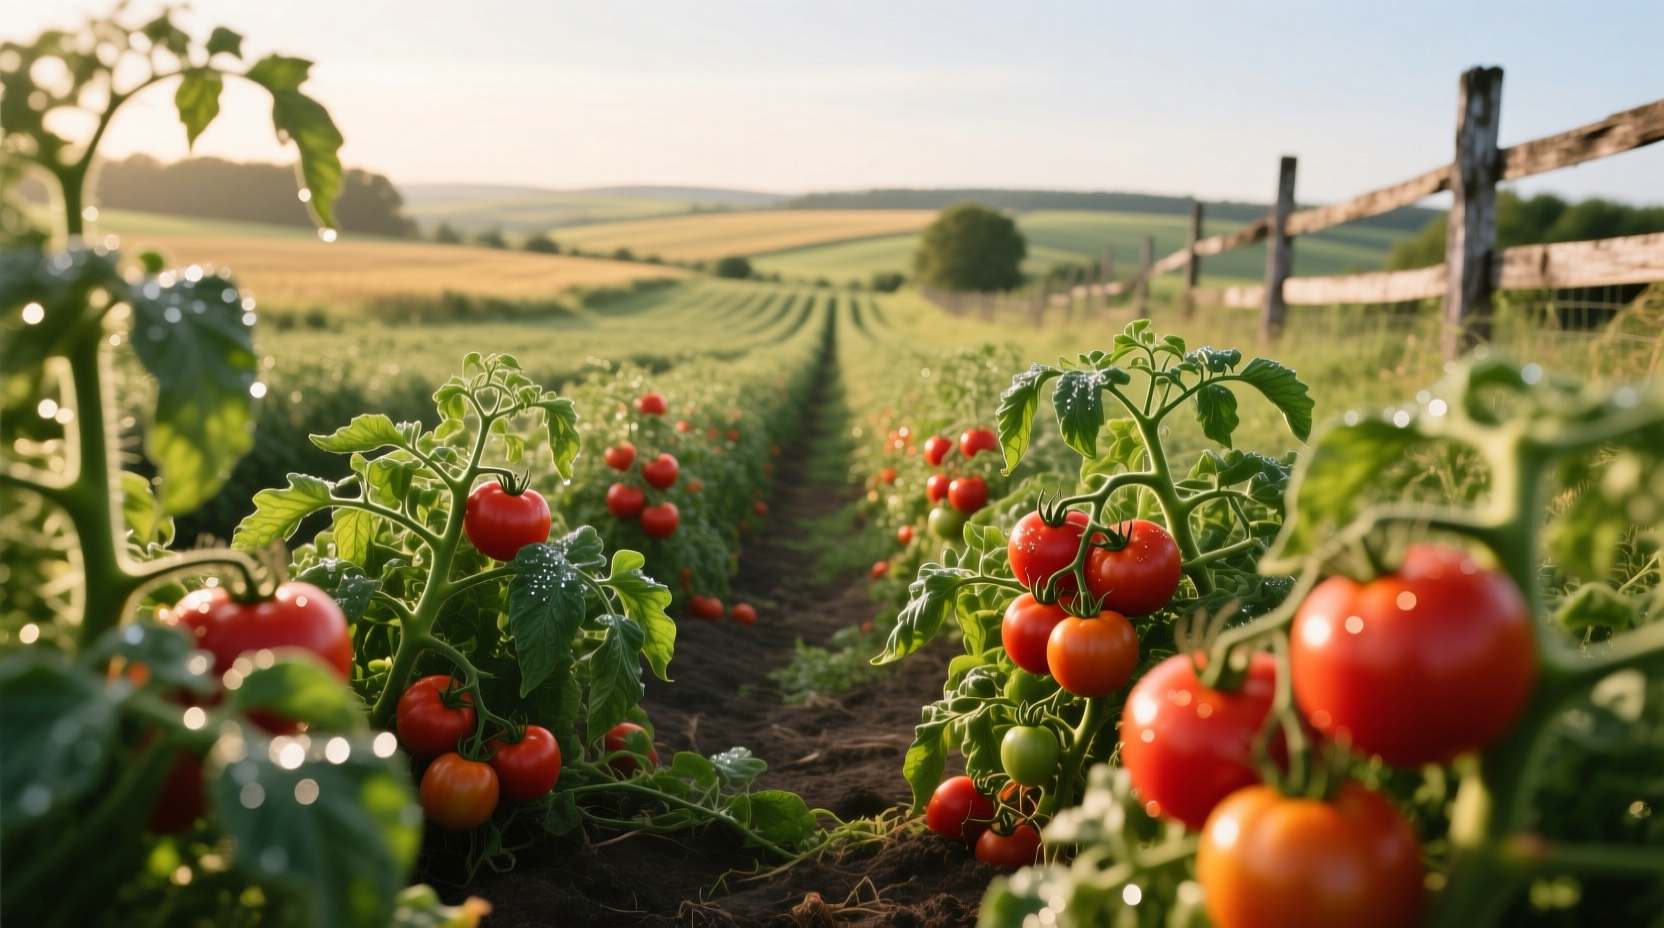
A dedicated tomato patch isn't just a random collection of tomato plants—it's a carefully designed growing environment optimized for these nutrient-hungry plants. Unlike scattered plantings, a purpose-built tomato patch allows you to concentrate your soil amendments, watering efforts, and pest management strategies where they'll do the most good. The University of California Agriculture and Natural Resources confirms that properly organized tomato patches yield up to 30% more fruit than haphazard plantings due to optimized growing conditions and easier maintenance.
Tomato patches work because they address the specific needs of these plants: deep root systems that benefit from undisturbed soil, consistent moisture requirements, and protection from soil-borne diseases through proper rotation. When designed correctly, your tomato patch becomes a self-contained ecosystem where companion planting with basil or marigolds can naturally deter pests while enhancing flavor development.
Planning Your Tomato Patch Layout
Before breaking ground, thoughtful planning prevents common pitfalls that undermine tomato success. Consider these critical factors when designing your patch:
- Sun exposure: Tomatoes need 6-8 hours of direct sunlight; observe your yard throughout the day to identify the sunniest spot
- Soil drainage: Avoid low spots where water pools; raised beds solve drainage issues in heavy clay soils
- Wind protection: Position near fences or buildings that provide shelter without blocking sunlight
- Accessibility: Ensure pathways allow easy access for pruning, staking, and harvesting
- Rotation history: Never plant tomatoes where nightshades (peppers, eggplants, potatoes) grew the previous year
Most home gardeners find success with patches ranging from 4x4 feet for compact varieties to 8x12 feet for larger operations. Remember that indeterminate varieties continue growing throughout the season and require significantly more space than determinate bush types.
| Variety Type | Spacing Requirements | Support Needs | Best For |
|---|---|---|---|
| Indeterminate (Vining) | 36 inches between plants | Tall cages or trellises (6-8 ft) | Continuous harvest, sauces, slicing |
| Determinate (Bush) | 24 inches between plants | Short cages (3-4 ft) | Container gardening, canning, small spaces |
| Semi-Determinate | 30 inches between plants | Moderate support (4-5 ft) | Balanced production, versatility |
Soil Preparation: The Foundation of Flavor
Tomato flavor originates in the soil—literally. Research from the USDA Agricultural Research Service demonstrates that soil composition directly affects sugar-acid balance and volatile compounds responsible for that distinctive tomato aroma. Skip proper soil preparation, and even the best varieties will underperform.
Begin soil preparation 2-3 weeks before planting:
- Test your soil pH using an affordable kit; tomatoes thrive in slightly acidic conditions (6.2-6.8)
- Amend heavy clay soils with 3-4 inches of compost and coarse sand for improved drainage
- For sandy soils, incorporate 3-4 inches of compost and well-rotted manure to increase water retention
- Work in 1-2 pounds of crushed eggshells per 100 square feet for calcium to prevent blossom end rot
- Create planting holes enriched with compost, bone meal, and a handful of Epsom salts
Avoid fresh manure which can burn roots and promote excessive foliage at the expense of fruit. The Cornell Cooperative Extension recommends waiting 6-8 weeks after manure application before planting tomatoes.
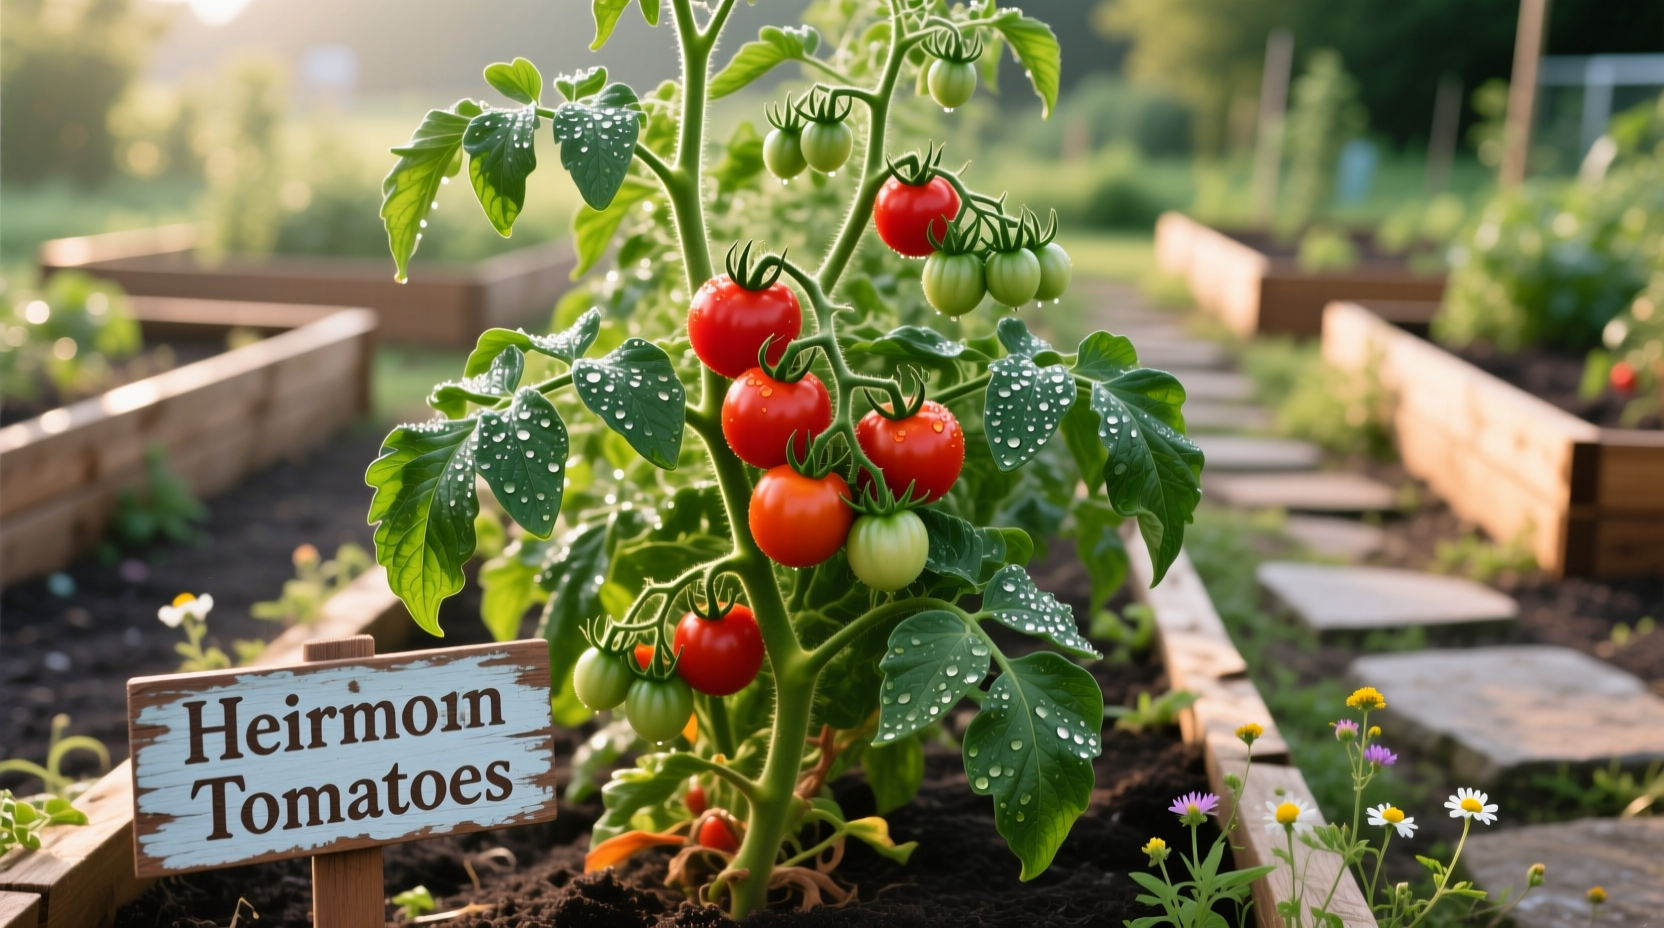
Selecting Varieties for Your Patch
Choosing varieties suited to your climate and culinary preferences makes the difference between mediocre and magnificent harvests. Consider these factors when selecting tomato varieties for your patch:
- Days to maturity: Match varieties to your growing season length (60-85 days for most home gardens)
- Disease resistance: Look for codes like VFN (verticillium, fusarium, nematodes) on seed packets
- Flavor profile: Sweet varieties like 'Golden Jubilee' versus complex heirlooms like 'Brandywine'
- Intended use: Sauce tomatoes (Roma), slicing tomatoes (Beefsteak), cherry tomatoes (Sun Gold)
For beginners, the University of Maine Cooperative Extension recommends starting with reliable performers like 'Celebrity' (determinate, disease-resistant) or 'Early Girl' (indeterminate, early producer). Experienced gardeners might experiment with heirloom varieties that offer exceptional flavor but require more attentive care.
Planting Techniques for Maximum Yield
How you plant tomatoes determines their entire growing season. Follow these science-backed techniques for robust plants:
- Plant deep: Bury 2/3 of the stem to encourage additional root growth along the buried portion
- Remove lower leaves: Prevent soil contact to reduce disease transmission
- Water with mycorrhizal fungi: Enhances nutrient uptake and drought tolerance
- Apply mulch immediately: Straw or shredded leaves conserve moisture and prevent soil splash
- Install supports at planting: Avoid root damage from late staking
The optimal planting window varies by region but generally occurs 1-2 weeks after your last expected frost date when soil temperatures reach at least 60°F (15°C). In cooler climates, use black plastic mulch to warm the soil before planting.
Ongoing Care: Watering, Feeding, and Pruning
Consistent care transforms adequate tomato plants into exceptional producers. Follow this maintenance timeline for best results:
Tomato Growth Stage Timeline
- Weeks 1-2 after planting: Water deeply every 2-3 days; apply liquid seaweed fertilizer
- Weeks 3-4: Begin weekly applications of calcium-rich foliar spray; pinch suckers on indeterminates
- Flowering stage: Gently shake plants to enhance pollination; monitor for blossom drop
- Fruit set: Switch to low-nitrogen, high-potassium fertilizer; maintain consistent moisture
- Ripening phase: Reduce watering slightly to concentrate sugars; harvest at first sign of color
Watering deserves special attention—tomatoes need 1-2 inches of water weekly, applied deeply at the base to encourage deep roots. The University of Minnesota Extension emphasizes that inconsistent watering causes most common tomato problems, including cracking and blossom end rot. Use drip irrigation or soaker hoses rather than overhead watering to keep foliage dry and prevent disease.
Troubleshooting Common Tomato Patch Problems
Even well-maintained tomato patches encounter challenges. Recognize these common issues and their solutions:
- Yellowing leaves: Could indicate nitrogen deficiency (older leaves) or overwatering (newer leaves)
- Blossom end rot: Caused by calcium deficiency often due to inconsistent watering, not lack of calcium in soil
- Cracked fruit: Result of uneven moisture levels; maintain consistent watering schedule
- Hornworms: Hand-pick or use BT spray; encourage parasitic wasps with flowering herbs
- Blight: Remove affected leaves immediately; apply copper fungicide preventatively in humid climates
Prevention beats cure—rotate your tomato patch location every 3 years, practice good sanitation by removing plant debris in fall, and choose disease-resistant varieties appropriate for your region's common pathogens.
Harvesting and Enjoying Your Tomato Bounty
Timing your harvest correctly maximizes flavor and extends your season. Pick tomatoes when they've developed full color but remain slightly firm—waiting until they're fully soft on the vine reduces shelf life. The optimal harvesting window occurs in the morning after dew has dried but before the day's heat sets in.
Store harvested tomatoes at room temperature away from direct sunlight. Refrigeration destroys flavor compounds and alters texture. For peak flavor development, allow tomatoes to ripen fully on the vine whenever possible, but pick before heavy rain which dilutes sugars.
Extend your harvest by planting early, mid, and late-season varieties simultaneously. The University of Georgia Extension reports that this staggered approach can provide fresh tomatoes for 8-10 weeks in most growing zones.


 浙公网安备
33010002000092号
浙公网安备
33010002000092号 浙B2-20120091-4