
The Secret to Jucy Chicken: Mastering the Art of Brined Roasted Chicken
Table of Contents
- Introduction: Why Brined Roasted Chicken?
- What Exactly Is Brining?
- The Science Behind the Magic
- Brining Basics: A Step-by-Step Guide
- Spice Profiles for Your Brine
- Buying Guide: Essential Tools & Ingredients
- Roasting Like a Pro: Tips and Tricks
- Common Mistakes (And How to Avoid Them)
- Your First Brined Roasted Chicken Recipe
- Conclusion: Elevate Your Chicken Game

Introduction: Why Brined Roasted Chicken?
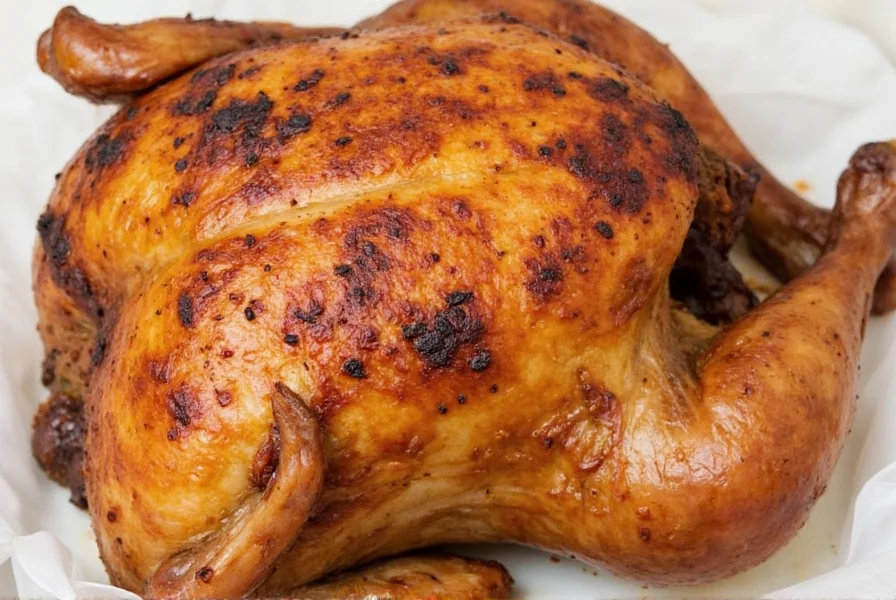
Let’s be honest—dry chicken is the culinary version of a party crasher. Whether it's Sunday dinner or a weeknight feast, nobody wants tough, flavorless meat. Enter brined roasted chicken: your new go-to method for tender, juicy, and deeply flavorful poultry.
Brining might sound like something only chefs do in high-end kitchens, but it's actually super easy—and incredibly effective. In this article, we’ll walk you through everything from the science of brining to practical spice profiles, plus a handy buying guide to set you up for success.
What Exactly Is Brining?
Brining is the process of soaking meat—typically chicken—in a saltwater solution (sometimes with sugar, spices, and aromatics) before cooking. This helps the meat retain moisture during roasting and infuses it with flavor from the inside out.
There are two main types of brines:
- Wet Brine: Classic saltwater solution with optional additions like herbs, garlic, citrus zest, and even beer or apple cider.
- Dry Brine: Rubbing salt and seasonings directly onto the chicken and letting it rest in the fridge. Great for crispy skin!
The Science Behind the Magic
Don’t worry—we’re not diving into a chemistry lecture. But here’s the quick version:
- Salt disrupts muscle proteins in the chicken, allowing the cells to absorb water and seasoning.
- This extra moisture acts as a buffer against the heat, keeping the meat juicy even after hours in the oven.
- Proteins also restructure slightly, improving texture and tenderness.
| Mechanism | Effect |
|---|---|
| Salt breaks down muscle fibers | Increased moisture retention |
| Water absorption | Better texture and juiciness |
| Seasoning penetration | Deeper, more consistent flavor |
Brining Basics: A Step-by-Step Guide
Ready to get started? Here's how to brine like a pro:
- Choose Your Brine: Decide between wet and dry based on your desired outcome (juicy vs crispy).
- Prepare the Solution: For wet brine, combine 4 cups water + 1/4 cup salt (plus optional ingredients). For dry, use 1 tablespoon kosher salt per pound of chicken.
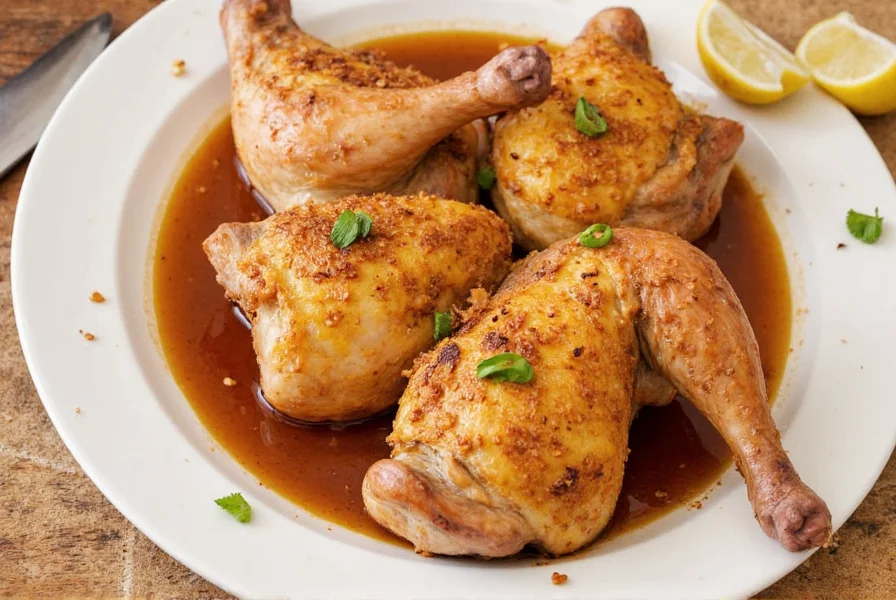
- Soak or Season: Whole birds should brine for 8–24 hours; breasts or thighs need just 4–6 hours. For dry brine, rub the mixture over the bird and refrigerate uncovered overnight.
- Rinse & Pat Dry: If using a wet brine, rinse thoroughly under cold water, then pat the chicken completely dry.
- Rest Before Roasting: Let it sit at room temperature for 30 minutes before cooking for even roasting.
Spice Profiles for Your Brine
One of the best things about brining is the ability to customize the flavor. Below are some popular combinations to try:
| Profile | Ingredients | Best For |
|---|---|---|
| Mediterranean | Olive oil, lemon zest, rosemary, thyme, garlic, black pepper | Light, herbaceous flavor |
| Cajun | Paprika, cayenne, onion powder, garlic powder, thyme, oregano | Spicy and smoky kick |
| Asian Fusion | Ginger, lemongrass, soy sauce, star anise, garlic | Umami-rich base |
| Sweet Apple | Apple cider, cinnamon, allspice, cloves, brown sugar | Perfect for fall dishes |
| Garlic Parmesan | Garlic cloves, grated Parmesan, parsley, olive oil | Rich, savory depth |
Buying Guide: Essential Tools & Ingredients
Whether you're brining for the first time or upgrading your setup, here’s what you'll need:
Kitchen Equipment
- Large Food-Safe Container: A non-reactive bowl or plastic bucket big enough to submerge your chicken.
- Meat Thermometer: Ensures perfect doneness without guesswork.
- Basting Brush: For applying marinades or melted butter during roasting.
- Roasting Pan with Rack: Promotes even airflow and crispier skin.
Recommended Products
| Product | Features | Use Case | Target Audience |
|---|---|---|---|
| OXO Good Grips Deep Basting Brush | Heat-resistant silicone bristles, ergonomic handle | Brushing butter or oil while roasting | Home cooks, grillers |
| ThermoPro TP03 Digital Meat Thermometer | Fast read, auto shut-off, stainless steel probe | Checking internal temperature accurately | Cooking enthusiasts |
| Calphalon Roasting Pan with Rack | Oven-safe, nonstick surface, heavy-duty construction | Even roasting, easy cleanup | Weeknight cooks, holiday hosts |
| Tupperware Extra Large Food Storage Container | Airtight lid, food-safe plastic, stackable design | Brining whole chickens or large cuts | Meal preppers, families |
Roasting Like a Pro: Tips and Tricks
You’ve brined your bird to perfection. Now, let’s roast it right:
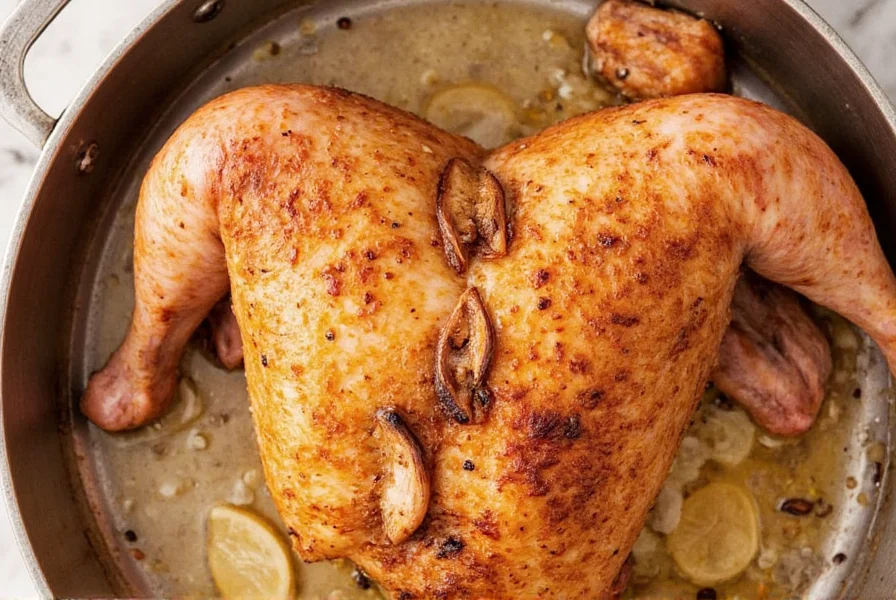
- Preheat the Oven: Start with a hot oven (around 425°F) to seal in juices, then lower to 350°F for even cooking.
- Baste Regularly: Every 30 minutes, brush with pan drippings or butter for maximum flavor and golden color.
- Truss the Bird: Tying the legs together ensures even cooking and a neater presentation.
- Rest Before Carving: Let it sit for 15–20 minutes so the juices redistribute evenly.
- Carve With Care: Use a sharp carving knife and follow the natural lines of the bird.
Common Mistakes (And How to Avoid Them)
Even seasoned cooks can make these slip-ups:
- Over-Brining: Leaving the chicken too long can make it overly salty or mushy. Stick to the recommended times.
- Not Rinsing: Especially with wet brines, excess salt can linger and ruin the final taste.
- Using Too Much Sugar: Can cause burning and an unpleasant char on the skin.
- Skipping the Rest: Carving immediately means losing all those beautiful juices to the cutting board.
- Using Reactive Containers: Metal bowls can react with acidic ingredients and affect flavor.
Your First Brined Roasted Chicken Recipe
Ready to test your skills? Try this simple yet delicious recipe:
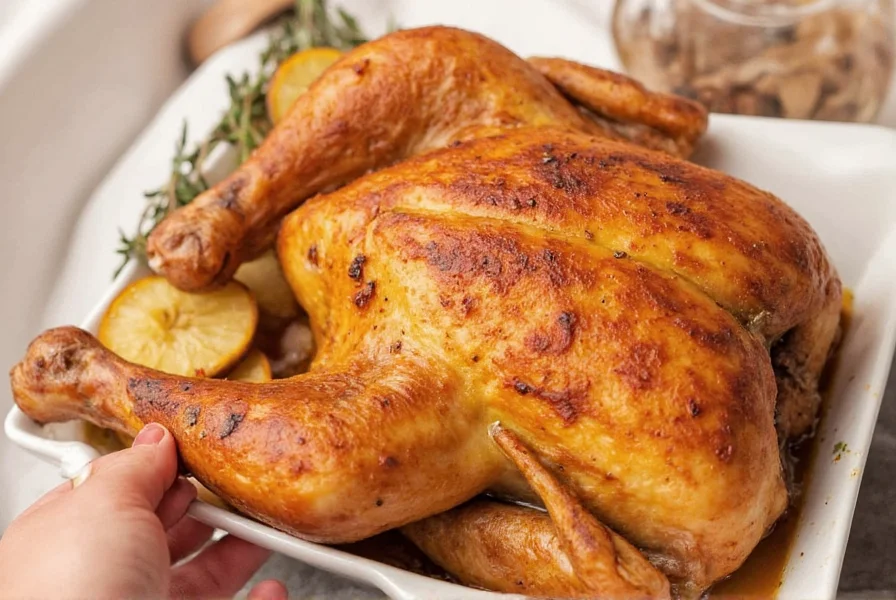
Simple Mediterranean Brine Roast- Whole chicken (3–4 lbs)
- 4 cups water
- 1/4 cup kosher salt
- 2 lemons (zest and juice)
- 4 sprigs fresh rosemary
- 4 sprigs fresh thyme
- 4 garlic cloves, smashed
- 1 tsp black pepper
Instructions:
- Combine all brine ingredients in a large container.
- Add the chicken and refrigerate for 8–12 hours.
- Rinse well and pat dry.
- Stuff cavity with lemon halves, rosemary, and thyme sprigs.
- Truss if needed, then place breast-side up on a rack in a roasting pan.
- Roast at 425°F for 30 minutes, then reduce to 350°F and cook until internal temp reaches 165°F (approx. 1.5–2 hrs).
- Let rest, carve, and enjoy!
Conclusion: Elevate Your Chicken Game
Brined roasted chicken isn’t just another fancy kitchen trick—it’s a game-changer that brings real results. Whether you're feeding a crowd or treating yourself to something special, this technique guarantees juicy, flavorful meat every time.
With the right tools, a bit of planning, and a sprinkle of spice creativity, you can turn a humble bird into a masterpiece. So grab that chicken, start experimenting with flavors, and make every meal memorable—one brined roast at a time.


 浙公网安备
33010002000092号
浙公网安备
33010002000092号 浙B2-20120091-4