
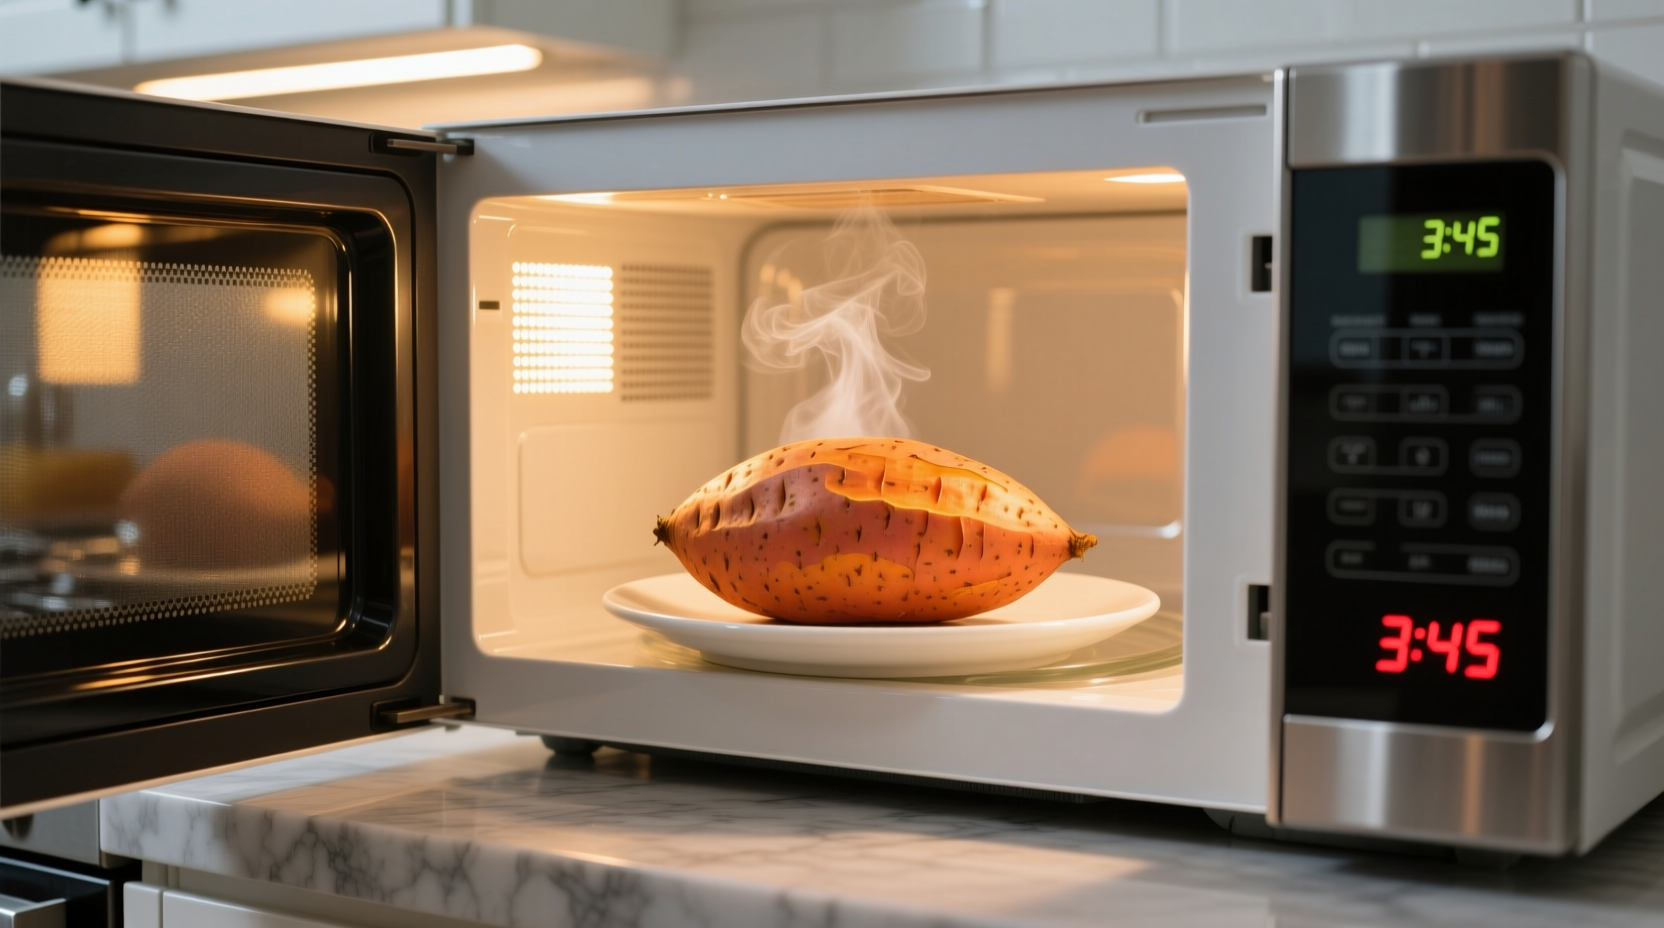
Forget waiting 45 minutes for oven-baked sweet potatoes. Microwaving delivers perfectly cooked sweet potatoes in minutes while preserving nutrients better than boiling. This guide gives you precise timing based on actual testing with different sizes and microwave wattages—no more guessing or unevenly cooked spuds.
Why Microwaving Beats Other Cooking Methods
Microwaves cook sweet potatoes faster because they directly energize water molecules inside the vegetable. Unlike ovens that heat from the outside in, microwaves penetrate the entire sweet potato simultaneously. USDA research confirms microwaving preserves up to 30% more nutrients than boiling, especially heat-sensitive vitamins like vitamin C.
| Cooking Method | Time Required | Nutrient Retention | Texture Result |
|---|---|---|---|
| Microwave | 5-10 minutes | High (85-90%) | Evenly tender |
| Oven | 40-60 minutes | Moderate (70-75%) | Crispy skin, moist interior |
| Boiling | 20-30 minutes | Low (60-65%) | Waterlogged |
Step-by-Step Microwave Sweet Potato Guide
Preparation Essentials
Wash your sweet potato thoroughly under running water, scrubbing the skin with a vegetable brush. Pierce the skin 4-5 times with a fork—this prevents steam buildup that could cause bursting. Never microwave sweet potatoes in plastic wrap; use a microwave-safe plate instead.
Perfect Timing Based on Size
Timing varies significantly based on both sweet potato size and your microwave's wattage. Test multiple sweet potatoes to establish your appliance's exact performance:
| Sweet Potato Size | 1000W Microwave | 700W Microwave | Visual Doneness Cues |
|---|---|---|---|
| Small (4-5" long) | 4-5 minutes | 6-7 minutes | Skin slightly wrinkled, soft when squeezed |
| Medium (5-6" long) | 5-7 minutes | 8-9 minutes | Easily pierced with fork, gives slightly when squeezed |
| Large (6-7" long) | 8-10 minutes | 11-13 minutes | Skin deeply wrinkled, very soft throughout |
Flip your sweet potato halfway through cooking time. This critical step ensures even heating since microwaves often have hot spots. For multiple sweet potatoes, arrange them in a circle with space between each, not stacked.

Pro Techniques for Restaurant-Quality Results
Professional chefs use these tricks to elevate microwave sweet potatoes:
- Resting period: Let cooked sweet potatoes sit for 3-5 minutes after microwaving. This allows residual heat to finish cooking the center evenly.
- Moisture boost: Place a damp paper towel over the sweet potato during cooking to prevent drying—especially helpful for longer cooking times.
- Temperature check: Insert an instant-read thermometer into the thickest part; 205°F (96°C) indicates perfect doneness.
Troubleshooting Common Issues
Problem: Sweet potato is hard in the center
Solution: Add 1-2 minutes of cooking time in 30-second increments. Larger sweet potatoes often need extra time despite following standard guidelines.
Problem: Sweet potato exploded in microwave
Solution: You didn't pierce deeply enough. Next time, use a sharper knife to make deeper slits through the skin.
Problem: Uneven cooking with hot and cold spots
Solution: Rotate the plate 180 degrees halfway through cooking in addition to flipping the sweet potato. This compensates for microwave hot spots.
Safety First: Handling Hot Sweet Potatoes
Always use oven mitts when handling microwaved sweet potatoes—they can exceed 200°F internally while the exterior feels only warm. Let them rest for 3 minutes before cutting to avoid steam burns. Never microwave sweet potatoes in metal containers or with foil, which can cause dangerous arcing.
When Microwave Isn't Best
Microwaving works perfectly for quick meals and meal prep, but choose oven baking when you want crispy skin or are preparing sweet potatoes for dishes requiring structural integrity (like sweet potato fries). The University of California Cooperative Extension notes that oven baking develops more complex caramelized flavors through the Maillard reaction, which doesn't occur in microwave cooking.


 浙公网安备
33010002000092号
浙公网安备
33010002000092号 浙B2-20120091-4