
Sweet Thai Chili Sauce – From Zero to Hero in Your Kitchen
Ever bitten into a dish that made your mouth tingle with both sweetness and fire? That’s the magic of sweet Thai chili sauce. Whether you’re dipping spring rolls, drizzling it over grilled chicken, or adding it to your pad thai, this versatile condiment is like a flavor fireworks show in your mouth. But instead of buying the bottled stuff from the store, why not whip up a batch at home?
In this post, we’ll take you through the basics of making your own sweet Thai chili sauce — no fancy gadgets required! We’ll also dive deep into the spice components that make it sing, give you practical tips for customizing heat levels, and answer all those burning questions you’ve been too shy to ask.
Why You Should Make It Yourself
- Fresher ingredients: Store-bought sauces often contain preservatives. Homemade means full control over what goes in!
- Taste customization: Want more heat? Less sugar? More tang? You decide!
- Cheaper than premium brands: Once you get the basics down, it’s way more cost-effective.
What You'll Need: The Spice Basics Breakdown
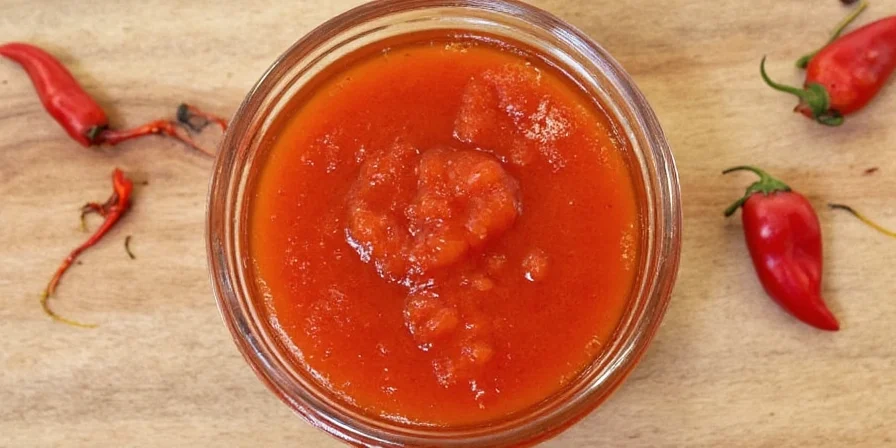
The beauty of sweet Thai chili sauce lies in its simplicity — just a handful of ingredients, but each plays a crucial role in balancing sweet, sour, spicy, and umami. Here's your shopping list:
| Ingredient | Purpose |
|---|---|
| Red chilies (fresh or dried) | Brings the heat — choose mild or super-spicy depending on preference |
| Garlic | Adds depth and savory complexity |
| Vinegar | Brightens the flavor and balances the sweetness |
| Sugar (white or palm) | Essential for that signature sweet kick |
| Fish sauce | Umami booster — don’t skip unless going vegan |
| Water or stock | Dilutes to desired consistency |
How to Make Sweet Thai Chili Sauce: Step-by-Step Guide
- Prep the chilies: Remove stems and seeds if you want less heat. Otherwise, leave them in for fiery flavor.
- Chop everything: Toss chilies, garlic, and a splash of water into a blender.
- Blend until smooth: Add a little water as needed to keep things moving.
- Cook the base: In a saucepan, sauté the chili-garlic mixture until fragrant (~5 minutes).
- Add the sweet stuff: Stir in sugar and vinegar until fully dissolved.
- Season with umami: Add fish sauce and mix well.
- Simmer slowly: Let it bubble gently for 10–15 minutes, stirring occasionally.
- Cool and store: Pour into sterilized bottles or jars. Keeps for weeks in the fridge!
Spice Deep Dive: What Makes This Sauce So Addictive?
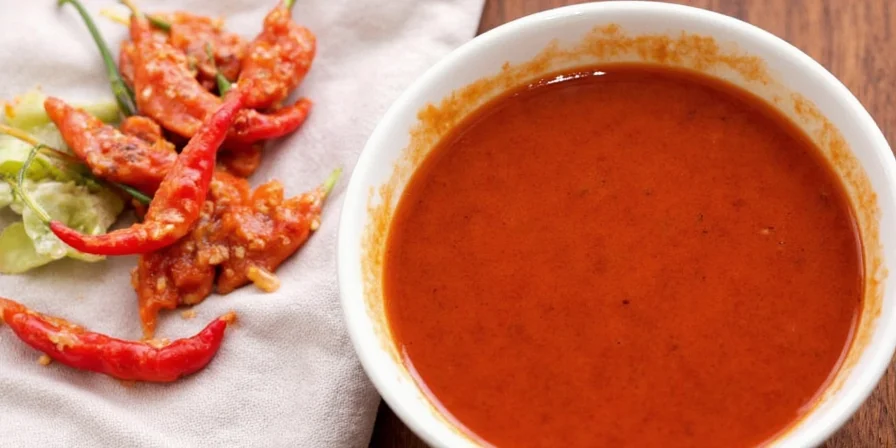
Sweet Thai chili sauce is a textbook example of flavor layering. Each ingredient contributes a different sensory element:
- Heat comes primarily from capsaicin in the chilies. The hotter the pepper, the higher the Scoville units.
- Acidity from vinegar gives it brightness and helps preserve the sauce.
- Sugar tempers the heat and creates a perfect yin-yang effect with the spice.
- Ummami from fish sauce rounds it out, giving depth and satisfying savory notes.
Pro Tips for Customizing Your Sweet Thai Chili Sauce
Ready to become a sauce wizard? Try these expert tweaks:
- Want it fruitier? Add a touch of pineapple juice or mango puree.
- Mild heat lover? Use jalapeños or bell peppers instead of bird’s eye chilies.
- Extra sticky? Simmer longer to reduce and thicken the sauce.
- Vegan-friendly version: Swap fish sauce for soy sauce or tamari.
- Smoky twist: Char the chilies first for a deeper, smokier profile.
Common Mistakes to Avoid
Even seasoned cooks can trip up when making chili sauce. Here are the most common missteps and how to avoid them:
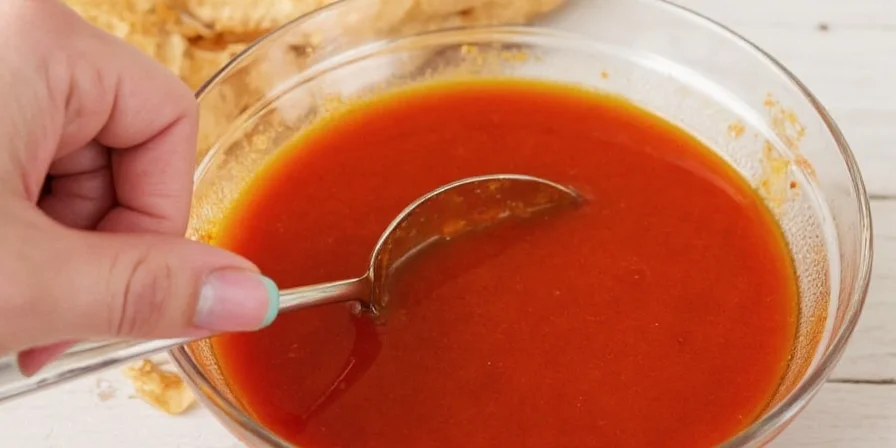
- Too runny? Simmer longer to reduce the liquid.
- Too sweet? Balance with a splash of lime juice or vinegar.
- Not enough heat? Blend in fresh chili slices or a dash of cayenne.
- Weird texture? Strain the sauce if you prefer a silky-smooth finish.
- Off taste? Make sure your fish sauce isn’t expired — it really affects the flavor.
Storage & Shelf Life: How Long Does It Last?
Homemade sweet Thai chili sauce can last up to 4 weeks in the refrigerator if stored properly. To extend its life even further:
- Use clean, sterilized glass bottles or jars.
- Seal tightly and always use a clean spoon when serving.
- For long-term storage, freeze in ice cube trays and pop out as needed.
FAQ: Your Sweet Thai Chili Sauce Questions Answered
Q: Can I use dried chilies instead of fresh?
A: Absolutely! Rehydrate them by soaking in warm water before blending.
Q: Is there a low-sodium version?
A: Yes! Reduce the fish sauce or replace it with coconut aminos.
Q: Can I can it for shelf stability?
A: Technically yes, but ensure proper pressure canning techniques are used for food safety.
Q: Why does my sauce separate?
A: This is normal! Just shake it up before using.
Q: Can I add other spices for complexity?
A: Definitely! A pinch of ground coriander or lemongrass paste adds aromatic flair.
Pairing Ideas: What Goes Well with Sweet Thai Chili Sauce?
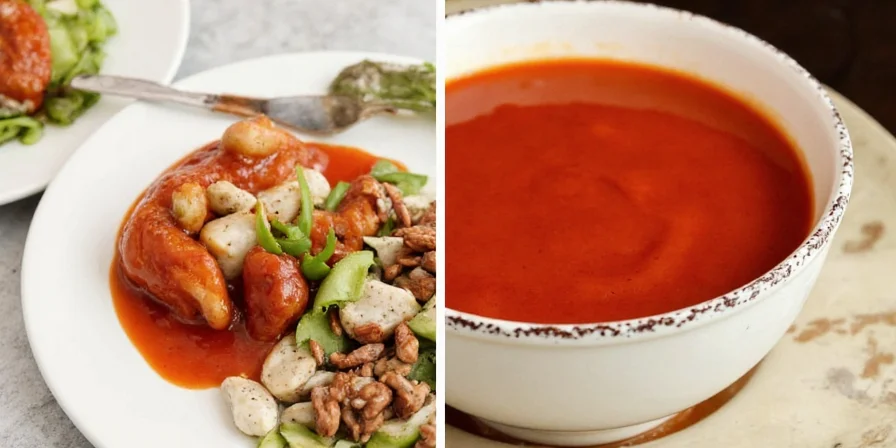
It’s not just for spring rolls anymore! Here are some delicious ways to use your homemade sauce:
- As a dipping sauce for dumplings, nuggets, or egg rolls
- Drizzled over grilled shrimp skewers
- Stirred into fried rice or noodles
- Used as a glaze for baked tofu or tempeh
- Swirled into creamy soups for a spicy-sweet twist

Final Thoughts: Spice Up Your Life (Literally)
Once you master the basics of making sweet Thai chili sauce, the world is your flavorful oyster. It’s an easy-to-make condiment that punches far above its weight in terms of taste, versatility, and heat. Plus, once you nail your perfect balance of sweet, sour, salty, and spicy, you may never go back to the store-bought version again.
Remember, the key to great chili sauce is experimentation. Don’t be afraid to tweak, taste, and repeat. And most importantly… wear gloves when handling hot chilies — your eyes will thank you later.


 浙公网安备
33010002000092号
浙公网安备
33010002000092号 浙B2-20120091-4