
Discover exactly what happens during each phase of cauliflower development and how to support healthy growth from seed to harvest. Whether you're a beginner gardener or looking to improve your yields, this guide provides actionable insights based on agricultural research and practical growing experience.
Why Understanding Cauliflower Growth Stages Matters
Cauliflower's reputation as a challenging crop stems from its sensitivity to temperature fluctuations and precise timing requirements. Unlike many vegetables, cauliflower won't regenerate after harvest and has narrow optimal growing conditions. By recognizing each growth stage's specific needs, you can prevent common issues like buttoning (premature small head formation), yellowing, or loose curds.
Pre-Planting Considerations for Success
Before examining the growth stages, proper preparation sets the foundation for healthy development. Cauliflower thrives in cool temperatures between 60-70°F (15-21°C) with consistent moisture. The University of California Agriculture and Natural Resources confirms that soil pH between 6.0-7.5 provides optimal nutrient availability for this heavy feeder.
Choose varieties suited to your climate zone:
- Early season varieties (50-70 days to maturity) for spring planting
- Main season varieties (70-100 days) for fall harvest
- Specialty types like purple or orange cauliflower with similar growth patterns
| Climate Zone | Best Planting Time | Recommended Varieties | Special Considerations |
|---|---|---|---|
| Cool (Zones 3-5) | Early spring & late summer | Snowball, Amazing | Provide afternoon shade during heat spikes |
| Moderate (Zones 6-7) | Spring & fall | Cheddar, Graffiti | Monitor temperature closely during curd formation |
| Warm (Zones 8-10) | Late summer for winter harvest | Self-Blanching, Veronica | Requires consistent soil cooling techniques |
This climate-specific approach addresses the context boundaries that significantly impact cauliflower success. The Cornell University Cooperative Extension emphasizes that planting timing must account for your region's temperature patterns, as cauliflower heads form best when daytime temperatures stay below 75°F (24°C).
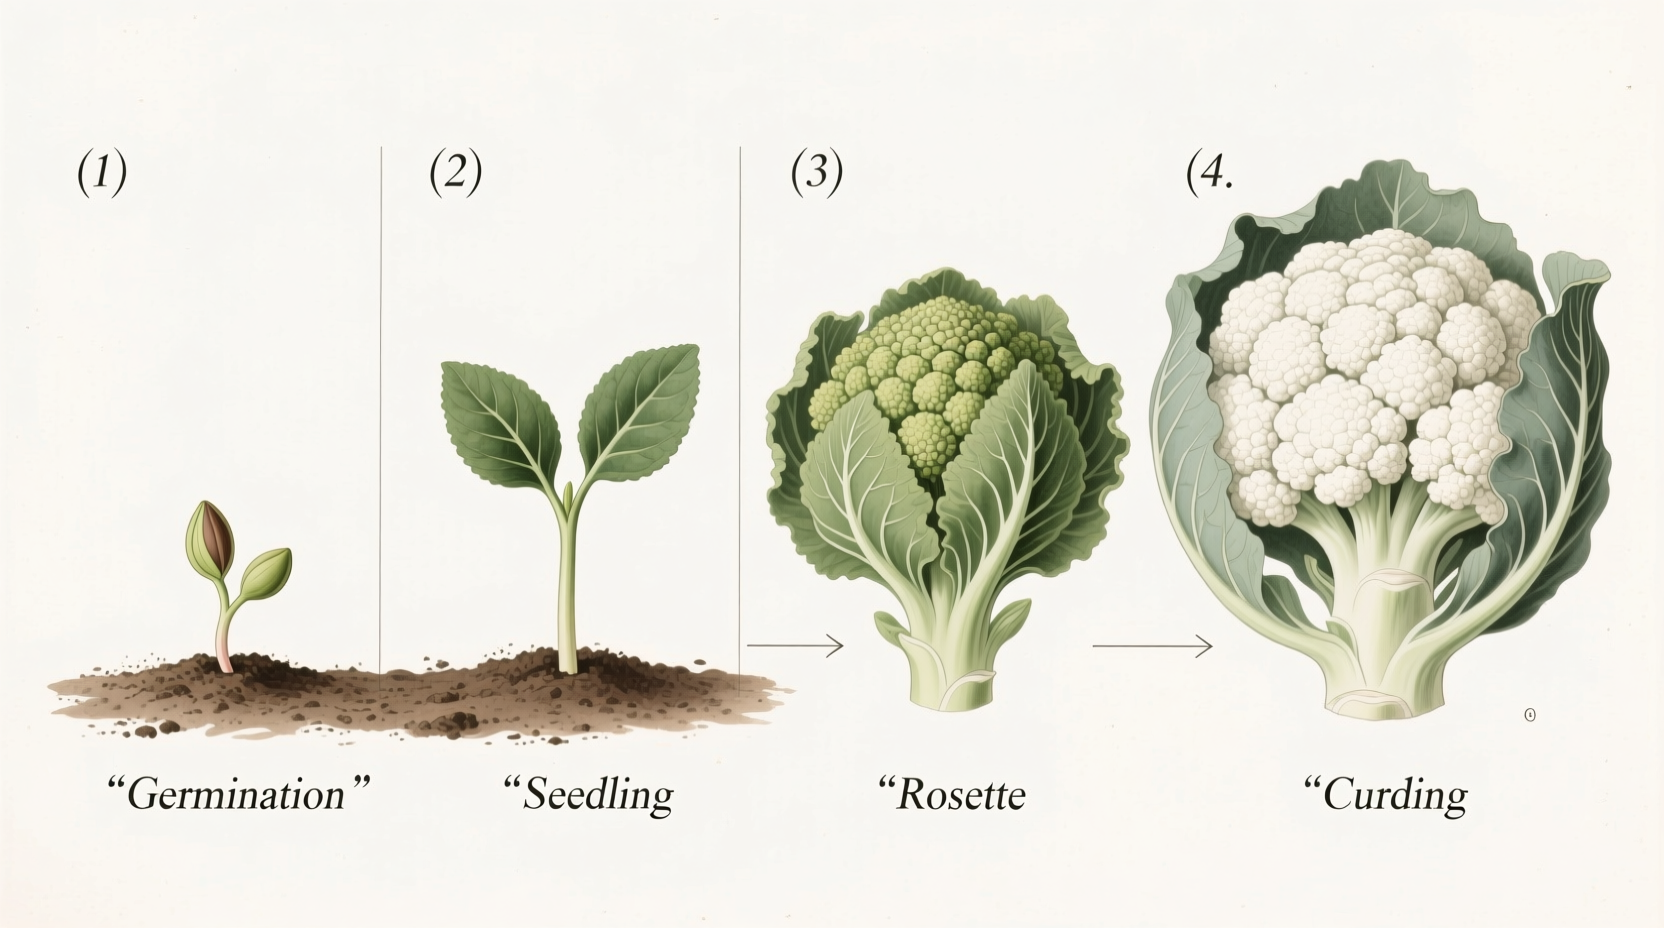
Stage 1: Germination (Days 1-10)
Cauliflower seeds germinate best at 70-85°F (21-29°C), typically sprouting within 4-10 days. During this critical phase, consistent soil moisture is essential - let the soil dry slightly between waterings to prevent damping-off disease.
Key indicators of healthy germination:
- Emergence of cotyledons (seed leaves)
- Development of first true leaves
- Strong white root growth visible through seed tray
Common germination problems include poor seed viability (seeds older than 1 year often have reduced germination rates) and temperature extremes. The USDA National Agricultural Library notes that temperatures below 50°F (10°C) significantly slow germination, while temperatures above 85°F (29°C) can prevent it entirely.
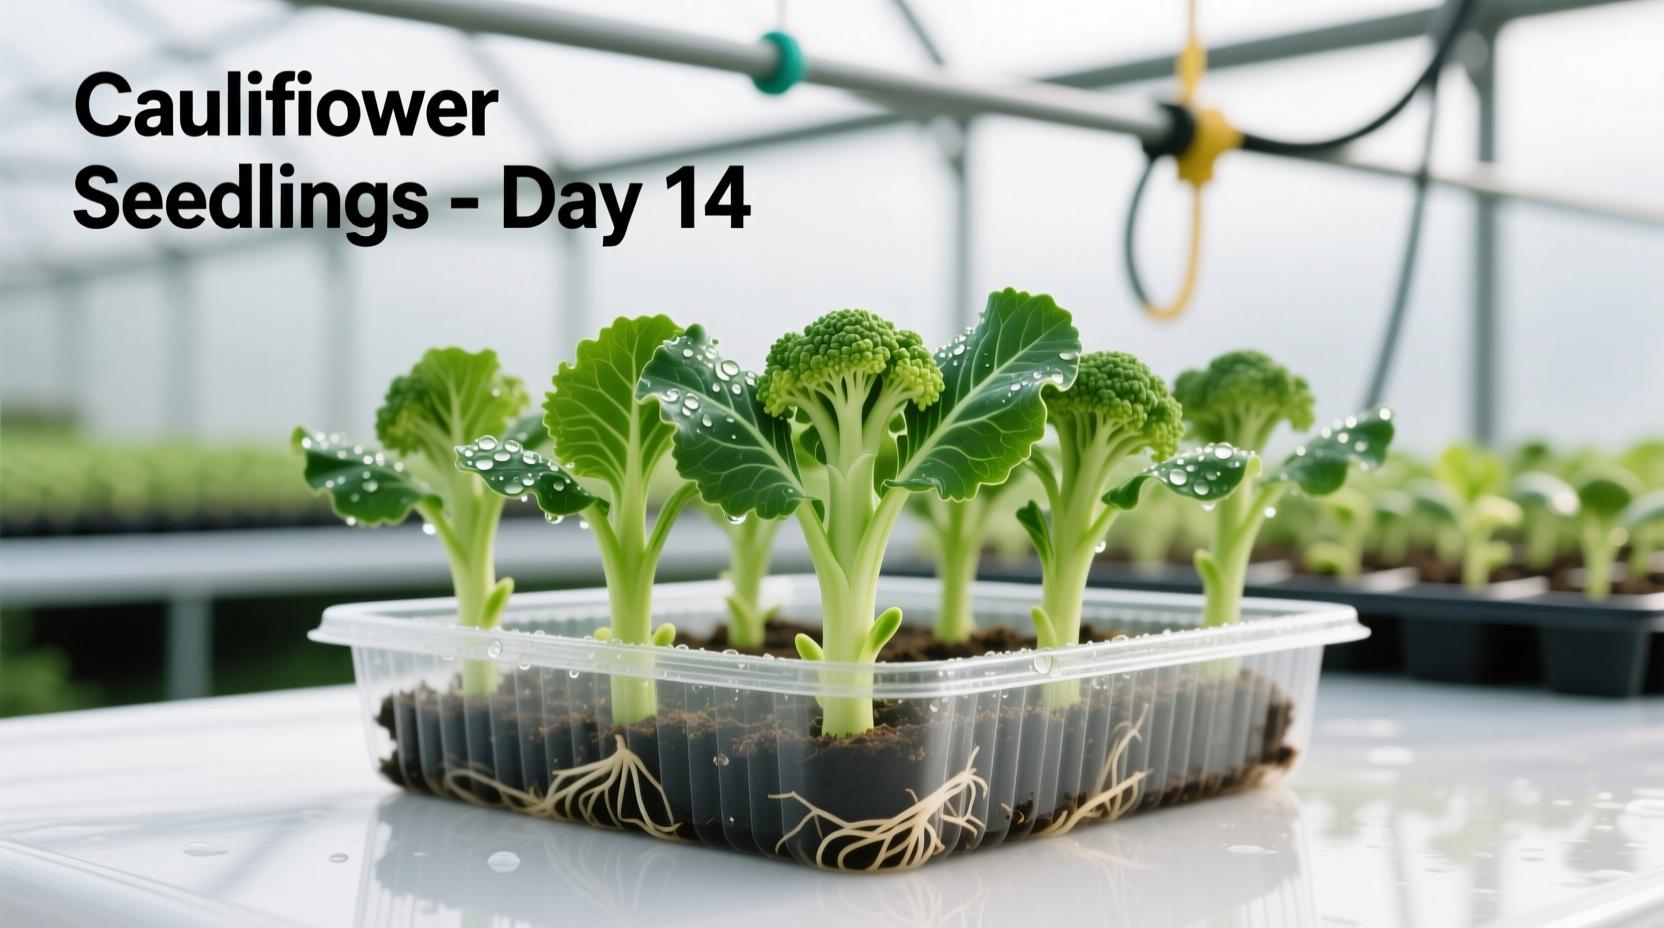
Stage 2: Seedling Development (Days 10-30)
As seedlings develop their first 5-7 true leaves, they require increased light and careful temperature management. This stage determines whether plants will develop properly or experience stunting that leads to buttoning later.
Transplant seedlings when they reach 4-6 inches tall and have developed multiple sets of true leaves. The Cornell University Cooperative Extension recommends hardening off plants for 7-10 days before transplanting by gradually exposing them to outdoor conditions.
Watch for these critical development markers:
- Deep green leaf color indicating proper nutrition
- Sturdy stem development
- Absence of premature flowering signs
Stage 3: Vegetative Growth (Days 30-60)
During this rapid growth phase, cauliflower develops its leaf structure and root system. Plants typically grow 1-2 inches per day under ideal conditions, requiring consistent nitrogen supply and moisture.
Key care requirements during vegetative growth:
- Water deeply 1-2 inches per week, maintaining consistent soil moisture
- Apply balanced fertilizer every 3-4 weeks
- Monitor for pests like aphids and cabbage loopers
- Begin blanching preparations for varieties requiring it
This stage's duration varies significantly by variety and growing conditions. The Royal Horticultural Society notes that stress during vegetative growth - from temperature extremes, water fluctuations, or nutrient deficiencies - often manifests later as poor curd formation.
Stage 4: Curd Formation (Days 60-90)
The most critical and vulnerable stage begins when the cauliflower head (curd) starts forming. This compact mass of flower buds requires protection from sunlight to maintain white color and prevent yellowing.
For non-self-blanching varieties, tie outer leaves over the developing curd when it reaches 2-3 inches in diameter. The University of California recommends checking tied plants every 2-3 days as the curd expands.
| Growth Stage | Duration | Key Development | Critical Care Requirements |
|---|---|---|---|
| Germination | 4-10 days | Root and cotyledon development | Consistent moisture, 70-85°F temperature |
| Seedling | 10-30 days | 5-7 true leaves, root establishment | Hardening off, pest monitoring |
| Vegetative | 30-60 days | Leaf and stem expansion | Consistent watering, nitrogen supply |
| Curd Formation | 60-90 days | Head development | Blanching, temperature control |
| Harvest Ready | 90-120 days | 6-8 inch firm curd | Timely harvesting, proper cutting technique |
Environmental factors dramatically impact curd quality. Temperatures above 75°F (24°C) cause rapid curd enlargement with loose, coarse texture, while temperatures below 50°F (10°C) can trigger premature flowering. The USDA confirms that consistent moisture is critical during curd formation - fluctuations lead to riceyness (hollow curd development).
Stage 5: Harvest Readiness (Days 90-120)
Harvest cauliflower when the curd reaches 6-8 inches in diameter, remains firm and compact, and maintains pure white color (for standard varieties). The optimal harvest window lasts just 2-4 days before quality declines.
Proper harvesting technique:
- Cut through the stem 1.5-2 inches below the curd
- Leave 2-4 protective leaves attached
- Harvest early in the morning when temperatures are cool
- Immediately cool harvested heads to 32-40°F (0-4°C)
Signs of over-maturity include:
- Yellowing or browning of curd
- Loose, separated bead structure
- Visible flowering within the curd
- Soft or spongy texture
Troubleshooting Common Growth Problems
Understanding growth stages helps identify issues early:
Buttoning (small heads) - Caused by stress during seedling stage from cold temperatures, drought, or root binding. Prevent by maintaining consistent growing conditions and proper transplant timing.
Ricing (hollow curd) - Results from rapid growth during curd formation, often from high temperatures or excessive nitrogen. Manage by providing consistent moisture and avoiding late-season high-nitrogen fertilizers.
Yellowing - Sun exposure during curd formation. Prevent by proper blanching techniques for non-self-blanching varieties.
Tip burn - Calcium deficiency often triggered by inconsistent watering. Maintain even soil moisture to prevent this common issue.


 浙公网安备
33010002000092号
浙公网安备
33010002000092号 浙B2-20120091-4