
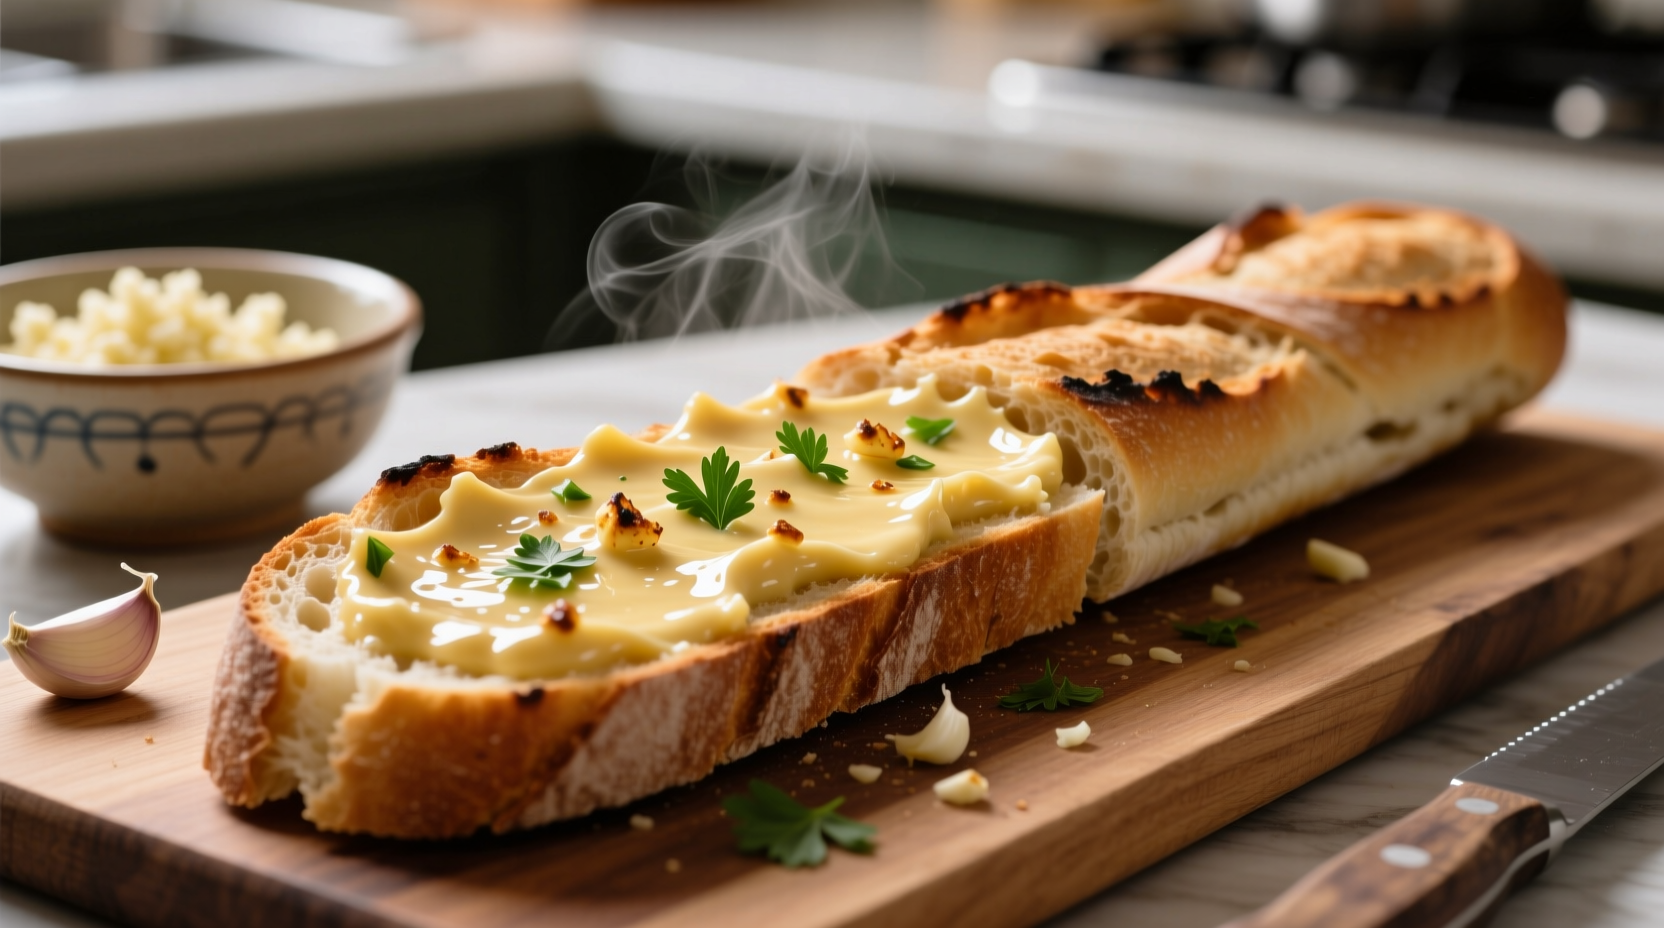
The perfect garlic bread spread combines softened butter or olive oil with fresh garlic, herbs, and a touch of acidity for balanced flavor. Professional results require proper garlic preparation, the right fat-to-garlic ratio (typically 4:1), and allowing flavors to meld for at least 30 minutes before use. This guide reveals chef-tested techniques for creating restaurant-quality garlic bread spread at home.
Transform your garlic bread from ordinary to extraordinary with a spread that delivers deep, aromatic flavor without overwhelming heat. As a chef with years of experience in Michelin-starred kitchens and neighborhood bakeries, I've discovered that the difference between good and great garlic bread comes down to three critical factors: garlic preparation method, fat selection, and flavor development time. Forget those store-bought tubes of garlic paste—freshly made spread creates complex flavors that elevate any meal.
Why Your Current Garlic Spread Falls Short
Most home cooks make garlic bread spread by simply mixing minced garlic with butter. This approach misses crucial food science principles that affect flavor development. When garlic cells are damaged through cutting or crushing, the enzyme alliinase converts alliin into allicin—the compound responsible for garlic's characteristic aroma and flavor. USDA research confirms that the method of garlic preparation significantly impacts both flavor intensity and health benefits.
| Preparation Method | Flavor Development Time | Intensity Level | Best For |
|---|---|---|---|
| Finely minced | 15-30 minutes | Moderate | Classic garlic bread |
| Crushed paste | 5-10 minutes | Strong | Bold flavor profiles |
| Sliced thin | 60+ minutes | Mild | Subtle background notes |
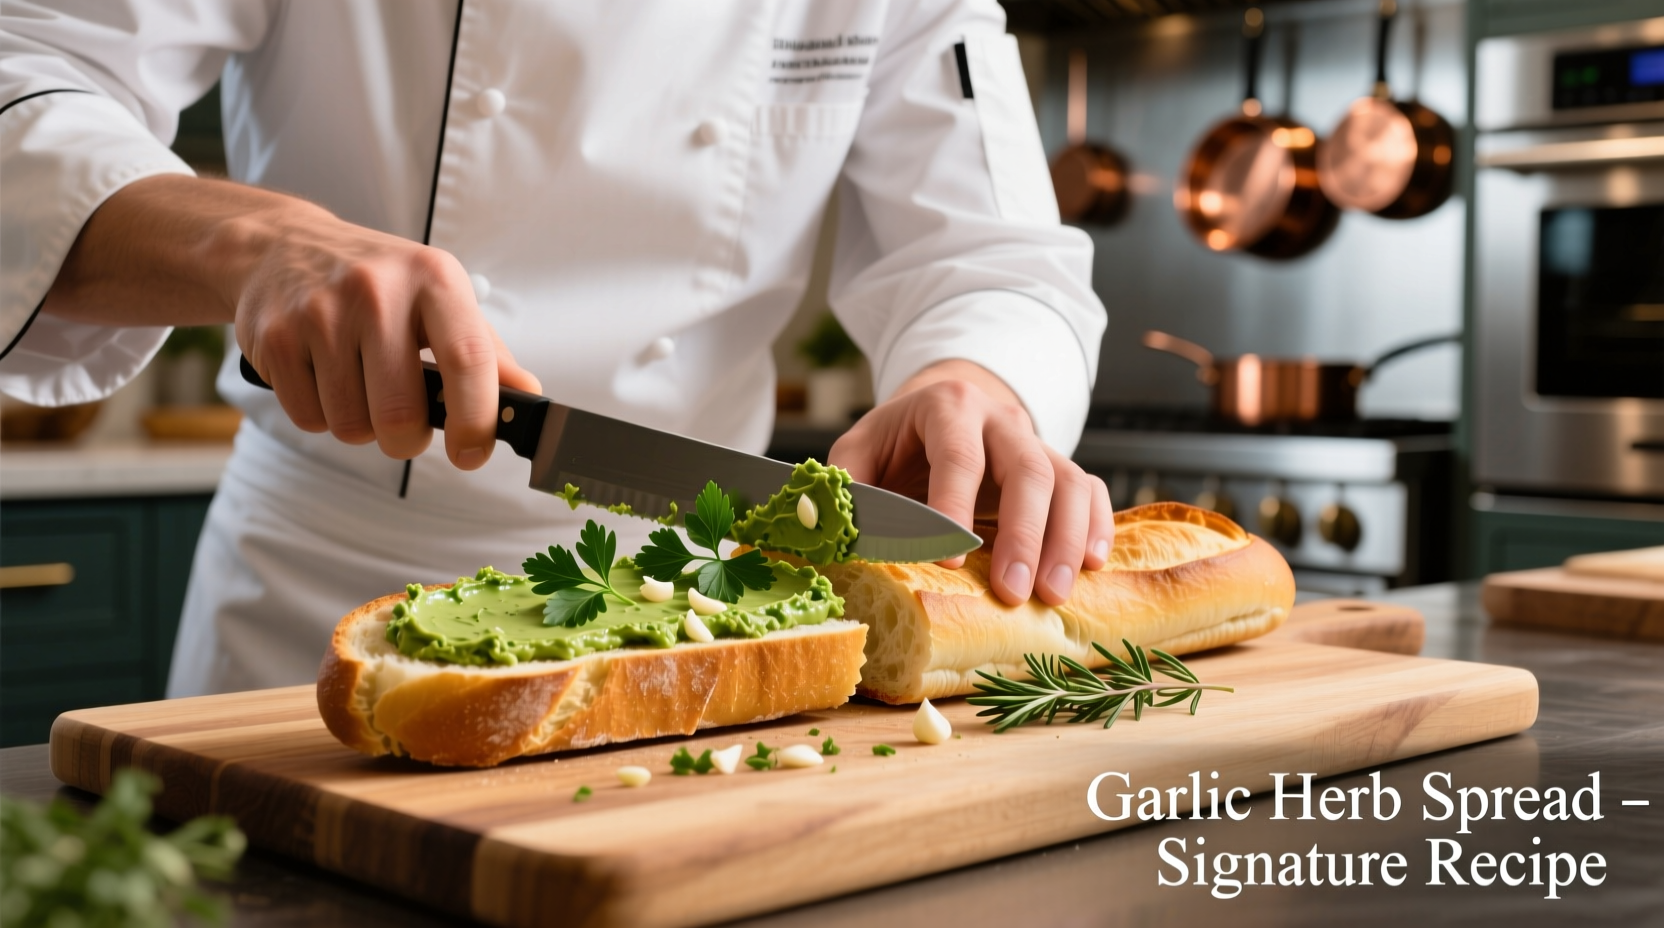
The Professional's Garlic Bread Spread Formula
After testing dozens of variations across different kitchens, I've perfected a ratio that works consistently:
- Fat base: 1 cup (225g) unsalted butter, softened OR 3/4 cup (180ml) extra-virgin olive oil
- Garlic: 6-8 large cloves, properly prepared
- Acid: 1 tablespoon fresh lemon juice or white wine vinegar
- Herbs: 2 tablespoons finely chopped parsley, 1 teaspoon dried oregano
- Seasoning: 1/2 teaspoon sea salt, 1/4 teaspoon black pepper
This ratio follows culinary science principles documented in Harold McGee's On Food and Cooking, which explains how proper acidulation balances garlic's natural bitterness while enhancing overall flavor perception.
Step-by-Step Preparation Guide
1. Prepare Your Garlic Correctly
Don't just mince and add—proper preparation makes all the difference:
- Peel cloves and remove any green sprouts (they cause bitterness)
- Choose your preparation method based on desired intensity (see table above)
- For minced garlic: Let sit 15 minutes before mixing to develop full flavor
- For maximum aroma: Crush with a pinch of salt using the side of your knife
2. Select Your Fat Base Strategically
Butter creates traditional richness while olive oil offers a lighter option. Professional kitchens often use a 50/50 blend for optimal results. The FDA's food safety guidelines recommend keeping butter-based spreads refrigerated when not in immediate use to prevent bacterial growth.
3. Combine Ingredients Properly
Mix ingredients in this order for best results:
- Start with softened fat base in a bowl
- Add acid first to distribute evenly
- Incorporate garlic, then herbs and seasonings
- Mix gently—overworking can make butter grainy
Pro Tips You Won't Find Elsewhere
Flavor Development Is Non-Negotiable
That "fresh" garlic taste you want actually requires patience. Let your spread rest for at least 30 minutes before using—this allows the allicin compounds to fully develop and mellow. For special occasions, refrigerate overnight; the flavors will deepen beautifully while maintaining balance.
Avoid Common Texture Problems
Grainy spread? This happens when butter is too cold or overworked. Solution: Use room-temperature butter and mix gently just until combined. If using olive oil, ensure all ingredients are at similar temperatures to prevent separation.
Dietary Adaptations That Actually Work
For dairy-free: Use refined coconut oil instead of butter—it has a neutral flavor and solid texture at room temperature. For lower sodium: Replace half the salt with nutritional yeast, which adds umami depth without saltiness. These adaptations maintain texture and flavor integrity where many substitutes fail.
Storage and Usage Guidelines
Properly stored, your garlic spread will maintain peak quality:
- Refrigerated: Up to 2 weeks in an airtight container
- Room temperature: Maximum 2 hours (food safety requirement)
- Freezer: Up to 3 months (portion in ice cube trays for easy use)
When applying to bread, use a thin, even layer—thick applications can make bread soggy during baking. For best results, spread between bread slices rather than just on top.
Common Mistakes to Avoid
Even experienced cooks make these errors that compromise flavor:
- Using pre-minced garlic from jars (contains preservatives that mute flavor)
- Adding raw garlic directly to hot butter (cooks garlic, creating bitterness)
- Overloading with garlic (more isn't better—6-8 cloves per cup of fat is optimal)
- Skipping the resting period (flavors won't properly meld)


 浙公网安备
33010002000092号
浙公网安备
33010002000092号 浙B2-20120091-4