Table of Contents
- Your Quick Guide to Perfect Ribs Every Time
- Baby Back vs Spare vs St. Louis Ribs: What's the Difference?
- 3 Easy Rib Rub Recipes (No Fancy Measurements)
- Oven, Grill or Smoker: Best Cooking Methods for Home Cooks
- How to Tell When Ribs Are Perfectly Cooked
- 5 Most Common Rib Mistakes (and How to Fix Them)
- Frequently Asked Questions
Your Quick Guide to Perfect Ribs Every Time
Want tender, fall-off-the-bone ribs without special equipment? Here's what actually works for home cooks: Remove the membrane first (it blocks flavor), apply a simple 3-ingredient dry rub (salt, brown sugar, paprika), cook at 275°F for 2.5-3 hours, then wrap in foil with apple juice for the last hour. This method works for all rib types and delivers consistent results—no complicated measurements or science degree required.
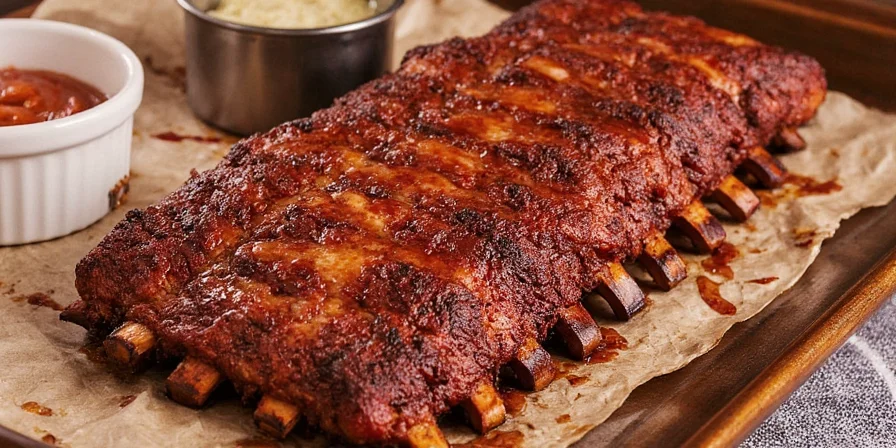
Baby Back vs Spare vs St. Louis Ribs: What's the Difference?
Choosing the right ribs matters more than fancy techniques. Here's what you need to know:
Baby Back Ribs
The most popular choice for beginners. These come from the top of the rib cage near the spine. They're smaller, leaner, and cook faster (about 2-2.5 hours). Best for first-time rib cooks because they're harder to overcook. Look for racks with even pink color and thin fat marbling.
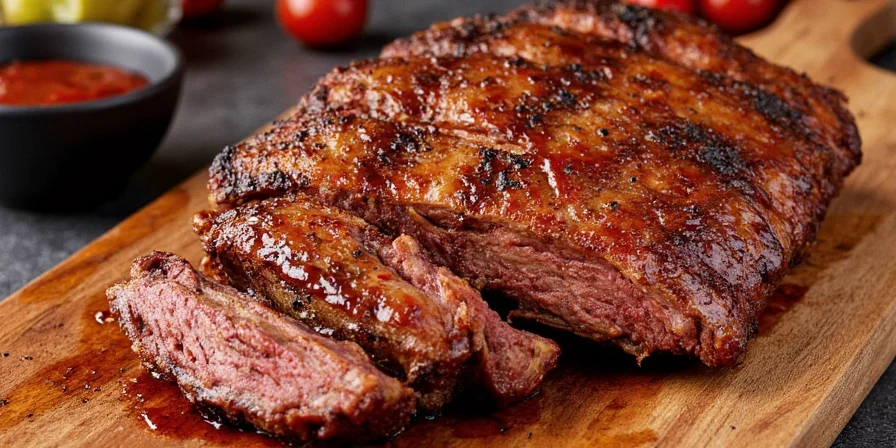
Spare Ribs
Cut from the belly area, these have more fat and connective tissue. They take longer to cook (3-5 hours) but deliver richer flavor. The irregular shape means you'll need to rotate them during cooking. Best for experienced cooks who want that authentic BBQ taste. Watch for racks with good fat coverage but not excessive hard fat.
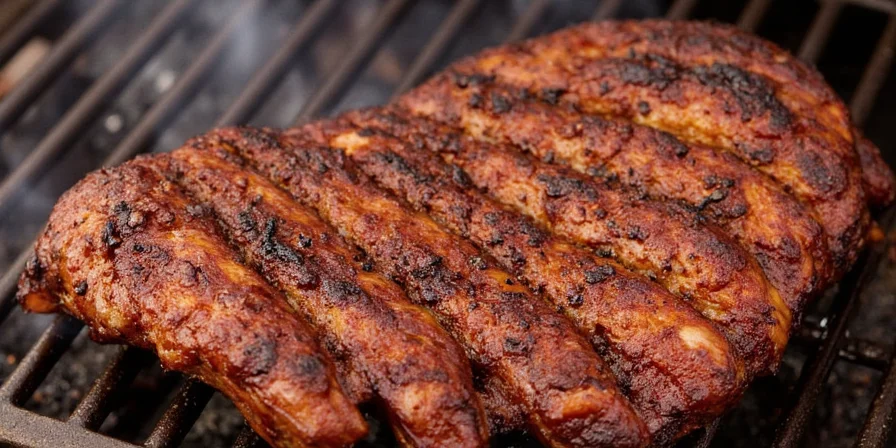
St. Louis Cut Ribs
These are spare ribs with the hard cartilage and bone tips removed, creating a neat rectangular shape. They cook more evenly than regular spares but cost more. Great for presentation at parties. Cooking time is similar to spare ribs but with more consistent results.
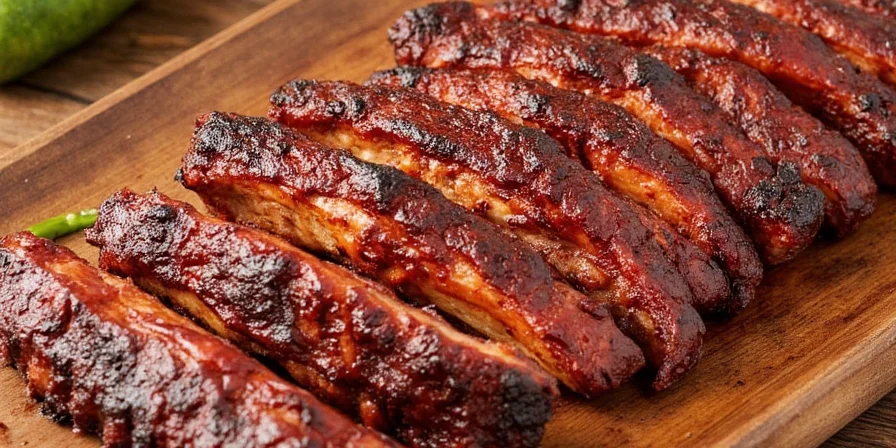
| Type | Best For | Cooking Time | Difficulty |
|---|---|---|---|
| Baby Back Ribs | Beginners, quick meals | 2-2.5 hours | Easy |
| Spare Ribs | BBQ enthusiasts, rich flavor | 3-5 hours | Medium |
| St. Louis Cut | Parties, even cooking | 3-4 hours | Medium |
3 Easy Rib Rub Recipes (No Fancy Measurements)
Forget complicated spice calculations—these simple rubs work every time:
Basic All-Purpose Rub (for any rib type)
Mix 1/4 cup brown sugar, 2 tablespoons paprika, and 1 tablespoon each of salt and garlic powder. Apply generously to both sides of the ribs. For baby backs, use 3/4 of this amount; for spares or St. Louis cuts, use the full amount.
Memphis-Style Dry Rub
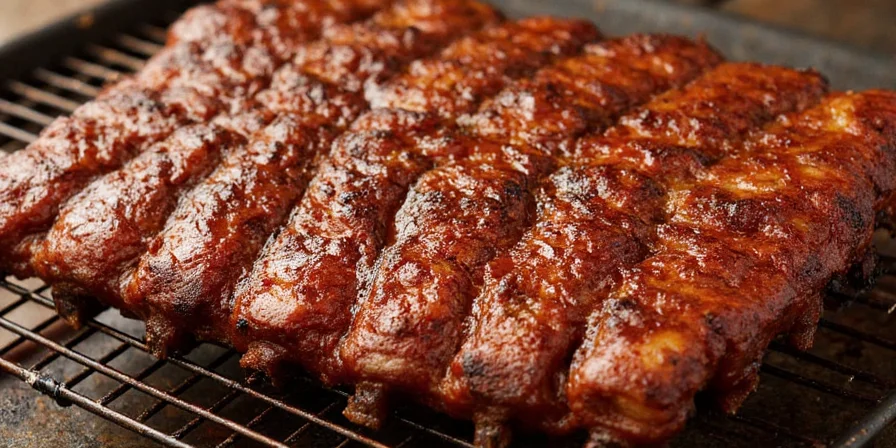
For that authentic BBQ joint flavor: Combine 3 tablespoons paprika, 2 tablespoons each of brown sugar and chili powder, 1 tablespoon each of cumin and garlic powder, and 2 teaspoons cayenne. Skip the sauce and let the rub shine—perfect for spare ribs.
Honey Mustard Rub (for beginners)
Mix 1/4 cup Dijon mustard, 2 tablespoons honey, 1 tablespoon each of smoked paprika and garlic powder. Brush on ribs before cooking. The honey caramelizes beautifully and creates a sticky-sweet crust that beginners love.
Oven, Grill or Smoker: Best Cooking Methods for Home Cooks
Don't own a smoker? No problem. These methods work in any kitchen:
Oven Method (Easiest for Beginners)
Preheat to 275°F. Place ribs bone-side down on a foil-lined baking sheet. Cook uncovered for 2 hours, then wrap tightly in foil with 1/4 cup apple juice. Return to oven for 1-1.5 more hours until tender. No special equipment needed!
Grill Method (For Smoky Flavor)
Set up for indirect heat (coals on one side). Cook ribs away from direct flame at 225-250°F for 2 hours per side, then wrap and finish as with oven method. Add wood chips for authentic smoke flavor.
| Wood Type | Best For | Flavor Notes |
|---|---|---|
| Hickory | Pork ribs | Strong, bacon-like flavor |
| Apple | All rib types | Sweet, mild smoke |
| Cherry | Baby backs | Fruity sweetness, beautiful color |
How to Tell When Ribs Are Perfectly Cooked
Forget thermometers—use these foolproof visual tests:
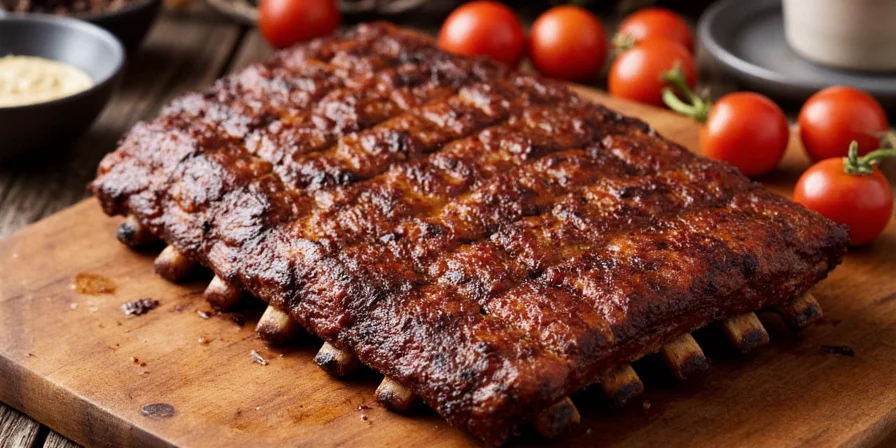
- Bend Test: Hold ribs with tongs in the middle. If they bend easily and small cracks appear in the surface, they're done.
- Meat Shrink: The meat should have pulled back from the bones about 1/2 inch.
- Fork Test: A fork should slide in with little resistance but not fall apart completely.
5 Most Common Rib Mistakes (and How to Fix Them)
Learn from these frequent errors:
- Mistake: Not removing the membrane
Solution: Slide a butter knife under the membrane at one end, then grab with paper towel and pull off before seasoning. - Mistake: Cooking at too high temperature
Solution: Keep temperature below 275°F—low and slow is key for tender ribs. - Mistake: Applying sauce too early
Solution: Only glaze during the last 30 minutes to prevent burning. - Mistake: Not resting after cooking
Solution: Let ribs rest 15 minutes wrapped in foil before serving for juicier results. - Mistake: Cutting before serving
Solution: Leave ribs whole until ready to serve—cutting too early dries them out.
Frequently Asked Questions
Cooking perfect ribs doesn't require expensive equipment or culinary school training. By understanding the basic differences between rib types and following these simple methods, you'll consistently create tender, flavorful ribs that impress family and friends. Remember the golden rule: low temperature and slow cooking beat high heat every time. Now fire up your oven or grill and enjoy restaurant-quality ribs from your own kitchen!



 浙公网安备
33010002000092号
 浙B2-20120091-4