
Learn how to make pickles at home with step-by-step instructions for perfect results every time. Whether you're a beginner or experienced cook, these detailed recipes cover everything from basic brines to global variations—safe, delicious, and easy to follow.

Table of Contents
- What Are Pickles Anyway?
- Why Make Pickles at Home?
- Essential Spices for Pickling
- The Basic Brine Formula
- 5 Step-by-Step Pickling Recipes
- Tools and Equipment You'll Need
- Buying Guide for Pickling Essentials
- Common Pickling Problems & Fixes
- Frequently Asked Questions
- Conclusion
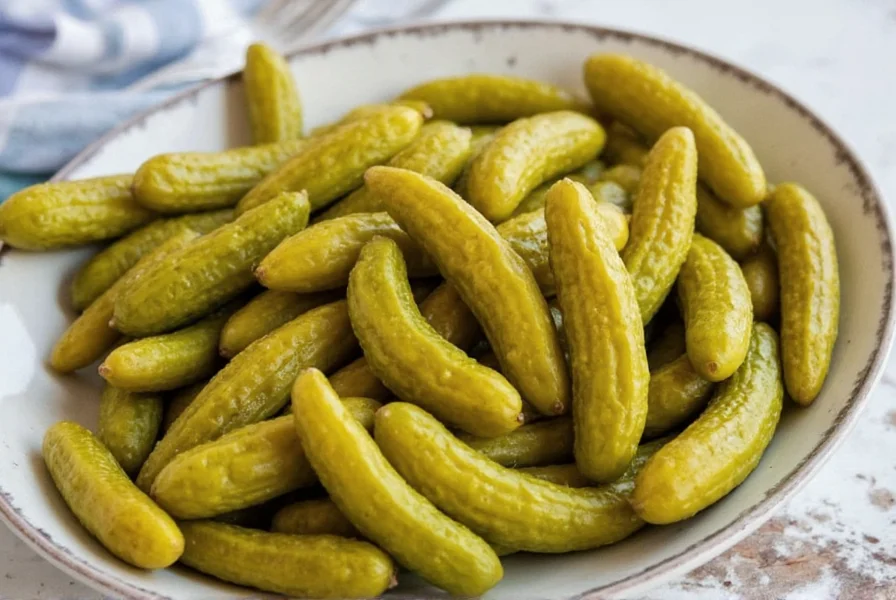
What Are Pickles Anyway?
At their core, pickles are simply foods preserved in a brine (saltwater), vinegar, or through fermentation. While cucumbers are the most iconic pickled vegetable, almost anything — from onions to watermelon rinds — can be turned into a pickle.
The real magic? The spices. Whether it's garlic, mustard seeds, or dill weed, these flavor boosters turn a simple veggie into a culinary treasure.
Why Make Pickles at Home?
You might wonder, "Why bother making pickles when I can buy them at the store?" Here's why:
- Total control over ingredients – No preservatives, artificial flavors, or weird additives.
- Taste customization – Make them spicy, sweet, garlicky, or herby — exactly how you like.
- Cheaper in bulk – Buy seasonal produce and preserve them for months.
- Easy food preservation skill – Great for homesteading, sustainability, or emergency preparedness.
Essential Spices for Pickling
The secret ingredient behind great pickles is spice. Let's break down what goes into that magical brine:
| Spice | Flavor Profile | Best Used For |
|---|---|---|
| Dill | Fresh, grassy, herbaceous | Classic dill pickles |
| Mustard Seeds | Earthy, sharp, slightly bitter | German-style sauerkraut pickles |
| Coriander Seeds | Citrusy, warm, floral | Indian-inspired pickles |
| Black Pepper Corns | Pungent, peppery kick | All-purpose brines |
| Ginger | Spicy, aromatic, warming | Asian-style kimchi or carrot pickles |
| Cinnamon Stick | Sweet, woody, cozy | Sweet bread-and-butter pickles |
The Basic Brine Formula
A good brine is the backbone of any successful pickle. Here's a foolproof base to start with:
- 2 cups water
- 1 cup white vinegar
- 1 tablespoon pickling salt
- Optional: 1 teaspoon sugar (for sweet varieties)
- Spice mix: 1 tsp each of mustard seeds, coriander seeds, black pepper corns
Bring this mixture to a boil, then pour it over your veggies in sterilized jars. Seal and let cool before refrigerating or processing for long-term storage.
5 Step-by-Step Pickling Recipes
Follow these detailed instructions for perfect pickles every time:
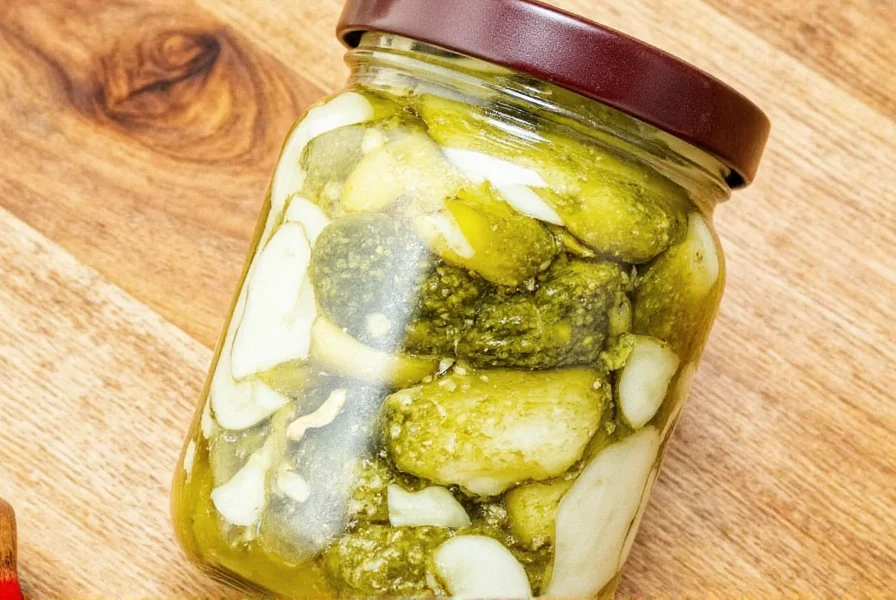
1. Classic Dill Pickles
Ingredients:
- 2 lbs Kirby cucumbers (fresh, firm, and dark green)
- 2 cups water
- 1 cup white vinegar
- 2 tbsp pickling salt
- 4 garlic cloves, sliced
- 2 tbsp fresh dill or 2 tsp dill seeds
- 1 tsp mustard seeds
- 1 tsp black peppercorns
Steps:
- Wash cucumbers thoroughly and trim both ends. Leave whole or slice into spears.
- Sterilize jars and lids by boiling for 10 minutes. Air-dry completely.
- Pack cucumbers vertically into jars with garlic, dill, mustard seeds, and peppercorns.
- Bring water, vinegar, and salt to a boil. Simmer for 2 minutes.
- Pour hot brine over cucumbers, leaving ½ inch headspace.
- Seal jars with sterilized lids. For shelf-stable pickles: process in boiling water bath for 10 minutes. For refrigerator pickles: cool to room temperature before refrigerating.
- Wait 1-2 weeks for flavors to develop before eating.
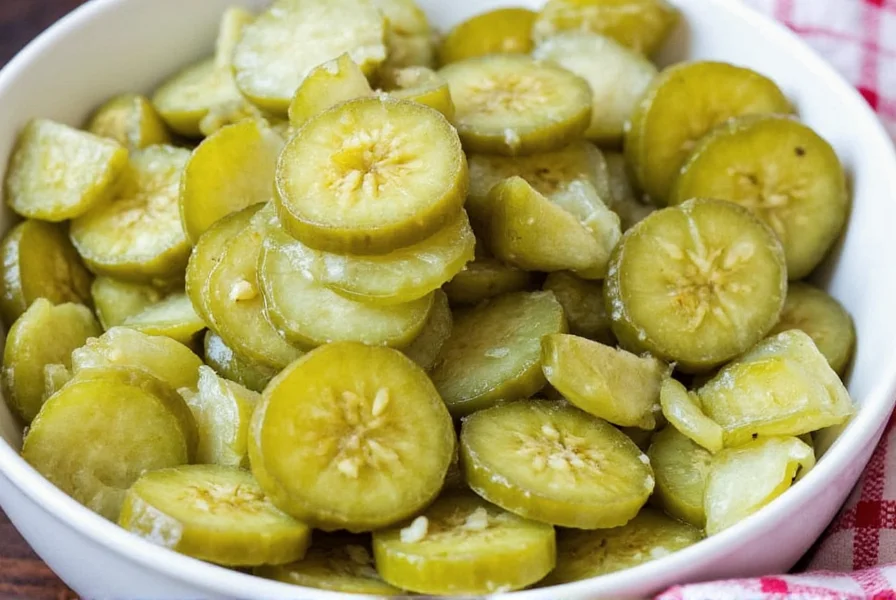
2. Sweet Bread and Butter Pickles
Ingredients:
- 4 cups sliced cucumbers (1/4" thick)
- 2 cups sliced onions
- 2 tbsp pickling salt
- 1 cup apple cider vinegar
- 1 cup sugar
- 1 tsp turmeric
- 1 tsp mustard seeds
- 1 tsp celery seeds
- 1/2 tsp ground ginger
Steps:
- Combine cucumbers and onions in a bowl. Sprinkle with salt, cover, and refrigerate for 2 hours. Drain excess liquid.
- In a saucepan, combine vinegar, sugar, turmeric, mustard seeds, celery seeds, and ginger. Bring to a boil, then simmer for 5 minutes.
- Pack drained cucumbers and onions into sterilized jars.
- Pour hot brine over vegetables, leaving ½ inch headspace.
- Seal jars and process in boiling water bath for 10 minutes. Cool completely before storing.

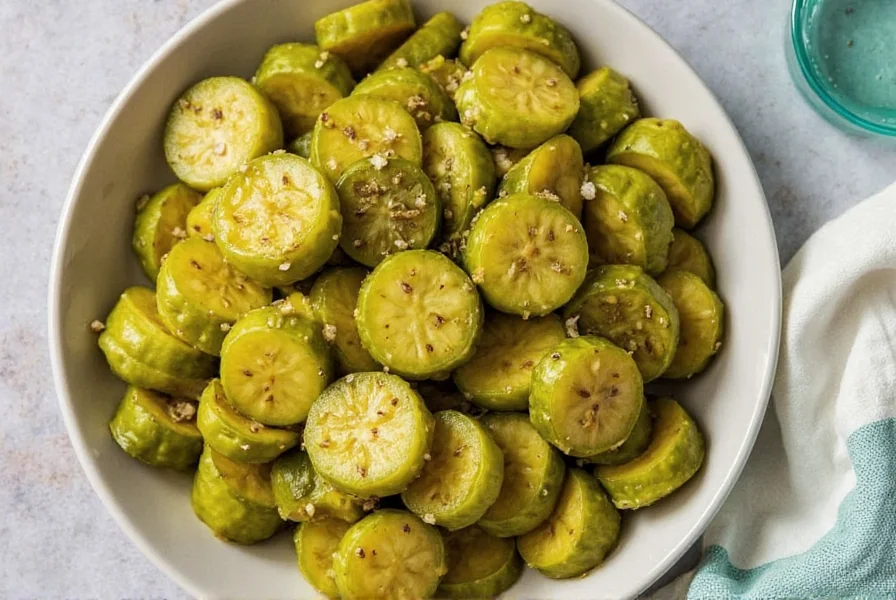
3. Korean Radish Pickles (Kkakdugi)
Ingredients:
- 2 lbs Korean radish (ddakdugi), cut into 1" cubes
- 1/4 cup pickling salt
- 1/4 cup gochugaru (Korean red pepper flakes)
- 2 tbsp fish sauce (or vegan alternative)
- 2 tbsp minced garlic
- 1 tbsp minced ginger
- 2 tbsp sugar
- 1/4 cup water
Steps:
- Toss radish cubes with pickling salt. Let sit for 2 hours, then rinse and drain.
- In a bowl, mix gochugaru, fish sauce, garlic, ginger, sugar, and water to form paste.
- Coat drained radish cubes evenly with the paste.
- Pack into sterilized jars, pressing down to remove air pockets. Leave 1" headspace.
- Seal jars and ferment at room temperature for 2-3 days. Move to refrigerator for up to 3 months.

4. Indian Mango Pickle (Aam Ka Achar)
Ingredients:
- 4 raw green mangoes, peeled and diced
- 1/2 cup mustard oil
- 2 tbsp mustard seeds
- 1 tbsp fenugreek seeds
- 1 tbsp turmeric powder
- 2 tbsp red chili powder
- 1/4 cup lemon juice
- 1 tsp asafoetida (hing)
Steps:
- Steam mango pieces for 5 minutes until slightly tender. Cool completely.
- Heat mustard oil in a pan until smoking, then cool to room temperature.
- In a bowl, combine mangoes, mustard seeds, fenugreek seeds, turmeric, chili powder, lemon juice, and asafoetida.
- Pour cooled mustard oil over mixture and stir well.
- Transfer to sterilized jars. Seal and store in a cool, dark place for 2 weeks before eating.
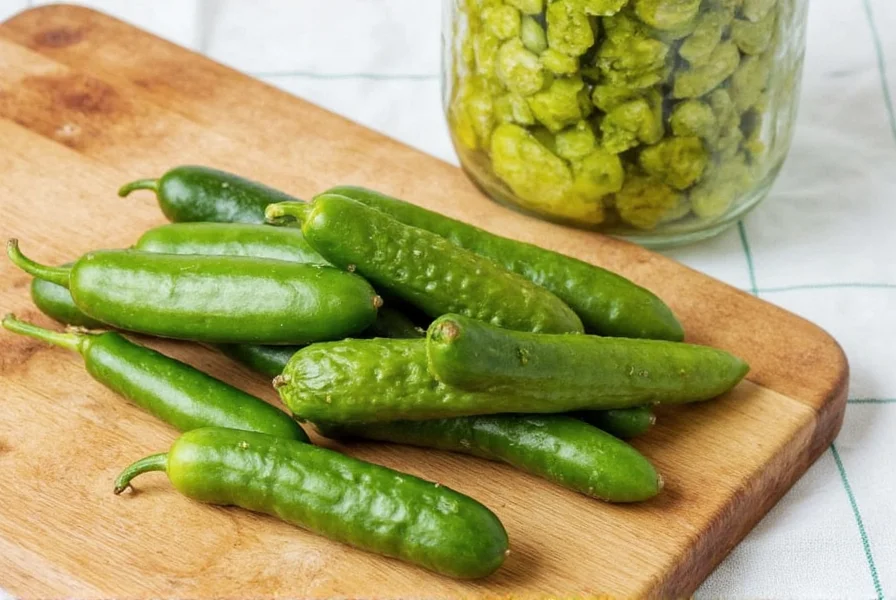
5. Refrigerator Pickled Jalapeños
Ingredients:
- 1 lb jalapeños, sliced into rings
- 1 cup white vinegar
- 1 cup water
- 1 tbsp pickling salt
- 2 garlic cloves, sliced
- 1 tsp black peppercorns
- 1 bay leaf
Steps:
- Wash jalapeños and slice into rings (wear gloves to avoid skin irritation).
- Combine vinegar, water, salt, garlic, peppercorns, and bay leaf in a saucepan. Bring to a boil.
- Pack jalapeño rings into sterilized jars.
- Pour hot brine over jalapeños, leaving ½ inch headspace.
- Cool to room temperature, then seal and refrigerate. Ready to eat in 24 hours.
Tools and Equipment You'll Need
To make the process smooth and safe, here are the essentials you'll want to have on hand:
- Ball Mason Jars – Ideal for storing and preserving pickles safely.
- Stainless Steel Pots – Avoid reactive metals like aluminum.
- Wooden Spoon – Best for mixing without reacting with vinegar.
- Canning Funnel – Makes filling jars neat and easy.
- Lids and Rings – Reusable lids save money and reduce waste.
Buying Guide for Pickling Essentials
If you're new to pickling, choosing the right products can feel overwhelming. Here's a quick guide to help you make smart choices:
| Product | Description | Key Features | Target Audience | Use Case |
|---|---|---|---|---|
| Ball Mason Jars | Glass canning jars with screw-top lids | Reusable, airtight, heat-resistant | Home cooks, beginners, gardeners | Storing pickles, jams, sauces |
| McCormick Pickling Spice | Premixed blend of essential pickling spices | Balanced flavor, time-saving | Busy cooks, first-time picklers | Quick brine prep |
| Herb Spoon Measuring Set | Stainless steel measuring spoons | Rust-proof, ergonomic handles | Cooking enthusiasts, gift seekers | Precise spice measurements |
| Victorio Strainer | Veggie strainer with crank handle | Effortless julienning, grater attachment | Batch picklers, meal preppers | Preparing large quantities of veggies |
| KitchenAid Stand Mixer Attachment - Food Grinder | Meat grinder attachment for stand mixer | Multi-functional, powerful motor | Advanced users, meat picklers | Making relishes, ground spice blends |
Common Pickling Problems & Fixes
Even seasoned picklers run into issues. Here are some common problems and how to solve them:
- Cloudy Brine – Could be due to using table salt instead of pickling salt. Always use non-iodized salt.
- Mushy Pickles – Often caused by low acidity or old vegetables. Use fresh produce and check vinegar strength.
- Off Smells or Mold – If this happens, discard the batch immediately. Ensure jars are sterilized and sealed properly.
- Soft Tops – May mean under-processing. Follow recommended boiling times for shelf-stable pickles.
Frequently Asked Questions About Making Pickles
How long do homemade pickles last?
How long do homemade pickles last in the refrigerator?
Refrigerator pickles typically stay crisp and flavorful for 1-2 months when properly stored. For shelf-stable canned pickles processed in a water bath, they can last up to 1 year in a cool, dark place. Always check for signs of spoilage like mold, off smells, or significant cloudiness before consuming.
Can I use regular table salt for pickling?
No, it's best to use pickling or canning salt which is pure sodium chloride without additives. Table salt contains iodine and anti-caking agents that can cause cloudiness in your brine and affect the texture of your pickles. Sea salt can be used as an alternative if it's pure with no additives, but pickling salt is specifically designed for preserving.
What type of cucumbers should I use for pickling?
Kirby cucumbers are ideal for pickling because of their firm texture, small size, and thin skin. They stay crisp during the pickling process. Avoid standard slicing cucumbers which tend to become mushy. Look for firm, dark green cucumbers without blemishes, and try to pickle them within 24 hours of harvesting for the best results.
Do I need to sterilize jars for refrigerator pickles?
For refrigerator pickles that will be consumed within 2 months, thorough cleaning is sufficient—wash jars in hot soapy water or run through the dishwasher. However, for pickles intended for shelf storage (more than 2 months), jars must be properly sterilized by boiling for 10 minutes before filling to prevent contamination and ensure food safety.
Why did my pickles turn out mushy?
Mushy pickles are usually caused by one of several factors: using old or overripe vegetables, not using fresh spices (especially oak, grape, or cherry leaves which contain tannins that help maintain crispness), incorrect vinegar-to-water ratio, or overprocessing. For crisper pickles, use fresh produce, add a grape leaf to each jar, maintain proper acidity (usually a 1:1 vinegar to water ratio for most quick pickles), and don't overprocess during canning.
Can I adjust the sweetness or sourness of my pickles?
Absolutely! One of the main advantages of making your own pickles is customizing the flavor to your preference. For sweeter pickles, increase the sugar in the brine (try adding 1-2 tablespoons more). For tangier pickles, increase the vinegar ratio slightly or decrease the sugar. When adjusting recipes, maintain the total liquid volume to ensure proper preservation—replace sugar with water if reducing sweetness, or replace water with vinegar if increasing sourness.
Conclusion
Mastering the art of making pickles recipe is about precision, safety, and creativity. By following these detailed step-by-step instructions, you'll transform ordinary ingredients into extraordinary, shelf-stable delights.
Remember: Always prioritize food safety with proper sterilization and sealing techniques. With practice, you'll develop your own signature pickles that impress family and friends.
Happy pickling!


 浙公网安备
33010002000092号
浙公网安备
33010002000092号 浙B2-20120091-4