

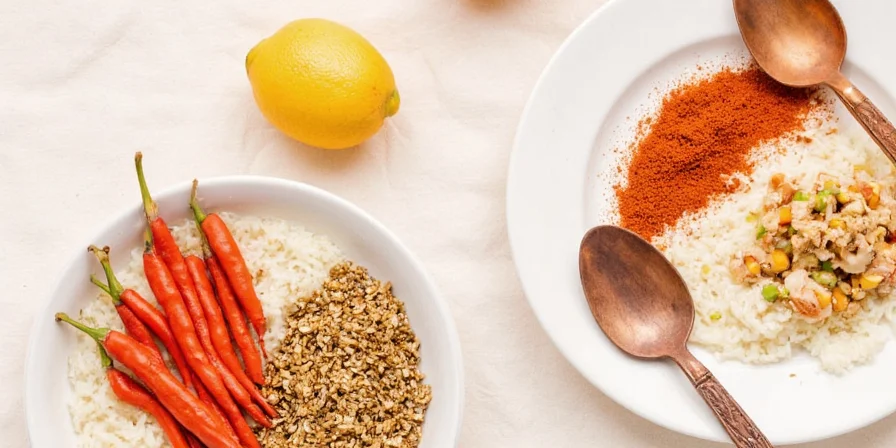
Homemade dry rubs are simple spice blends that transform ordinary meat into extraordinary BBQ without preservatives or hidden ingredients. This guide provides exactly what you need: easy beginner recipes you can make today with common pantry spices, plus advanced techniques for perfect flavor every time. Skip the store-bought versions filled with fillers and learn to create custom rubs that work with your cooking method and taste preferences.
Whether you're grilling chicken breasts tonight or planning your first brisket cook, you'll discover how to make dry rubs that actually stick, develop flavorful crusts, and penetrate deep into meat. Start with our simple 5-ingredient starter recipe below, then explore science-backed techniques to level up your BBQ.
Table of Contents
- Simple 5-Ingredient Dry Rub (Beginner Recipe)
- Why Homemade Beats Store-Bought (Real Cost & Flavor Differences)
- Dry Rub Basics: What Actually Works (No Cooking Degree Needed)
- 3 Foolproof Rub Recipes for Chicken, Ribs & Steak
- 5 Common Dry Rub Mistakes That Ruin Your BBQ
- How Long Homemade Rubs Last (Storage Guide)
- Flavor Profile Comparison Chart
- FAQ: Answering Your Top Dry Rub Questions
Simple 5-Ingredient Dry Rub (Beginner Recipe)
Make this basic dry rub in 2 minutes with spices you likely already have:
- 3 tbsp paprika (any kind)
- 1.5 tbsp brown sugar
- 1 tbsp salt
- 1 tbsp garlic powder
- 1 tsp black pepper
How to use: Mix in small bowl, apply generously to meat 1 hour before cooking. Works perfectly for chicken, pork chops, or ribs. No special equipment needed - just your hands!
This starter recipe solves the #1 problem beginners face: complicated ingredient lists. Most store-bought rubs contain similar ingredients plus fillers like cornstarch or MSG. You'll save money and control exactly what goes on your food.
Why Homemade Beats Store-Bought (Real Cost & Flavor Differences)
Store-bought dry rubs cost 3-5x more per ounce than making your own with bulk spices. But the real advantage is flavor control and avoiding unwanted ingredients:
- No mystery fillers—Skip anti-caking agents, sugar syrups, and artificial flavors found in commercial blends
- Customize heat level—Adjust cayenne to your preference instead of generic "medium" heat
- Perfect for dietary needs—Make salt-free versions or avoid allergens like garlic
Most importantly: homemade rubs actually stick to meat better. Commercial blends often contain cornstarch that creates a paste when moisture hits it, preventing proper bark formation. Your simple spice mix penetrates deeper for better flavor.
| Spice | When to Use | Beginner Tip |
|---|---|---|
| Paprika | All proteins | Use regular for most meats, smoked for brisket/pork |
| Brown Sugar | Ribs, chicken, salmon | Reduce by half for high-heat cooking (above 350°F) |
| Garlic Powder | All proteins | Never substitute fresh garlic (burns easily) |
| Onion Powder | Beef, pork | Mix with salt first to prevent clumping |
| Cayenne | Steak, game meats | Start with 1/4 tsp, add more next time if needed |
Dry Rub Basics: What Actually Works (No Cooking Degree Needed)
You don't need culinary school to make great dry rubs. Follow this simple framework that works for any meat:
- Salt (25%): Essential for flavor and moisture control—use 1 tbsp per pound of meat
- Sugar (20%): Creates caramelization—reduce for high-heat cooking to prevent burning
- Paprika (30%): Provides color and base flavor—smoked for BBQ, sweet for chicken
- Aromatics (20%): Garlic/onion powder for depth—never use fresh (burns)
- Heat (5%): Cayenne or black pepper—adjust to taste
This ratio works for 90% of BBQ situations. For quick weeknight dinners, skip the heat element entirely. For special occasions, add 1/2 tsp of your favorite dried herb (thyme for chicken, rosemary for steak).
3 Foolproof Rub Recipes for Chicken, Ribs & Steak
All-Purpose Chicken Rub
- 2 tbsp paprika
- 1 tbsp brown sugar
- 1 tbsp salt
- 1 tbsp garlic powder
- 1 tsp onion powder
- 1/2 tsp thyme
Apply to chicken 1 hour before grilling. Perfect for breasts, thighs, or whole chicken.
Easy Pork Rib Rub
- 3 tbsp paprika
- 2 tbsp brown sugar
- 1.5 tbsp salt
- 1 tbsp garlic powder
- 1 tbsp onion powder
- 1 tsp mustard powder
Use on ribs 4 hours before smoking. Double the recipe for a full rack.
Simple Steak Rub
- 2 tbsp paprika
- 1 tbsp salt
- 1 tbsp garlic powder
- 1 tbsp onion powder
- 1 tsp black pepper
- 1/2 tsp cayenne (optional)
Apply 30 minutes before high-heat searing. Works for ribeye, sirloin, or filet.
5 Common Dry Rub Mistakes That Ruin Your BBQ
- Applying to wet meat: Pat proteins completely dry first—moisture creates paste instead of crust
- Using fresh garlic/onion: Burns easily; always use dried versions for consistent results
- Overcomplicating ingredients: Stick to 5-7 spices max for best flavor clarity
- Adding sugar for high-heat cooking: Reduce by half above 350°F to prevent burning
- Rubbing too hard: Gently press spices on—aggressive rubbing damages meat surface
Avoid these and your rubs will develop perfect bark every time. The most important tip? Let rubbed meat rest at room temperature for 30-60 minutes before cooking—this allows spices to adhere properly.
How Long Homemade Rubs Last (Storage Guide)
Store homemade rubs properly to maintain freshness:
- Air-tight container: Use mason jars or plastic containers (no special equipment needed)
- Cool, dark place: Pantry shelf works fine—no need for refrigeration
- Label with date: Most blends stay fresh 6-12 months (sugar-based rubs last 6 months)
Signs your rub has gone bad: faded color, weak aroma, or clumping that doesn't break apart. When in doubt, make a new batch—it's cheaper than ruining expensive meat!
| Rub Type | Best For | Max Storage | Pro Tip |
|---|---|---|---|
| Sugar-Based | Ribs, chicken | 6 months | Store separate from salt to prevent clumping |
| Salt-Heavy | Steak, brisket | 12 months | Add sugar just before using for fresh flavor |
| Herb-Forward | Lamb, vegetables | 4 months | Keep whole herbs and grind as needed |
FAQ: Answering Your Top Dry Rub Questions
Can I use this rub on frozen meat?
No—always thaw meat completely first. Rubs need direct contact with dry meat surface to work properly. Frozen surfaces create moisture that prevents proper adhesion.
How much rub should I use per pound of meat?
Use 1 tablespoon of rub per pound of meat. For larger cuts like brisket, apply evenly across entire surface. For chicken breasts, 2 teaspoons per side is perfect.
Do I need to oil the meat before applying rub?
No—oil creates a barrier that prevents rub from sticking. The natural fats in meat provide enough moisture for adhesion. Pat meat dry instead for best results.
Can I use this on fish or vegetables?
Yes! Use half the amount for fish (1.5 tsp per pound). For vegetables, skip the salt and sugar—use just paprika, garlic powder, and herbs. Apply 15 minutes before roasting.


 浙公网安备
33010002000092号
浙公网安备
33010002000092号 浙B2-20120091-4