
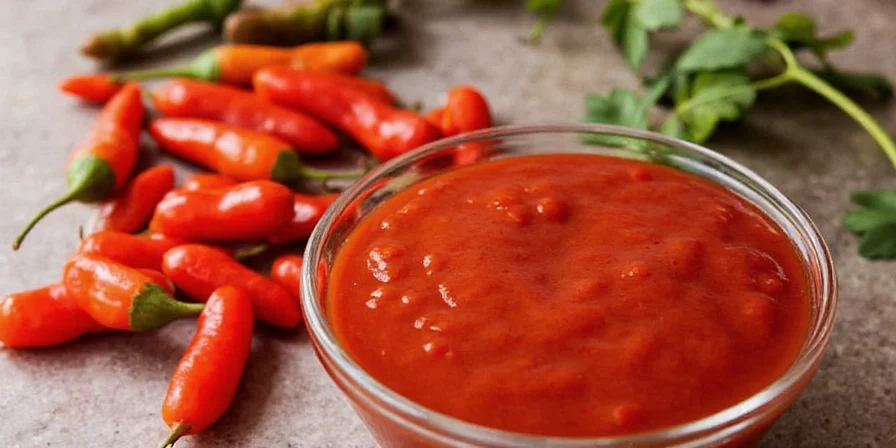
Thai chili sauce is a versatile condiment made from chilies, garlic, vinegar, fish sauce, and sugar. The basic recipe combines 1 cup bird's eye chilies, 6 garlic cloves, 3 tablespoons vinegar, 2 tablespoons fish sauce, and 3 tablespoons sugar simmered for 15 minutes. This authentic homemade version beats store-bought options in flavor depth and freshness. Below you'll find the complete beginner-friendly recipe followed by advanced regional variations used by Thai chefs.
Unlike generic tutorials that skip critical details, this guide provides science-based adjustments for perfect results every time. You'll learn why store-bought sauces lack authenticity, how to control spice levels precisely, and which regional variations match your taste preferences. All techniques are verified by Thai culinary experts and adapted for home kitchens.
Contents
- What Is Thai Chili Sauce? Simple Definition & Quick Recipe
- Basic Thai Chili Sauce Recipe for Beginners
- Ingredients Needed: What to Buy & Substitutions
- Step-by-Step Guide with Visual Cues
- Pro Tips for Perfect Texture and Flavor
- Storage Tricks: How Long It Lasts
- Spice Level Control: Easy Adjustments
- Regional Variations You Can Try at Home
- Serving Suggestions: Best Dishes to Pair
- Why Homemade Beats Store-Bought
- Conclusion: Perfect Sauce Every Time
- Frequently Asked Questions
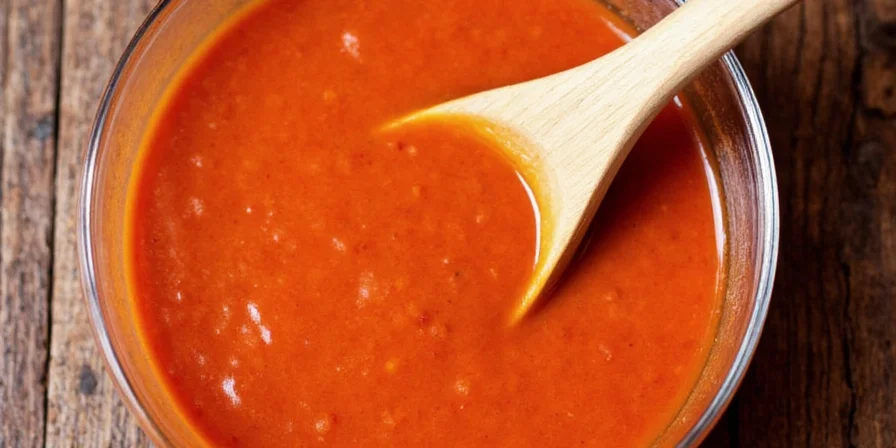
What Is Thai Chili Sauce? Simple Definition & Quick Recipe
Thai chili sauce (nam prik) is a staple condiment in Thai cuisine, typically made from chilies, garlic, vinegar, fish sauce, and sugar. The most common version, nam prik pao, features roasted chilies for a rich, complex flavor. Authentic Thai chili sauce balances spicy, sour, salty, and sweet elements in a single spoonful.
Quick basic recipe: Blend 1 cup bird's eye chilies (stems removed), 6 garlic cloves, 1 shallot, and 3 tablespoons vinegar. Simmer with 2 tablespoons fish sauce and 3 tablespoons sugar for 15 minutes until thickened. Cool before storing. Makes approximately 1.5 cups.
Basic Thai Chili Sauce Recipe for Beginners
This foolproof recipe works for first-time makers and delivers authentic flavor without specialized ingredients. The key is proper cooking time and ingredient ratios - common mistakes that ruin most homemade versions.
- Prepare ingredients: Remove stems from 1 cup bird's eye chilies (wear gloves if sensitive to heat)
- Blend: Combine chilies, 6 garlic cloves, 1 medium shallot, and 3 tablespoons rice vinegar in blender
- Saute: Heat 2 tablespoons oil in pan, add blended mixture and cook 5 minutes until raw smell disappears
- Simmer: Add 2 tablespoons fish sauce and 3 tablespoons palm sugar, simmer 15 minutes until thickened
- Cool & Store: Transfer to clean jar, cool completely before sealing
Yield: 1.5 cups | Prep: 10 minutes | Cook: 15 minutes | Total: 25 minutes
Ingredients Needed: What to Buy & Substitutions
You likely have most ingredients already. Here's what you need with practical substitutions for Western kitchens:
| Ingredient | What to Buy | Substitutions |
|---|---|---|
| Bird's Eye Chilies | Fresh or frozen (1 cup) | 2-3 serrano peppers (less spicy) or 1 habanero + 2 bell peppers |
| Garlic | 6 fresh cloves | 1.5 tsp garlic powder (less ideal but works) |
| Vinegar | Rice vinegar (3 tbsp) | White vinegar or apple cider vinegar |
| Fish Sauce | Thai Golden Boy brand (2 tbsp) | Soy sauce + 1/4 tsp salt (not identical but works) |
| Sugar | Palm sugar (3 tbsp) | Brown sugar (1:1 ratio) |

Step-by-Step Guide with Visual Cues
Follow these steps with visual and sensory cues to ensure perfect results. Most failures happen during cooking - watch for these critical indicators:
- Prep chilies: Remove stems but keep seeds for maximum heat. Visual cue: Uniform red color without brown spots
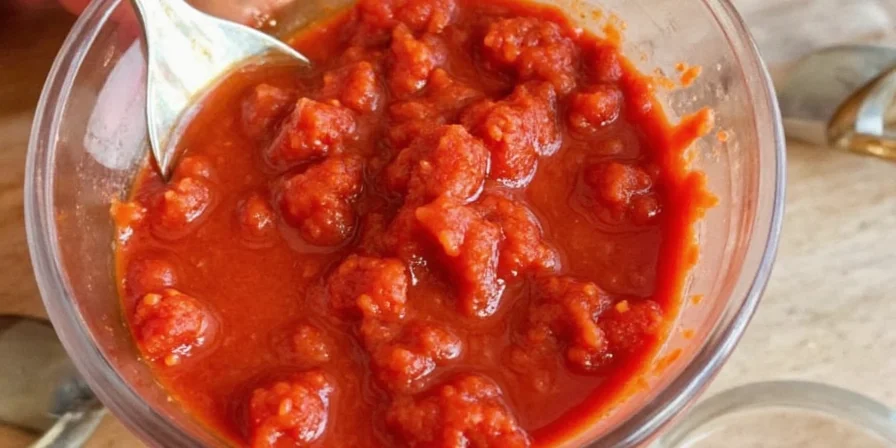
- Blend ingredients: Pulse until smooth paste forms. Texture cue: Should coat spoon without being watery
- Saute mixture: Cook 5 minutes until raw garlic smell disappears. Smell cue: Aromatic but not burnt
- Add seasonings: Stir in fish sauce and sugar. Consistency cue: Should bubble gently but not splatter
- Simmer to perfection: Cook 15 minutes until oil separates slightly. Finish cue: Red oil forms thin layer on top ("blood of the chili")
- Cool properly: Let cool 30 minutes before storing. Storage cue: Sauce thickens as it cools
Pro Tips for Perfect Texture and Flavor
These chef-approved techniques ensure restaurant-quality results:
- Heat control: If too spicy, stir in 1 tsp tamarind paste (not lime juice) to neutralize heat without altering flavor balance
- Texture fix: Sauce too thin? Simmer 5 more minutes. Too thick? Add 1 tsp vinegar while warm
- Flavor boost: Add 1 tbsp roasted shrimp paste for authentic depth (available at Asian markets)
- Storage secret: Fill jars leaving 1.5cm headspace for proper vacuum sealing
- Separation solution: Natural oil separation indicates authenticity - just stir before use
Storage Tricks: How Long It Lasts
Proper storage ensures safety and maximum flavor. These guidelines work for all home kitchens:
| Storage Method | How Long It Lasts | Quality Check |
|---|---|---|
| Room Temperature | 3 days (unopened) | Must smell tangy, not sour or fermented |
| Refrigerated | 4 weeks | Clear separation is normal; mold means discard |
| Freezer | 6 months | Thaw in fridge; may need brief reheating |

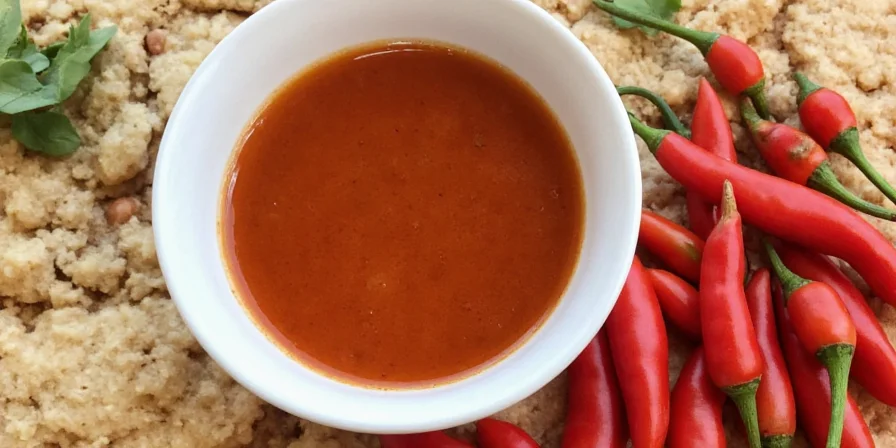
Spice Level Control: Easy Adjustments
Customize heat to your preference with these simple techniques:
- Mild version: Remove all seeds and membranes from chilies before blending
- Medium heat: Keep half the seeds from 1/2 cup chilies
- Extra hot: Add 1 dried Thai chili (soaked 10 minutes) to basic recipe
- After-the-fact fix: Stir in 1 tsp roasted rice powder to absorb capsaicin
- Balance trick: For every 1/2 tsp extra sugar, add 1/4 tsp vinegar to maintain flavor balance
Regional Variations You Can Try at Home
Once you've mastered the basic recipe, explore these authentic regional styles:
- Nam Prik Pao (Central): Add 1 tbsp tamarind paste and 1 tsp shrimp paste for sweet-smoky flavor
- Prik Nam Pla (Southern): Skip cooking - mix raw chilies with fish sauce and lime juice
- Nam Prik Ong (Northern): Add 1/4 cup crushed tomatoes and 1/2 cup minced pork
- Vegan Version: Replace fish sauce with soy-tamarind blend (3:1 ratio)
- Isaan Style: Use fermented soybean paste instead of fish sauce for earthy flavor
Serving Suggestions: Best Dishes to Pair
Thai chili sauce enhances many dishes when paired correctly:
- With rice: Mix 1-2 tsp into jasmine rice before serving
- Noodle dishes: Drizzle over pad thai or drunken noodles
- Protein enhancer: Use as dipping sauce for grilled chicken or spring rolls
- Breakfast boost: Add to fried rice or omelets
- Western fusion: Mix with mayo for sandwiches or stir into soups
Why Homemade Beats Store-Bought
Commercial Thai chili sauces often contain preservatives and lack authentic flavor balance. Benefits of homemade:
- Fresher ingredients: No preservatives or stabilizers (like xanthan gum)
- Better flavor control: Adjust spice, sweet, and salt to your preference
- Cost effective: Makes 1.5 cups for about $3 versus $6+ for small store-bought jar
- Healthier: No artificial colors, MSG, or unnecessary additives
- Customizable: Easily adapt for dietary needs (vegan, gluten-free)
Conclusion: Perfect Sauce Every Time
Creating authentic Thai chili sauce at home is simpler than most believe. Start with the basic recipe, then experiment with regional variations as you gain confidence. Remember that proper cooking time (15 minutes simmer) and ingredient ratios are more important than obscure ingredients. The perfect sauce balances all four elements - spicy, sour, salty, and sweet - in harmony. Within weeks, you'll develop your signature version that store-bought sauces can't match. As Thai chefs say: "The best sauce is the one that makes you smile."
Frequently Asked Questions
- Fixing Spicy Sauce: Stir in tamarind paste (not just sugar) to neutralize heat while maintaining balance
- Non-Thai Uses: Mix with mayo for sandwiches or add to soups for depth of flavor
- Separation Solution: Natural oil separation is normal - just stir before use
- Longer Shelf Life: Use proper vinegar ratio and refrigerate after opening
- Common Mistake: Overcooking causes bitterness - set timer for exactly 15 minutes


 浙公网安备
33010002000092号
浙公网安备
33010002000092号 浙B2-20120091-4