
Smoking Beef Ribs Like a Pro: 10 Spicy Secrets You Can’t Ignore
So, you've got a smoker, a passion for spice, and a hankering for beef ribs that make your neighbors weep with envy. But let’s be real—smoking beef ribs isn’t just about tossing meat on a grill and hoping for the best (unless you like dry, flavorless disasters). It's an art, a science, and sometimes even a spiritual experience involving brisket and bourbon.
In this article, we're going to walk you through the spice basics, prep tricks, rub secrets, and smoke strategies that separate backyard novices from pitmaster pros. And yes, there will be heat—both literal and metaphorical.
Table of Contents
- Why Beef Ribs? The Lowdown on Flavor & Fat
- Spice Basics: Building Your Rub Like a Flavor Architect
- Prep Time: Slabs, Trimming, and Paper Towels (Yes, Really)
- The Science of Smoke: Choosing the Right Wood Chips
- Time & Temperature: Mastering the Sweet Spot
- To Wrap or Not to Wrap? That Is the Question
- Rest, Slice, Serve: The Final Frontier
- Bonus Round: Spice Level Adjustments for Every Palate
- Common Mistakes (and How to Avoid Them)
- Pro Tips for Taking Your Smoke Game to the Next Level
Why Beef Ribs? The Lowdown on Flavor & Fat
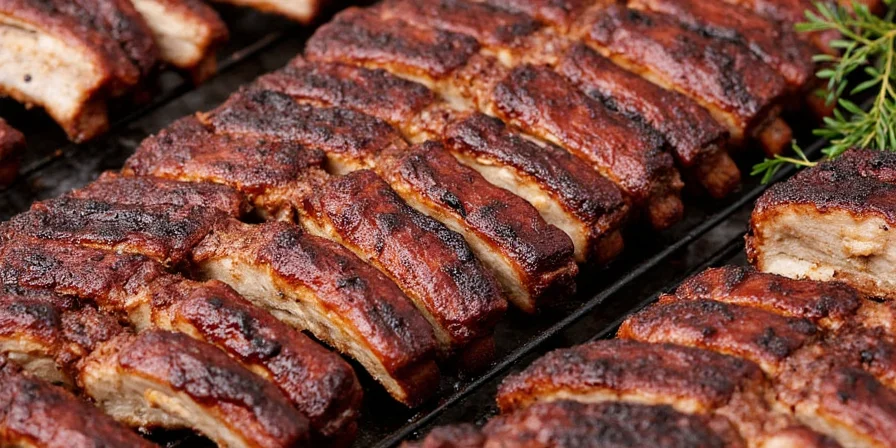
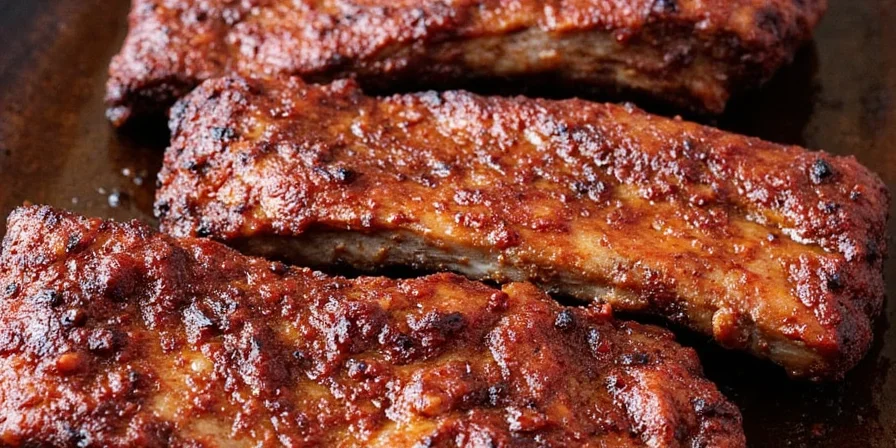
Beef ribs are nature’s gift to carnivores everywhere. They’re rich in connective tissue, fat, and collagen—perfect for low-and-slow smoking. Unlike pork ribs, which can get delicate and dainty, beef ribs slap you in the face with flavor when done right.
| Rib Type | Fat Content | Texture | Smoke Time (Approx.) |
|---|---|---|---|
| Back Ribs (Pork) | Low | Tender | 3-4 hrs @ 225°F |
| St. Louis Cut (Pork) | Medium | Solid bite | 4-5 hrs @ 225°F |
| Beef Back Ribs | High | Meaty, juicy | 6-8 hrs @ 250°F |
| Beef Short Ribs | Very High | Bone-in richness | 8+ hrs @ 225°F |

Spice Basics: Building Your Rub Like a Flavor Architect
When it comes to beef ribs, your dry rub is your first line of flavor defense—and offense. Don’t just sprinkle salt and pepper and call it quits. Build layers of taste like you're creating a symphony orchestra of umami, sweetness, and heat.
- Salt: The foundation. Use coarse sea salt or kosher salt—it clings better.
- Black Pepper: Freshly cracked is key. Adds earthy heat.
- Paprika: Adds color and a subtle smokiness. Go Hungarian for a deeper note.
- Brown Sugar: Balances out the spices and helps form a killer bark.
- Garlic Powder: Because garlic is basically the MVP of seasoning.
- Onion Powder: For depth and savory notes.
- Cayenne (Optional): For those who like to live dangerously—or have fire-resistant tongues.
Prep Time: Slabs, Trimming, and Paper Towels (Yes, Really)
The secret to a perfect crust? Dry meat. Before applying your rub, pat the ribs down with paper towels until they feel like a clean countertop. Moisture is the enemy of bark formation.
Trimming matters too:
- Remove the membrane from the bone side if it’s thick.
- Trim excess fat to avoid overly greasy bites.
- If your slab has uneven thickness, consider separating it into two pieces for more even cooking.
The Science of Smoke: Choosing the Right Wood Chips
Wood choice changes everything. Here’s how to pick your fuel wisely:
| Wood Type | Flavor Profile | Best For |
|---|---|---|
| Hickory | Strong, bacon-like | Heavy meats like beef ribs |
| Mesquite | Intense, almost spicy | Short smokes or bold flavors |
| Oak | Classic, balanced | All-purpose wood for long smokes |
| Cherry | Sweet, fruity, mild | Add complexity without overpowering |
Time & Temperature: Mastering the Sweet Spot
Beef ribs need time to break down all that tough connective tissue into tender glory. Here’s the golden rule:
- Temperature: 225°F–250°F is ideal.
- Time: Plan for 6–8 hours depending on rib size and thickness.
- Internal Temp: Target 200°F–205°F for fall-off-the-bone tenderness.
Remember, thermometers are your friends. Don’t guess—know.
To Wrap or Not to Wrap? That Is the Question
Enter the “Texas Crutch”—wrapping ribs in foil or butcher paper to speed up cooking and lock in moisture.
- Aluminum Foil: Speeds things up, softens bark slightly.
- Butcher Paper: Lets some steam escape, retains bark texture better.
Wrap after 4–5 hours of smoking, or when internal temp hits around 165°F.
Rest, Slice, Serve: The Final Frontier
Don’t skip resting! Let ribs rest for at least 30 minutes wrapped in towels inside a cooler. This allows juices to redistribute.
Then, slice between bones and serve with your favorite sauce—or none at all if you're a true purist.
Bonus Round: Spice Level Adjustments for Every Palate
Not everyone can handle fire. Customize your rub based on your crew:
- Kid-Friendly: Skip cayenne. Add more brown sugar for sweetness.
- Mild Heat: Add ½ tsp cayenne per pound of rub.
- Hot & Heavy: Add 1 tsp cayenne + ½ tsp chili powder.
- Nuclear Level: Bring in ghost pepper powder… carefully.
Common Mistakes (and How to Avoid Them)
- Not trimming enough fat: Results in soggy bark and greasy meat.
- Opening the smoker too often: Letting smoke escape = letting flavor escape.
- Skipping the rest: All those juices just drip away instead of soaking into the meat.
- Too much liquid smoke: Tastes artificial. Stick to real wood chips.
- Over-seasoning: Less is more. Salt can easily overpower other flavors.
Pro Tips for Taking Your Smoke Game to the Next Level
Want to impress the local BBQ society and maybe win a ribbon or two?
- Use a dual-probe thermometer to track both smoker and meat temps.
- Try a reverse sear—finish ribs on a hot grill for extra bark.
- Make your own custom blends using fresh ground spices.
- Inject a marinade (like apple juice + butter) before smoking for juicier results.
- Create a “bark shield” by lightly misting water or apple cider vinegar during the first few hours.
Conclusion: Ready to Rock Those Ribs!
Smoking beef ribs isn’t rocket science, but it might as well be—with all the chemical reactions happening in that delicious hunk of meat. Armed with these spice basics, rub-building techniques, and pro-level tricks, you’re now ready to tackle your next rib session like a seasoned pitmaster.
Remember, practice makes perfect. Fire up the smoker, grab your favorite tunes, and don’t forget the tongs. And hey—if your first batch doesn’t turn out perfectly, just tell your guests it’s “artisanal.”


 浙公网安备
33010002000092号
浙公网安备
33010002000092号 浙B2-20120091-4