
Mastering the Classic British Side Dish
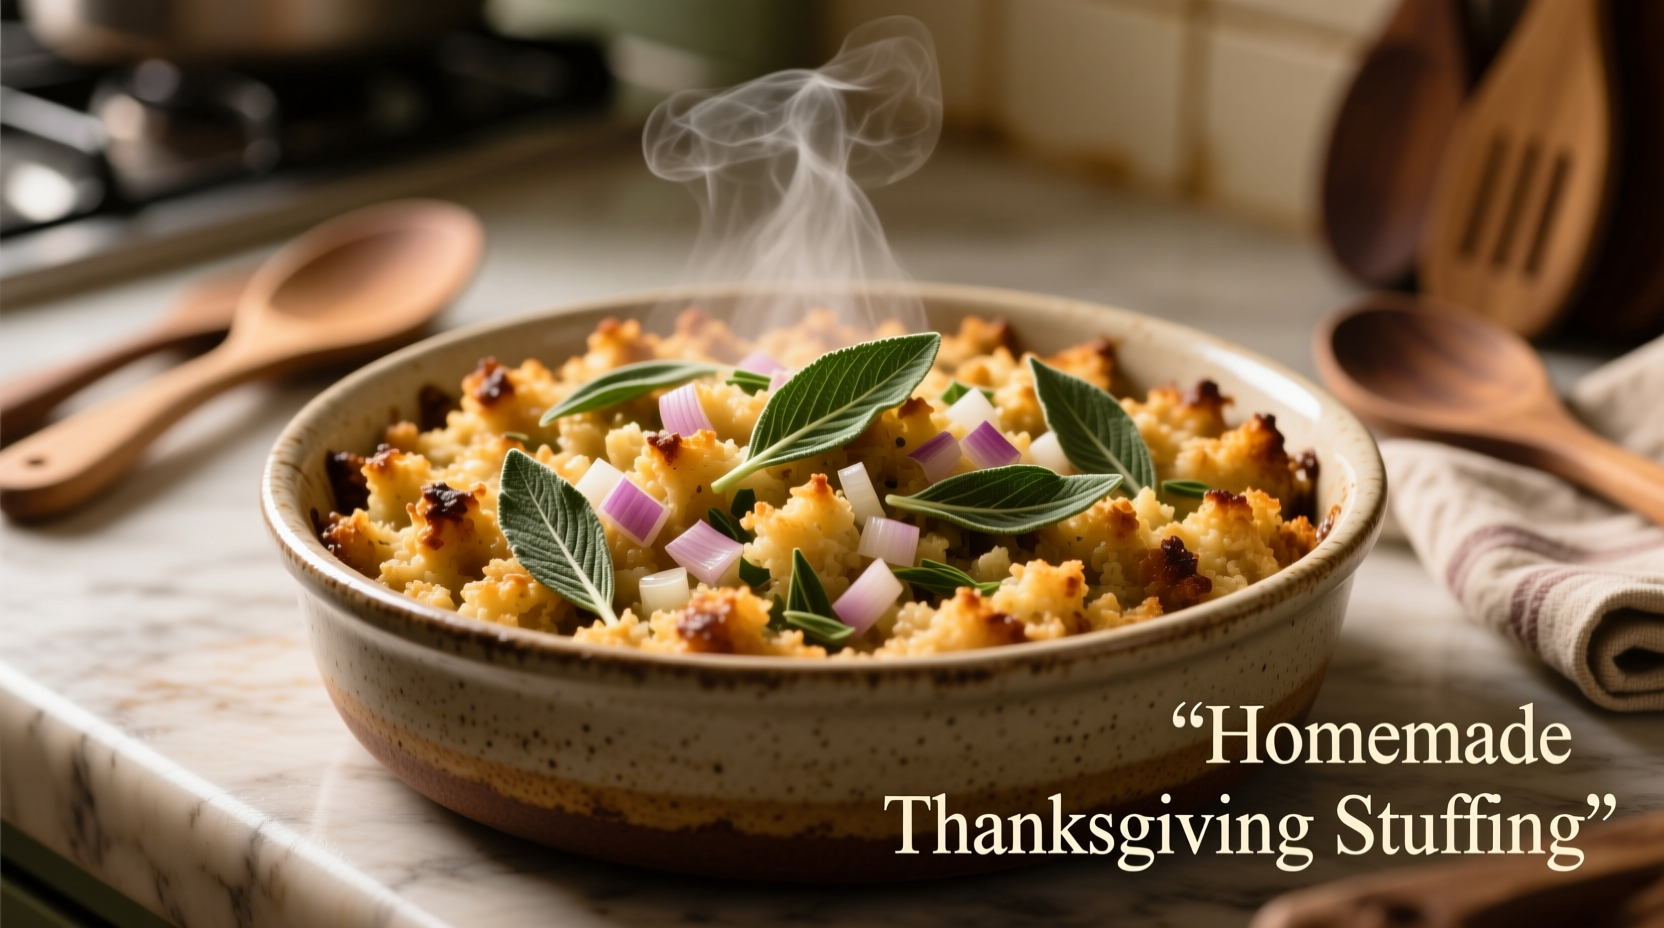
Nothing complements a roast dinner quite like perfectly seasoned sage and onion stuffing. This beloved British tradition transforms simple ingredients into an aromatic, flavorful accompaniment that elevates any meal. Whether you're preparing for a holiday feast or a Sunday roast, understanding the science behind great stuffing ensures consistent results.
Why This Recipe Works: The Science of Flavor Development
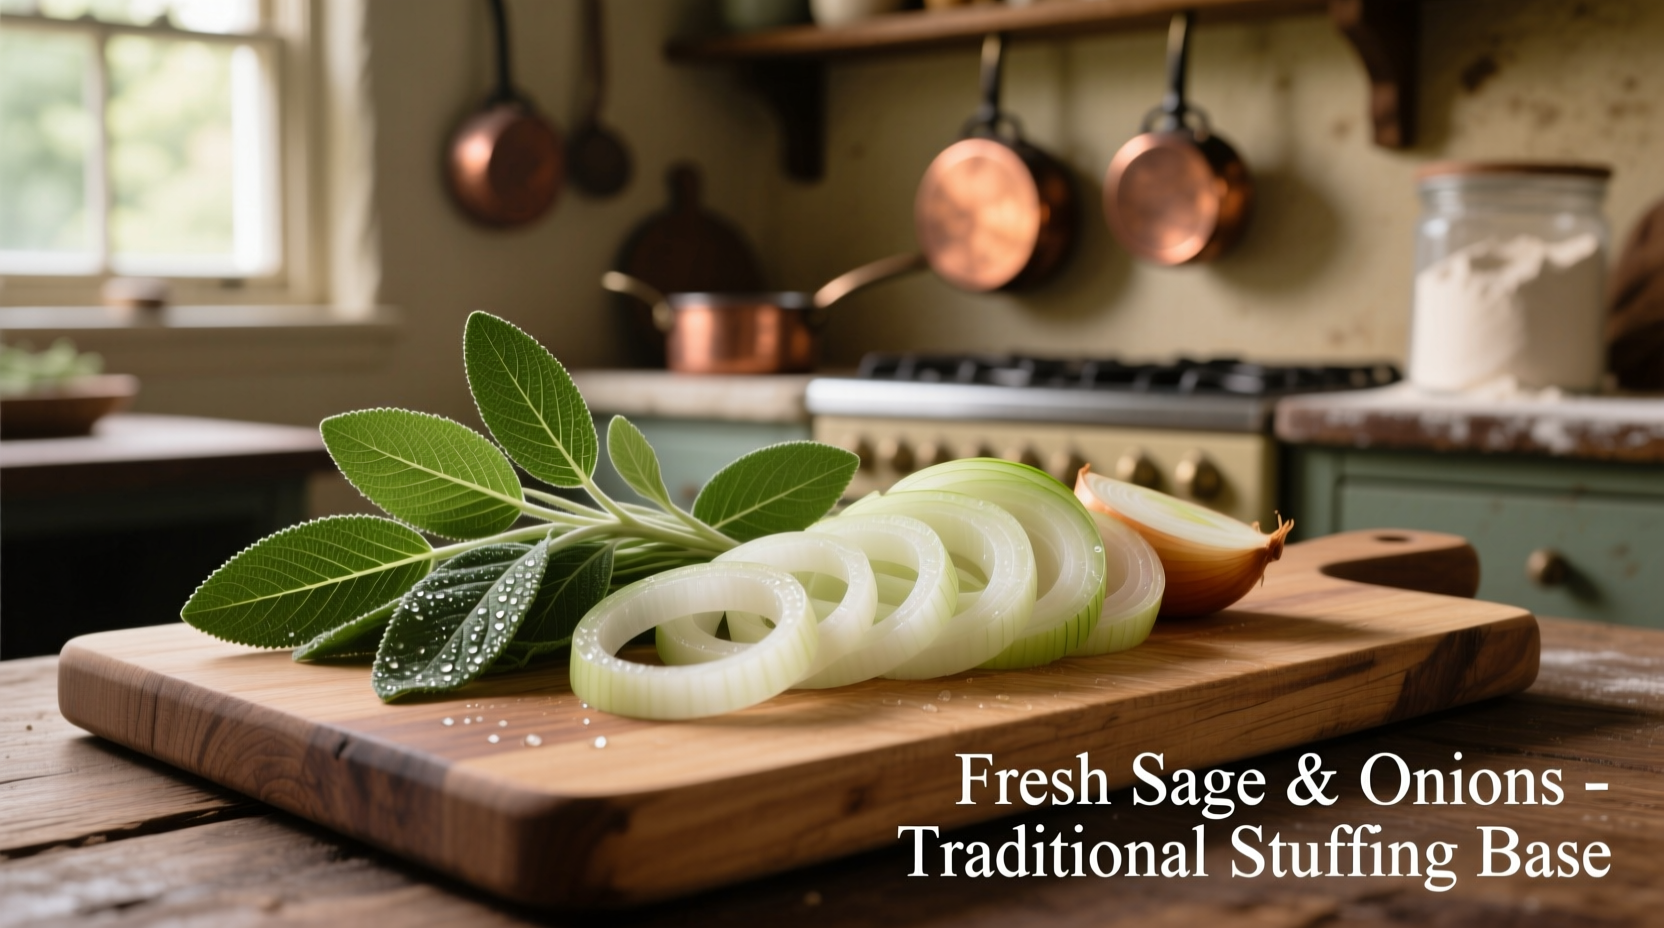
The magic of sage and onion stuffing lies in the careful balance of ingredients and technique. Fresh sage provides earthy notes that complement poultry perfectly, while onions add sweetness when properly caramelized. The breadcrumb texture—neither too dense nor too loose—creates the ideal mouthfeel that absorbs juices without becoming soggy.
| Traditional Approach | Modern Variations | Key Differences |
|---|---|---|
| Hand-torn breadcrumbs | Processed breadcrumbs | Hand-torn creates more texture variation for better moisture absorption |
| Fresh sage only | Sage + thyme/rosemary | Purists argue additional herbs mask sage's distinctive flavor |
| Stovetop preparation | Baked in bird or separately | Separate baking yields more consistent texture and reduces food safety risks |
Essential Ingredients and Proportions
Professional chefs emphasize precise ratios for optimal results. For a standard 8-10 serving portion:
- Breadcrumbs: 500g fresh, day-old bread torn into small pieces (not processed)
- Onions: 2 large (about 400g), finely diced for even cooking
- Fresh sage: 3 tablespoons finely chopped (dried won't provide the same flavor profile)
- Fat: 75g unsalted butter or poultry fat for richness
- Liquid: 150ml hot vegetable or poultry stock (adjust for desired moisture)
- Binding: 1 large egg (optional but improves texture)
Step-by-Step Preparation Guide
1. Proper Onion Caramelization (The Flavor Foundation)
Saute onions in butter over medium-low heat for 15-20 minutes until golden brown—not just translucent. This slow cooking develops sweetness while eliminating raw onion bite. Rushing this step creates bitter notes that compromise the final dish.
2. Bread Selection and Preparation
Use day-old bread with moderate crust. Tear rather than process for irregular shapes that create air pockets. A mix of white and whole wheat provides complexity without overwhelming flavor. Spread torn pieces on a baking sheet and dry in a 150°C oven for 10 minutes to remove excess moisture.
3. Combining Ingredients
Mix cooled onions with breadcrumbs, sage, and stock. The mixture should hold shape when squeezed but separate easily—like damp sand. Add beaten egg if using. Over-moistening causes sogginess; under-moistening creates dry, crumbly texture.
4. Cooking Methods Compared
Professional kitchens increasingly favor baking stuffing separately rather than inside poultry. This approach:
- Ensures even cooking throughout
- Reduces food safety risks (USDA recommends cooking stuffing separately)
- Creates crispier top layer while maintaining moist interior
- Allows precise temperature control (bake at 180°C for 30-35 minutes)
Avoiding Common Stuffing Mistakes
Even experienced cooks encounter these issues:
Dry, Crumbly Texture
Cause: Insufficient liquid or overbaking Solution: Add additional stock (1 tablespoon at a time) before baking. Cover with foil during first 20 minutes of baking to retain moisture.
Soggy Consistency
Cause: Excess liquid or under-dried breadcrumbs Solution: Spread mixture on baking sheet and return to oven for 5-10 minutes. Next time, reduce stock by 25% and ensure breadcrumbs are properly dried.
Bland Flavor Profile
Cause: Under-seasoned or using dried sage Solution: Taste mixture before baking (safe since no raw meat involved). Fresh sage should be prominent but not overwhelming—adjust to preference.
Historical Context: The Evolution of Sage and Onion Stuffing
This classic British preparation has evolved significantly over centuries:
- Medieval Era: Stuffing contained breadcrumbs, herbs, and offal, serving as preservation method
- 17th Century: Sage became prominent as its preservative qualities were recognized
- Victorian Era: Standardized into the sage-onion-breadcrumb formula still used today
- 20th Century: Commercial stuffing mixes introduced, though traditionalists prefer homemade
According to food historian Sophie Dubois, “The simplicity of sage and onion stuffing reflects British culinary philosophy—maximizing flavor from minimal ingredients through proper technique rather than complexity.”
Variations Worth Trying
While purists prefer the classic preparation, these thoughtful adaptations maintain the essence while adding interest:
- Apple Sage: Add 1 finely diced cooking apple for subtle sweetness that complements poultry
- Cornbread Version: Substitute 25% breadcrumbs with cornbread for Southern-inspired variation
- Mushroom Enhancement: Sauté 150g mushrooms with onions for umami depth (ideal for vegetarian roasts)
- Citrus Twist: Add zest of 1 orange for brightness that cuts through richness
Serving and Storage Guidelines
For optimal flavor development, prepare stuffing 1-2 hours before serving to allow flavors to meld. Store leftovers in airtight container for up to 3 days. Reheat in oven at 160°C with splash of stock to restore moisture—microwaving creates uneven texture.
Frequently Asked Questions
Can I make sage and onion stuffing ahead of time?
Yes, prepare the mixture up to 24 hours in advance and refrigerate. Bring to room temperature before baking. For best texture, add 1-2 tablespoons extra stock before baking as refrigeration dries ingredients slightly.
Why does my stuffing always turn out dry?
Dry stuffing typically results from insufficient liquid or overbaking. Use the squeeze test before baking—mixture should hold shape briefly then separate. Cover with foil during initial baking phase, and verify internal temperature reaches 74°C (165°F) but not higher.
Is fresh sage really necessary for authentic flavor?
Yes, fresh sage provides distinctive flavor that dried sage cannot replicate. Dried sage requires rehydration and develops different flavor compounds. Use 3 tablespoons fresh chopped sage per 500g breadcrumbs for proper balance—dried would require only 1 tablespoon but yields inferior results.
Can I freeze sage and onion stuffing?
Yes, freeze baked stuffing in airtight containers for up to 3 months. Thaw overnight in refrigerator before reheating. For best results, add small amount of stock before reheating to restore moisture. Unbaked mixture can also be frozen but may have slightly different texture after thawing.


 浙公网安备
33010002000092号
浙公网安备
33010002000092号 浙B2-20120091-4