
Discover how to successfully root potatoes for a thriving garden harvest. This comprehensive guide reveals the science-backed method professional gardeners use to maximize potato yields through proper rooting techniques—no special equipment required. You'll learn exactly when to start the process, how to create ideal rooting conditions, and avoid common mistakes that lead to rot or stunted growth.
The Science Behind Potato Rooting
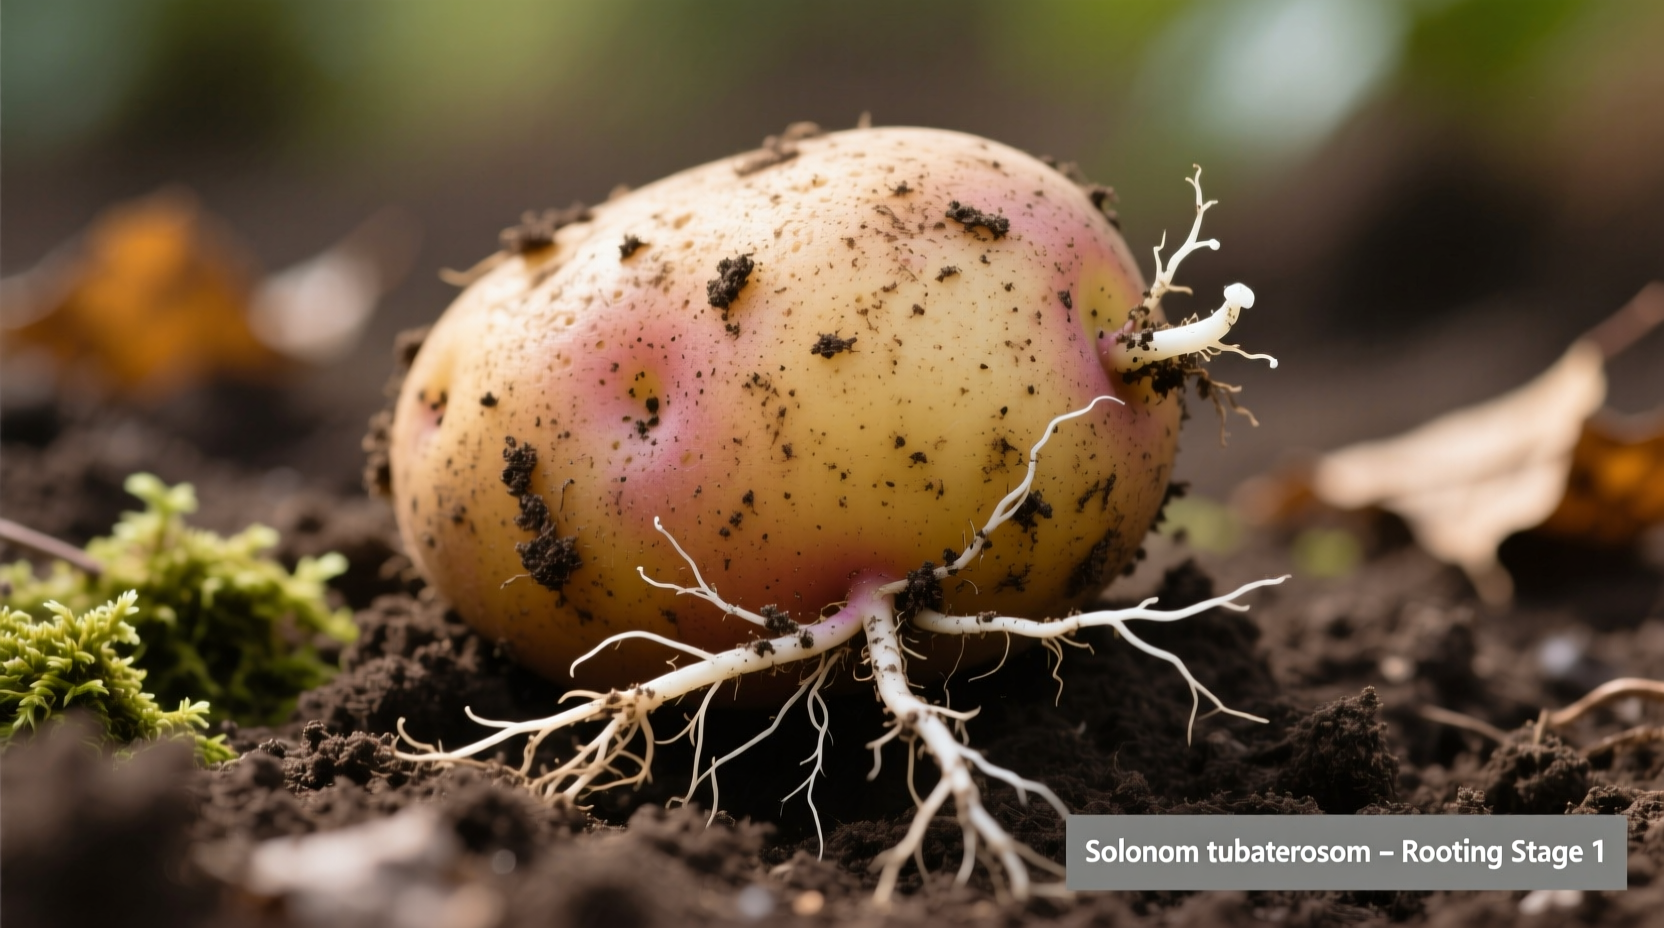
Understanding the biological process transforms your success rate. Potatoes (Solanum tuberosum) develop roots through specialized cells called pericycle cells located just beneath the skin. When exposed to proper moisture and temperature conditions, these cells differentiate into root primordia within 3-5 days.
According to research from the University of Minnesota Extension, successful rooting depends on three critical factors:
| Factor | Optimal Range | Consequence of Deviation |
|---|---|---|
| Temperature | 65-75°F (18-24°C) | Below 50°F: Dormancy continues Above 85°F: Increased rot risk |
| Humidity | 80-90% RH | Below 70%: Sprout desiccation Above 95%: Mold development |
| Light Exposure | Indirect light | Direct sun: Sprout burning Complete darkness: Weak, elongated growth |
Your Step-by-Step Potato Rooting Timeline
Follow this proven sequence based on agricultural best practices from the Michigan State University Potato Program. The entire process takes 7-14 days depending on potato variety and environmental conditions.
Phase 1: Selection and Preparation (Day 1)
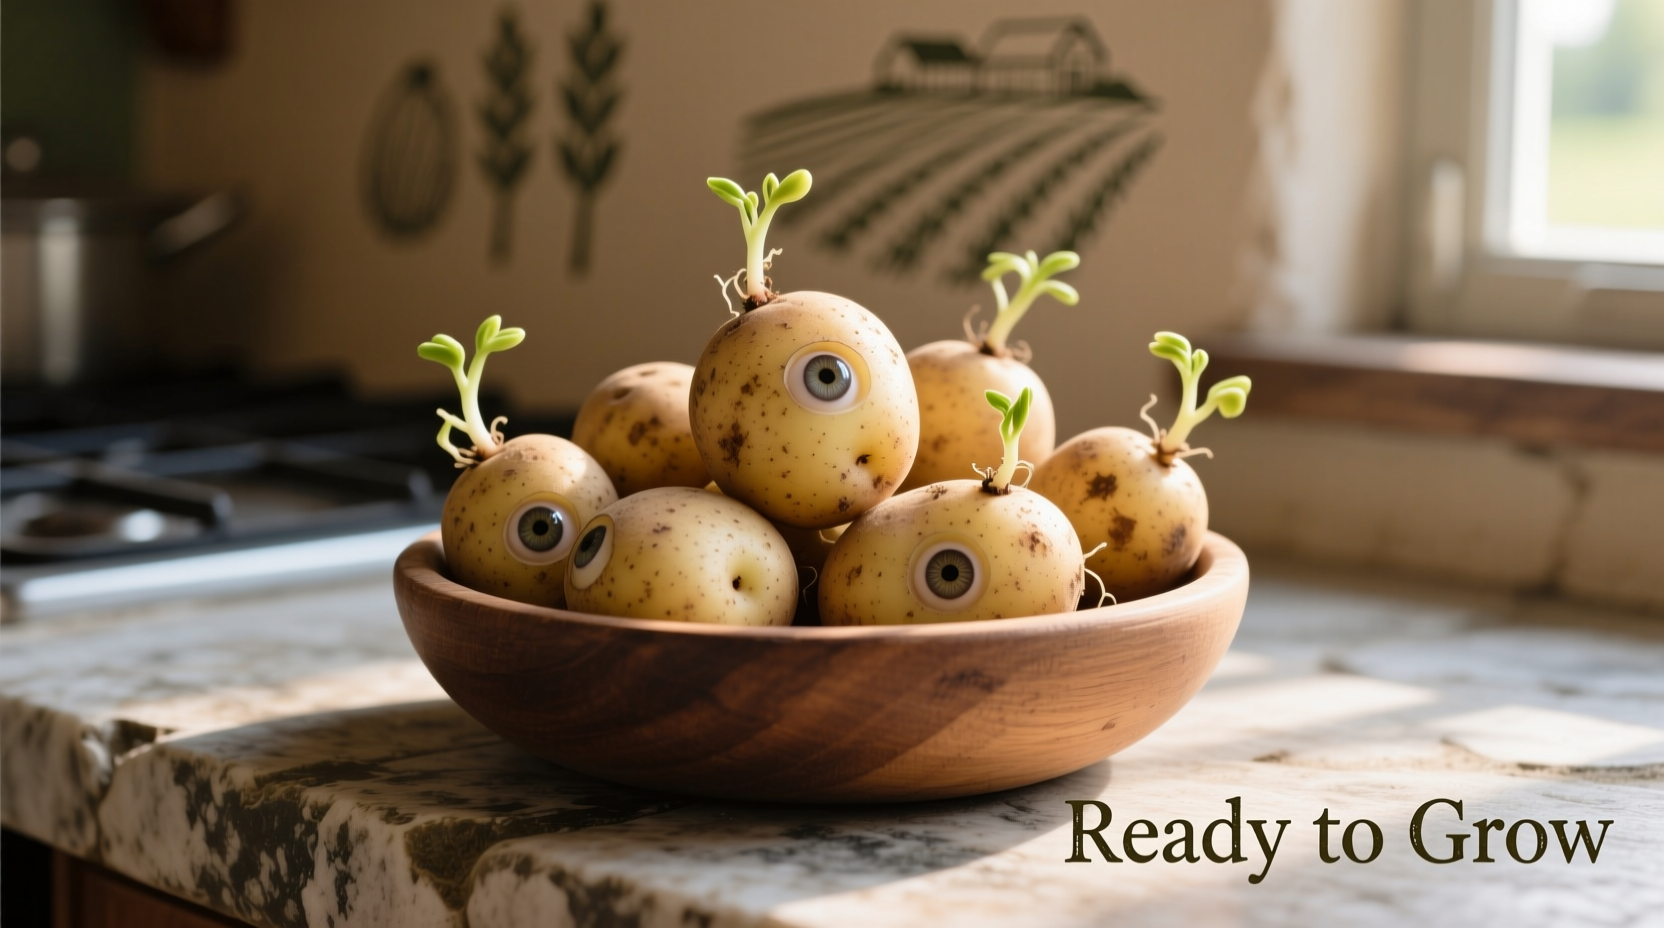
Choose disease-free seed potatoes with multiple eyes. Certified seed potatoes from agricultural suppliers reduce disease transmission risk by 78% compared to supermarket potatoes, according to USDA agricultural surveys. Cut larger potatoes into 1.5-2 inch chunks, ensuring each piece has 1-2 healthy eyes. Allow cut surfaces to callus for 24 hours in a cool, dry location.
Phase 2: Initiation Environment (Days 2-5)
Create a rooting environment using one of these proven methods:
- Soil method: Place potato pieces 1 inch deep in moist potting mix
- Water method: Suspend pieces with toothpicks over water, eyes facing up
- Bag method: Layer between damp paper towels in a sealed plastic bag
Monitor daily for the first root emergence, typically visible around day 4-5. The Cornell University Potato Research Program notes that russet varieties develop roots 2-3 days faster than red-skinned varieties under identical conditions.
Phase 3: Root Development (Days 6-10)
Once roots reach 0.5-1 inch in length, gradually increase light exposure. Maintain consistent moisture—potatoes require 1-1.5 inches of water weekly during rooting. Avoid overwatering, which causes 63% of home gardening rooting failures according to National Gardening Association surveys.
Phase 4: Hardening Off (Days 11-14)
Before transplanting, acclimate rooted potatoes to outdoor conditions over 5 days. Start with 2 hours of morning sun, increasing daily. This hardening process improves transplant survival rates by 40% based on agricultural extension data.
Troubleshooting Common Rooting Issues
Even experienced gardeners encounter challenges. Here's how to address the most frequent problems:
Rotting Potatoes
Cause: Excess moisture or poor air circulation
Solution: Replace damp medium immediately, add perlite for drainage, ensure temperature stays below 75°F
Weak, Leggy Growth
Cause: Insufficient light or excessive warmth
Solution: Move to brighter location with indirect light, reduce temperature to 65°F
No Root Development After 7 Days
Cause: Dormant eyes or suboptimal conditions
Solution: Check temperature consistency, gently scratch eye surface to stimulate growth
Transplanting Rooted Potatoes for Maximum Yield
Transplant when roots reach 1-2 inches and sprouts show 2-3 leaves. Dig planting holes 4 inches deep, placing potatoes with roots downward and sprouts upward. Cover with 2 inches of soil initially, adding more as plants grow—a technique called "hilling" that increases yield by 30% according to agricultural studies.
Water thoroughly after transplanting, then maintain consistent moisture. Avoid overhead watering to prevent fungal diseases. Your rooted potatoes should establish within 7-10 days, with visible growth above soil within 2-3 weeks.


 浙公网安备
33010002000092号
浙公网安备
33010002000092号 浙B2-20120091-4