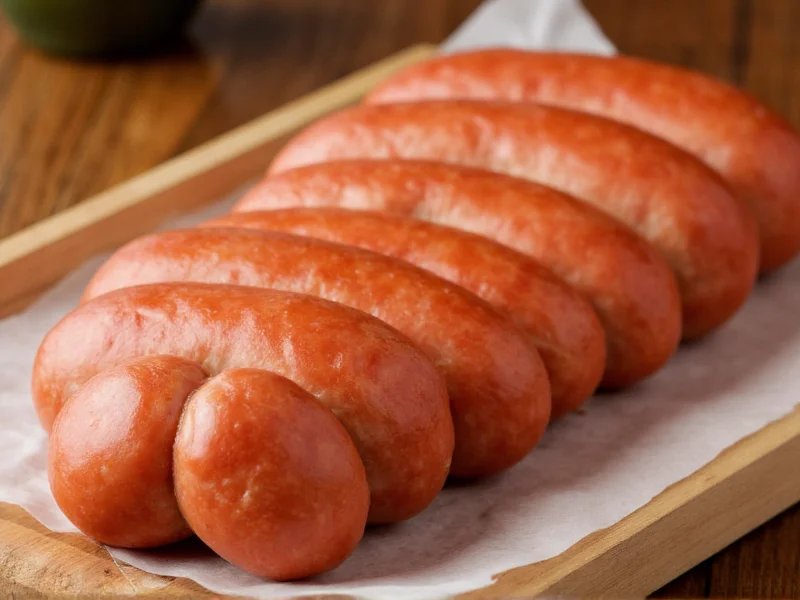
Mastering the art of rolling sausages transforms your homemade sausage making from a frustrating experience into a rewarding culinary skill. Whether you're crafting bratwurst, Italian sausage, or chorizo, proper rolling technique directly impacts texture, cooking performance, and overall quality of your final product. This comprehensive guide covers everything you need to know about the sausage rolling process, from equipment selection to troubleshooting common issues that arise during the filling stage.
Essential Equipment for Successful Sausage Rolling
Before diving into the rolling technique itself, you'll need the right tools. Professional sausage makers recommend three critical pieces of equipment: a reliable meat grinder with sausage stuffing attachment, natural hog casings (or synthetic alternatives for beginners), and clean, cold workspace. The temperature factor is crucial—keep your meat mixture below 40°F (4°C) throughout the process to maintain fat integrity and prevent smearing.
Natural casings require proper preparation before use. Soak them in lukewarm water for 30 minutes, then flush them thoroughly with cold water to remove any salt residue. Run water through the casing to check for holes and ensure it's completely clear before attaching to your grinder's stuffing tube. This preparation step significantly reduces the likelihood of casing breakage during the rolling sausage process.
Step-by-Step Sausage Rolling Technique
The actual rolling sausage procedure follows a specific sequence that, when executed correctly, produces evenly filled links with consistent texture. Begin by securing your prepared casing onto the stuffing tube, leaving 3-4 inches hanging free at the end. Fill the grinder hopper with your chilled meat mixture and begin feeding it through at a steady, moderate pace.
| Stage | Key Action | Common Mistake to Avoid |
|---|---|---|
| Initial Filling | Hold casing loosely while meat begins to flow | Gripping casing too tightly causing premature bursting |
| Continuous Rolling | Guide casing with gentle tension as it fills | Allowing casing to bunch up creating uneven filling |
| Link Formation | Twist at consistent intervals with firm rotation | Twisting too tightly causing casing rupture |
| Final Sealing | Tie ends securely with butcher's string | Leaving ends untied risking meat leakage during cooking |
Perfecting Your Sausage Rolling Consistency
Achieving uniform sausage links requires attention to filling pressure and casing tension. Many beginners apply too much force when operating the grinder, which forces meat through too quickly and creates excessive pressure on the casing. Instead, maintain steady, moderate pressure that allows the casing to expand gradually as it fills. The ideal filled casing should feel firm but slightly yielding—similar to a stress ball—not rock hard.
When forming individual links, use the "pinch and roll" method: pinch the filled casing at your desired link length, then rotate your fingers in opposite directions to create a secure twist. For traditional spiral sausages like kielbasa, roll the entire length into a coil after filling but before twisting individual links. This technique creates the characteristic spiral shape while maintaining even meat distribution throughout the sausage.
Troubleshooting Common Sausage Rolling Problems
Even experienced sausage makers encounter issues during the rolling process. Air pockets represent one of the most frequent challenges—they create weak spots that often lead to casing rupture during cooking. To eliminate air pockets, periodically squeeze the filled casing gently between your fingers as you work, starting from the filled end and moving toward the stuffing tube. This simple action pushes trapped air toward the open end where it can escape.
Casing breakage typically occurs for three reasons: insufficient soaking time, excessive filling speed, or temperature fluctuations. If your casings keep breaking, slow your filling pace significantly and ensure both meat mixture and workspace remain cold. For particularly delicate natural casings, consider using a larger stuffing tube diameter to reduce pressure on the casing walls during the rolling sausage process.
Specialized Rolling Techniques for Different Sausage Types
Different sausage varieties require specialized rolling approaches. Fresh breakfast sausages benefit from shorter links (4-5 inches) with looser filling to maintain their characteristic soft texture. Conversely, smoked sausages like kielbasa require tighter packing and longer links (6-7 inches) to withstand the smoking process without separating.
For specialty sausages such as merguez or chorizo that contain significant amounts of fat and spices, roll them slightly tighter than standard sausages to prevent ingredient separation during cooking. When making stuffed sausages like jalapeño popper sausages, create larger diameter links with extra space between twists to accommodate the additional filling without compromising casing integrity.
Post-Rolling Handling and Storage Best Practices
Proper handling after rolling significantly impacts your sausages' final quality. Immediately after forming your links, refrigerate them uncovered for 1-2 hours to allow the casings to dry slightly—a process called "setting." This critical step creates a more stable surface that browns better during cooking and reduces the likelihood of casing separation.
For optimal storage, place your rolled sausages in airtight containers with parchment paper between layers. Fresh sausages maintain best quality for 3-4 days in the refrigerator or up to 3 months in the freezer. When freezing, consider vacuum sealing for maximum shelf life and protection against freezer burn. Always label containers with sausage type and date to ensure proper rotation of your homemade sausage inventory.


 浙公网安备
33010002000092号
 浙B2-20120091-4