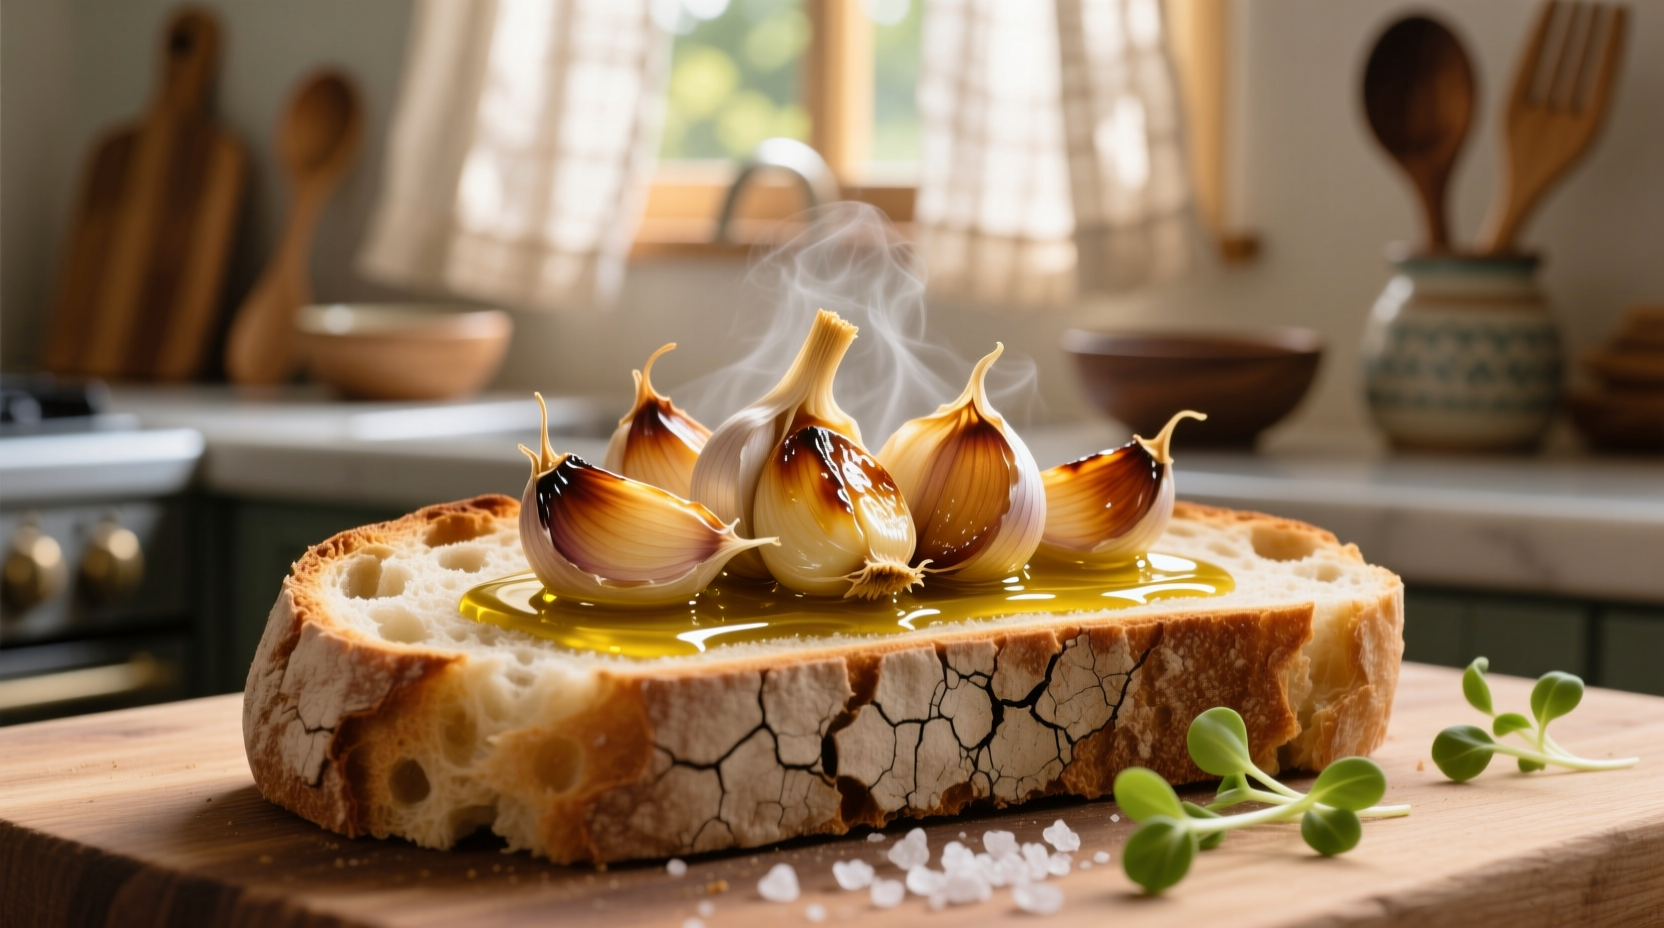
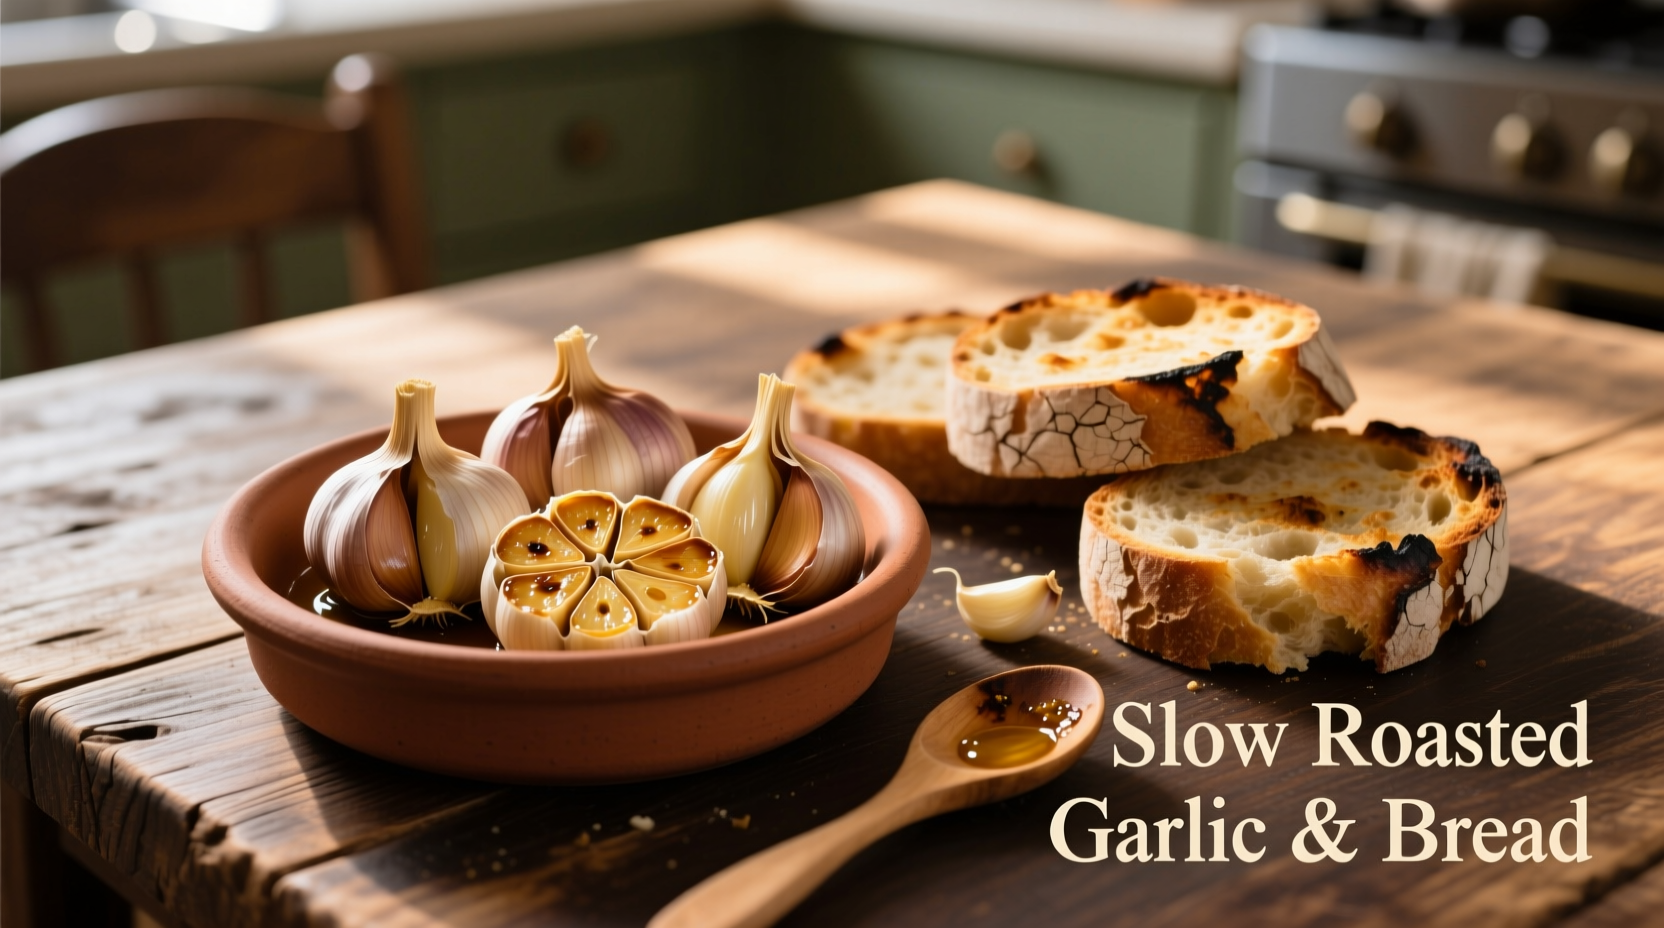
There's magic in the transformation that happens when garlic meets gentle heat. What begins as pungent, sharp cloves emerges from the oven as sweet, creamy perfection that spreads like butter on warm bread. As a chef who's worked with garlic in Michelin-starred kitchens and humble street food stalls, I've seen how this simple technique can elevate even the most basic loaf into something extraordinary.
The Science Behind Roasted Garlic's Flavor Transformation
Raw garlic contains allicin, the compound responsible for its sharp bite and strong aroma. When exposed to low, steady heat (around 300°F/150°C), these compounds break down through the Maillard reaction, creating hundreds of new flavor compounds that deliver complex sweetness without bitterness. According to research published in the Journal of Agricultural and Food Chemistry, roasting garlic increases certain beneficial antioxidants while making others more bioavailable.
| Temperature Range | Chemical Changes | Flavor Result |
|---|---|---|
| 250-300°F (120-150°C) | Allicin breakdown begins | Mild sweetness, subtle garlic notes |
| 300-350°F (150-175°C) | Maillard reaction accelerates | Rich caramel notes, nutty undertones |
| 350-400°F (175-200°C) | Over-roasting begins | Bitter notes, diminished sweetness |
Selecting Your Ingredients for Maximum Impact
Not all garlic and bread perform equally in this preparation. The quality of your starting ingredients dramatically affects the final result.
Garlic Selection Guide
Choose plump, firm bulbs with tight skins. Larger cloves roast more evenly than smaller ones. While all varieties work, California Early and Silverskin varieties offer the best balance of flavor and texture for roasting. Avoid pre-peeled garlic, which often has diminished flavor and texture.
Bread Compatibility Chart
Different breads interact uniquely with roasted garlic. Consider these pairings for optimal results:
- Ciabatta - Its open crumb structure absorbs garlic beautifully without becoming soggy
- Sourdough - The tangy flavor balances roasted garlic's sweetness perfectly
- Baguette - Best sliced thin and toasted first for maximum crispness
- Brioche - Creates an unexpectedly luxurious sweet-savory combination
- Whole grain - Choose denser varieties that won't become mushy

Perfect Roasting Technique: Step-by-Step
Follow these professional techniques to achieve consistently perfect results:
Preparation Timeline
Understanding the roasting process helps prevent common mistakes. This timeline shows what happens at each stage:
| Time | Physical Changes | Flavor Development |
|---|---|---|
| 0-15 minutes | Garlic softens slightly, moisture begins evaporating | Raw garlic flavor still prominent |
| 15-30 minutes | Cloves become tender, edges begin browning | Sweetness emerges, sharpness diminishes |
| 30-45 minutes | Cloves fully soft, golden brown, easily pierced | Rich caramel notes develop, complex sweetness |
| 45-60 minutes | Deep golden color, cloves collapse when pressed | Maximum flavor complexity, nutty undertones |
Step 1: Prepare the Garlic
Leave bulbs mostly intact but slice ¼ inch from the top to expose the cloves. Drizzle with 1-2 teaspoons of high-quality olive oil per bulb, ensuring oil penetrates between cloves. Wrap tightly in foil, creating a sealed packet that traps steam for even cooking.
Step 2: Roast at Precise Temperature
Bake at 325°F (163°C) for 40-55 minutes. This temperature is critical—too hot and the garlic burns before softening; too low and it never develops complex flavors. The garlic is done when cloves are deeply golden and yield completely to gentle pressure.
Step 3: Cool and Extract
Let cool for 10-15 minutes until manageable. Squeeze cloves from their skins by pressing the base of each clove—roasted garlic should slide out effortlessly. For immediate use, mash with a fork; for storage, leave whole.
Application Methods for Different Bread Types
The way you apply roasted garlic matters as much as the roasting technique itself. Different breads require different approaches:
- Crusty breads (baguette, ciabatta): Toast first, then spread warm garlic for maximum absorption
- Soft breads (brioche, sandwich bread): Spread garlic first, then toast gently to prevent sogginess
- Dense breads (rye, pumpernickel): Mix garlic with equal parts softened butter for better spreadability
Health Benefits Backed by Research
While raw garlic gets most of the health spotlight, roasted garlic offers unique benefits. According to the USDA National Nutrient Database, roasting increases the bioavailability of certain antioxidants while reducing compounds that can cause digestive discomfort. A study in the American Journal of Clinical Nutrition found that roasted garlic maintains 80% of its allicin-derived compounds while becoming significantly easier to digest.
For maximum health benefits, pair roasted garlic bread with olive oil-rich toppings like tomato slices or leafy greens—the fat content helps your body absorb garlic's fat-soluble compounds.
Troubleshooting Common Issues
Even simple techniques can go wrong. Here's how to fix the most common roasted garlic problems:
- Bitter garlic: Usually caused by roasting at too high temperature. Next time, reduce oven temperature by 25°F and extend cooking time.
- Dry, hard garlic: Insufficient oil or under-roasting. Ensure cloves are fully coated in oil and check for doneness at 50 minutes.
- Soggy bread: Spread too much garlic or applied to bread that wasn't properly toasted first. Use a thinner layer and ensure bread has adequate crispness.
Creative Variations to Try
Once you've mastered the basic technique, experiment with these professional variations:
- Herb-infused: Add fresh rosemary or thyme sprigs to the foil packet before roasting
- Lemon-garlic: Place lemon slices beneath the garlic bulb for bright citrus notes
- Spiced: Toss cloves with smoked paprika or cumin before roasting for depth
- Cheesy finish: Sprinkle with Parmesan during the last 10 minutes of roasting
Storage and Shelf Life Guidelines
Properly stored roasted garlic maintains quality and safety. The FDA recommends:
- Room temperature: Up to 4 hours (ideal for immediate serving)
- Refrigerated: 10-14 days in airtight container with olive oil covering
- Freezer: Up to 3 months in ice cube trays covered with oil
Always use clean utensils when handling stored garlic to prevent contamination. Discard if you notice any off odors, mold, or unusual texture changes.
Why This Simple Technique Transforms Ordinary Meals
What makes roasted garlic on bread special isn't just the flavor—it's the accessibility. Unlike complex recipes requiring specialty ingredients, this technique transforms pantry staples into something remarkable with minimal effort. The chemical transformation during roasting creates hundreds of flavor compounds that would be impossible to replicate with raw garlic alone.
Professional chefs have used this technique for centuries because it works reliably and delivers consistent results. Whether you're preparing a quick weeknight snack or an impressive appetizer for guests, roasted garlic bread demonstrates how understanding food science can elevate everyday cooking.


 浙公网安备
33010002000092号
 浙B2-20120091-4