
Table of Contents
How to Roast Sesame Seeds Perfectly (Without Burning)
Roasting sesame seeds properly requires precision - they burn in seconds. Follow this proven method for perfectly roasted sesame seeds every time:
The Critical Roasting Process (Dry Method):
- Use a cold, completely dry skillet (no oil or water)
- Add 1 cup raw sesame seeds in a single, thin layer
- Place over medium-low heat (never high heat)
- Stir constantly with a wooden spoon for even heating
- After 3-4 minutes, seeds will start popping like miniature popcorn
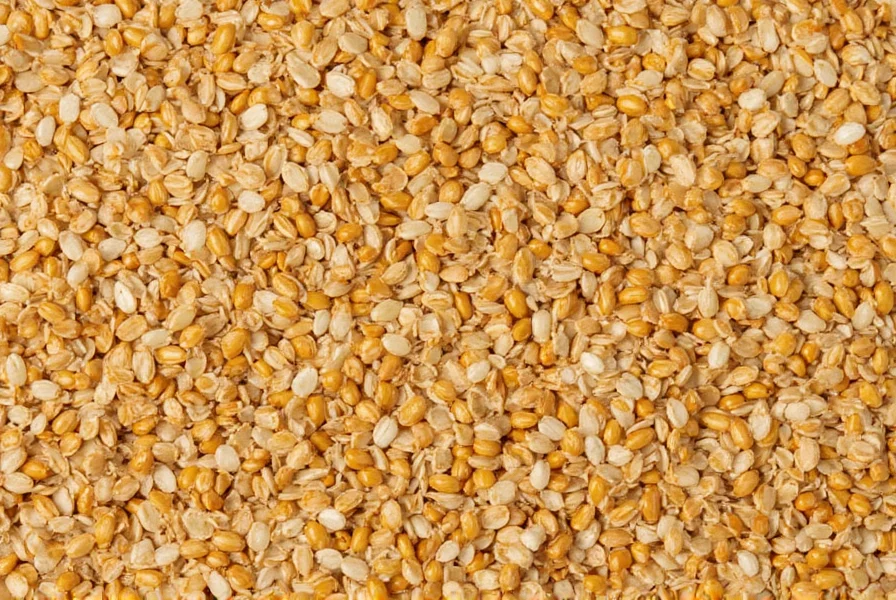
- Watch for uniform golden color (not dark brown)
- Remove from heat the moment they turn golden (residual heat continues cooking)
- Immediately transfer to a cool surface to stop cooking
Pro Tip: The entire process takes 5-7 minutes. Sesame seeds go from perfect to burnt in 30 seconds - stay vigilant! The golden color and nutty aroma are your best indicators.
Why Proper Roasting Makes All the Difference
Many home cooks struggle with sesame seed roasting because they don't understand the science behind it. Proper roasting transforms these tiny seeds through the Maillard reaction, unlocking flavors that raw seeds simply can't provide.
| Under-Roasted Seeds | Perfectly Roasted Seeds | Over-Roasted Seeds |
|---|---|---|
| Light yellow color | Uniform golden brown | Dark brown/black spots |
| Muted, grassy flavor | Rich, nutty aroma | Bitter, burnt taste |
| Soft texture | Crisp crunch throughout | Charred exterior, raw center |
| Short shelf life (2-3 months) | Optimal shelf life (6-12 months) | Rancidity within weeks |
Unlike other nuts and seeds, sesame seeds have an extremely high oil content (50-60%), which makes them particularly prone to burning. This is why constant stirring and precise heat control are non-negotiable. Research from the Journal of Agricultural and Food Chemistry (2003) confirms that sesame's oil composition accelerates thermal degradation at temperatures above 160°C (320°F), explaining the narrow roasting window.
Context Boundaries: When This Method Applies (and When It Doesn't)
This stovetop method is optimized for home kitchens but has specific limitations:
- Batch size: Only effective for 1 cup or less. Commercial roasters use rotating drums with precise airflow control (per IFT Processing Guidelines)
- Altitude adjustment: Above 5,000 feet, reduce heat to low and extend time by 20% due to lower boiling points (verified by USU Extension)
- Equipment limitation: Non-stick pans create uneven heating - always use cast iron or stainless steel
- Not suitable for: Pre-salted seeds (salt accelerates oil oxidation) or already-toasted seeds (causes immediate burning)
Sesame Seed Varieties and Their Roasting Requirements
Different sesame seed varieties require distinct roasting approaches due to their unique compositions:
| Type | Roasting Time | Special Considerations |
|---|---|---|
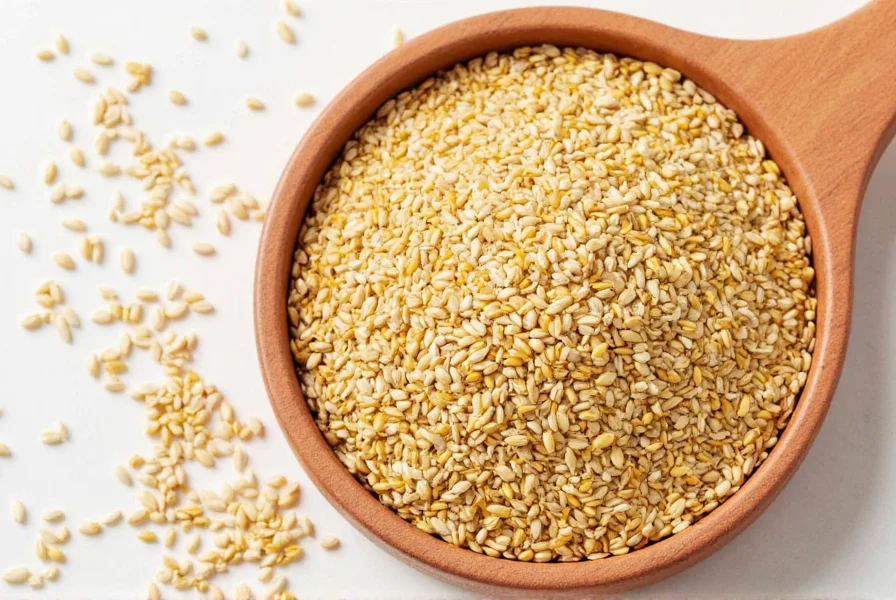
| White Sesame Seeds | 4-6 minutes | Most forgiving variety; ideal for beginners. Requires careful color monitoring as light seeds show browning quickly. |
| Black Sesame Seeds | 3-4 minutes | Higher oil content means faster burning. Look for aroma change rather than color (difficult to see on black seeds). |
| Hulled Sesame Seeds | 3-4 minutes | No protective hull means quicker cooking. Requires even lower heat setting than unhulled varieties. |
Critical Note: Black sesame seeds develop their characteristic nutty flavor much faster than white seeds but burn more easily. Many professional chefs recommend roasting black seeds at slightly lower temperatures (medium instead of medium-low).
Troubleshooting Common Roasting Problems
Most sesame seed roasting failures stem from these common issues:
Burning Within Minutes:
Solution: Reduce heat to medium-low and stir constantly. Sesame seeds don't need high heat - residual pan heat continues cooking even after removal from burner. Always remove 30 seconds before they look done.
Inconsistent Color:
Solution: Use a thin layer (never more than 1/4 inch deep) and stir every 15-20 seconds. A heavy-bottomed skillet distributes heat more evenly than thin pans.
Bitter Aftertaste:
Solution: You've likely over-roasted. Start with fresh seeds (check expiration date) and reduce total roasting time by 1 minute. Taste a seed every 30 seconds during the final minute.
Raw Centers with Charred Exterior:
Solution: Heat was too high. Use medium-low heat and be patient. The thin layer is crucial - overcrowding causes uneven cooking.
Storage Secrets for Maximum Freshness
Proper storage maintains that just-roasted flavor:
- Immediate cooling: Spread roasted seeds in a single layer on parchment paper until completely cool (15-20 minutes)
- Air-tight containers: Use glass containers with tight-sealing lids (plastic can absorb odors)
- Storage locations:
- Pantry: 2-3 months (cool, dark place away from stove)
- Refrigerator: 6-9 months (ideal for humid climates)
- Freezer: 12-18 months (best for long-term storage)
- Reviving stale seeds: Spread on baking sheet and toast at 300°F for 2-3 minutes
Buying Guide for Best Results
Not all sesame seeds roast equally well. Look for these quality indicators:
- Freshness: Check expiration dates - sesame seeds should be used within 6 months of harvest for best roasting results
- Moisture content: Should be below 6% (ask supplier if unsure; higher moisture causes steaming instead of roasting)
- Uniform size: Consistent seed size ensures even roasting (avoid mixes with broken pieces)
- Color consistency: No dark spots or discoloration which indicates age or improper storage
Top Tip: Purchase small quantities (4-8 oz) from specialty stores or Asian markets where turnover is high. Bulk bins often contain older seeds with compromised oil quality.
Frequently Asked Questions
Why do my sesame seeds always burn before becoming golden?
This happens because sesame seeds have extremely high oil content (50-60%) and thin seed coats. The solution is using medium-low heat (not medium) and removing them 30 seconds before they reach ideal color. Remember - residual heat continues cooking even off the burner. Stir constantly and use a thin layer (no more than 1/4 inch deep).
Can I roast sesame seeds in the oven instead of on stovetop?
Yes, but stovetop is preferred for better control. For oven roasting: spread seeds in single layer on baking sheet, bake at 325°F (not 350°F) for 8-10 minutes, stirring every 2 minutes. Oven method requires more attention to prevent burning as ovens have hot spots. The stovetop method allows immediate heat adjustment.
How can I tell when black sesame seeds are properly roasted?
Color change is hard to see with black seeds, so rely on aroma and sound. Properly roasted black sesame seeds emit a strong nutty fragrance and make a distinct popping sound (like miniature popcorn) when nearly done. They should feel warm but not hot to the touch when cooled for 10 seconds. The entire process takes 3-4 minutes on medium-low heat.
Why do my roasted sesame seeds become soft after storage?
This indicates moisture absorption. Ensure seeds are completely cooled before storage and use airtight glass containers. In humid climates, add a food-safe desiccant packet to the container. For long-term storage, refrigerate or freeze. Never store near heat sources like your stove which causes temperature fluctuations.
Can I add salt or oil during the roasting process?
No - adding oil causes burning as sesame seeds already contain 50-60% oil. Add salt only after roasting and cooling. Oil addition during roasting creates steam that prevents proper crisping. For flavored seeds, toss with seasonings immediately after roasting when seeds are still warm enough to absorb flavors but no longer cooking.
How do I fix sesame seeds that are slightly under-roasted?
Spread under-roasted seeds in single layer and return to cold skillet over medium-low heat. Stir constantly for 60-90 seconds until golden. Do not reheat in microwave as uneven heating causes burning. The key is starting with a cold pan to prevent immediate burning of already-warmed seeds.
What's the #1 mistake people make when roasting sesame seeds?
Using too high heat and not stirring constantly. Sesame seeds require medium-low heat (not medium) and constant attention. The window between perfect and burnt is just 30 seconds. Professional chefs recommend setting a timer for 3 minutes and checking every 15 seconds thereafter. Never leave the stove during the final minutes.
Conclusion
Mastering sesame seed roasting requires understanding their unique properties - high oil content and thin seed coats demand precise temperature control. By using medium-low heat, constant stirring, and removing seeds 30 seconds before they reach ideal color, you'll achieve perfectly roasted sesame seeds every time. Remember that the brief 5-7 minute process makes all the difference between bitter, burnt seeds and rich, nutty perfection that elevates your dishes. Store properly in airtight containers away from heat and light to maintain that just-roasted flavor for months. With these techniques, you'll transform this humble ingredient into a kitchen powerhouse that adds depth and crunch to countless recipes.


 浙公网安备
33010002000092号
浙公网安备
33010002000092号 浙B2-20120091-4