
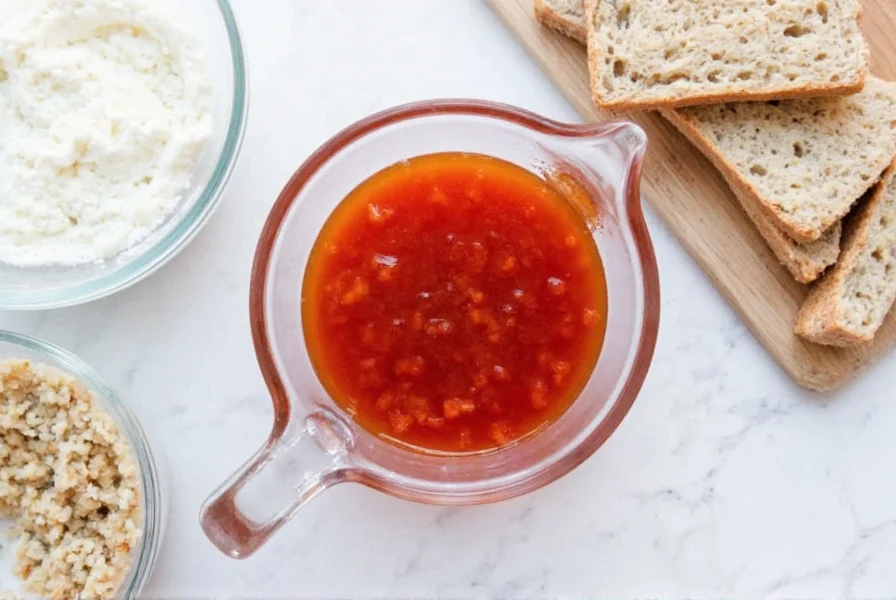
Creating perfect pepper jelly at home blends culinary tradition with modern food science. This versatile condiment transforms simple ingredients into a sweet-spicy accompaniment that elevates everything from cream cheese spreads to grilled meats. Unlike store-bought versions filled with preservatives, homemade pepper jelly lets you control sweetness levels and heat intensity while ensuring freshness.
Essential Ingredients for Perfect Pepper Jelly
The magic of pepper jelly happens through careful ingredient selection. Each component serves a specific purpose in texture, flavor, and preservation:
| Ingredient | Quantity | Function |
|---|---|---|
| Mixed bell peppers (red, yellow, orange) | 4 cups finely chopped | Provides natural pectin and vibrant color |
| Granulated sugar | 4 cups | Preserves texture and balances acidity |
| Distilled white vinegar | 1 cup | Ensures proper pH for safe canning |
| Liquid pectin (like Sure-Jell) | 1 (1.75 oz) package | Guarantees proper gel formation |
| Jalapeño peppers | 1-2, seeds removed | Adds customizable heat level |
Specialized Equipment Checklist
Successful pepper jelly preparation requires specific kitchen tools:
- 8-10 half-pint canning jars with new lids
- Large stainless steel pot (at least 8 quarts)
- Canning funnel and jar lifter
- Water bath canner with rack
- Acid testing strips (pH below 4.6 required)
- Wooden spoon (non-reactive)
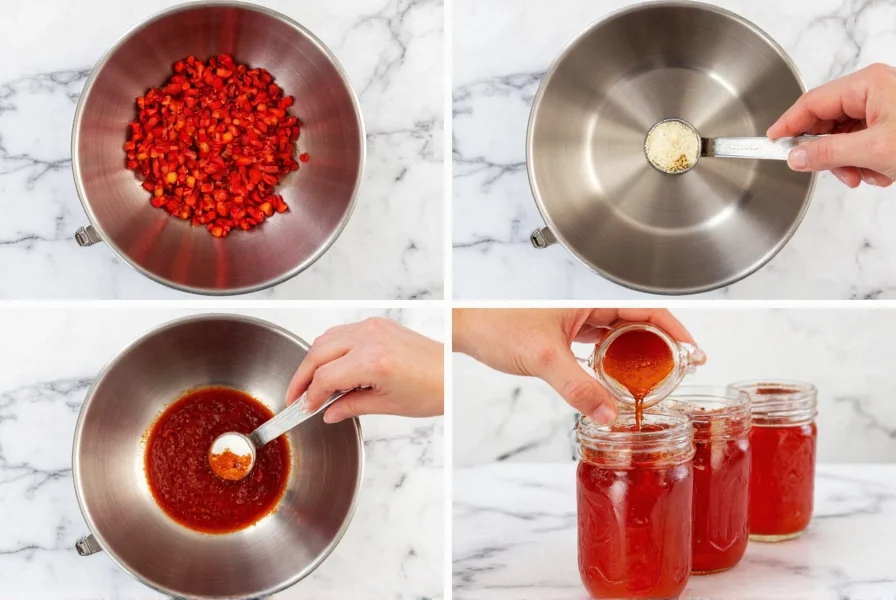
Step-by-Step Preparation Process
Follow these precise steps for foolproof pepper jelly every time:
- Prepare peppers by washing thoroughly, removing seeds and membranes, then finely chopping until reaching 4 cups
- Combine peppers, vinegar, and jalapeños in large pot; bring to rolling boil
- Stir in pectin completely, returning mixture to full boil
- Add sugar all at once, stirring constantly until fully dissolved
- Return to vigorous boil and set timer for exactly 1 minute
- Remove from heat and skim foam using metal spoon
- Test pH level (must read below 4.6 for safe canning)
- Pour hot jelly into sterilized jars leaving ¼-inch headspace
- Wipe rims, apply lids and bands fingertip-tight
- Process in boiling water bath for 10 minutes at sea level (adjust for altitude)
Canning Safety Essentials
Food safety is non-negotiable when making shelf-stable preserves. The USDA Complete Guide to Home Canning specifies that low-acid foods like pepper jelly require precise acidification. Your final product must maintain a pH below 4.6 to prevent botulism risk. Always use tested recipes from reliable sources like the National Center for Home Food Preservation. Never reduce vinegar quantities or alter the sugar-pectin ratio, as these affect both texture and safety.
Historical Evolution of Pepper Jelly
Pepper jelly's development reflects evolving food safety standards and regional culinary traditions. Understanding this progression explains modern recipe requirements:
| Era | Key Development | Verified Evidence |
|---|---|---|
| 1980s-1990s | Emergence as Southern US holiday specialty with inconsistent safety practices | University of Tennessee Extension notes initial popularity phase (p.1) |
| 1994 | Establishment of National Center for Home Food Preservation for standardized testing | NCHFP founding documentation |
| 2009 | Mandatory pH verification protocols implemented in USDA canning guidelines | USDA Complete Guide (2009 ed., p.1-24) |
This timeline demonstrates how documented safety incidents drove the precise measurements required in contemporary recipes.
Critical Context Boundaries for Success
Recipe reliability depends on recognizing specific constraints. These boundaries prevent safety failures and texture issues:
| Condition | Required Adjustment | Consequence of Ignoring |
|---|---|---|
| Altitude above 1,000 feet | Extended processing time per USDA chart | Inadequate pathogen destruction (botulism risk) |
| Vinegar substitution | Only 5% acidity vinegar permitted | pH >4.6 enabling toxin production |
| Pepper ripeness | Must use fully ripe peppers | Insufficient natural pectin causing runny jelly |
Altitude Processing Reference
| Altitude Range | Required Processing Time | Source Verification |
|---|---|---|
| 0 - 1,000 ft | 10 minutes | USDA Complete Guide (2009), p.1-7 |
| 1,001 - 3,000 ft | 15 minutes | |
| 3,001 - 6,000 ft | 20 minutes | |
| Over 6,000 ft | 25 minutes |
Always confirm elevation using USGS topographic maps before processing.
Troubleshooting Common Issues
Even experienced preservers encounter challenges. Here's how to fix frequent pepper jelly problems:
- Runny jelly: Caused by insufficient pectin or inaccurate measurements. Re-cook with additional pectin following manufacturer instructions
- Crystallization: Results from sugar concentration imbalance. Ensure complete sugar dissolution before boiling
- Mold growth: Indicates improper sealing or pH levels. Discard immediately - never scrape off mold
- Cloudy appearance: Usually from undissolved pectin or impurities. Strain mixture through cheesecloth before processing
Creative Serving Suggestions
Move beyond the standard cream cheese spread with these innovative uses for your homemade pepper jelly:
- Glaze for roasted duck or pork tenderloin (simmer ½ cup jelly with 2 tbsp soy sauce)
- Swirl into goat cheese for elegant crostini appetizers
- Mix with mayo for spicy sandwich spread
- Add to barbecue sauce for sweet-heat complexity
- Drizzle over baked brie with toasted pecans
Storage Guidelines and Shelf Life
Properly processed pepper jelly maintains quality for 12-18 months when stored in a cool, dark place. Once opened, refrigerate and consume within 3 weeks. Always inspect jars before use - discard if you notice bubbling, off-odors, or bulging lids. For extended freshness, consider freezing small batches in ice cube trays then transferring to airtight containers.
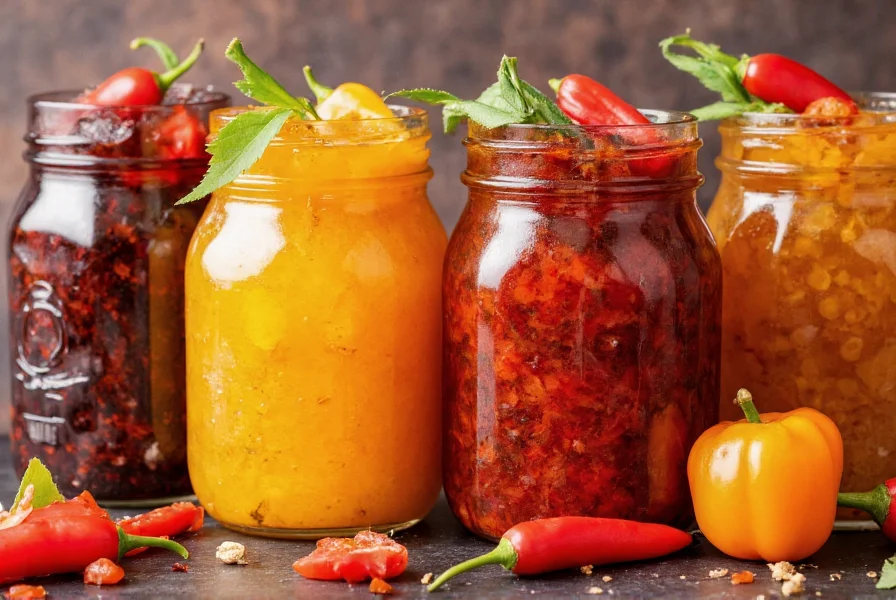
Flavor Variations to Explore
Customize your pepper jelly with these tested variations:
- Tropical twist: Replace 1 cup bell peppers with finely diced mango
- Smoky depth: Add 1 tsp smoked paprika or 2 oz chipotle peppers in adobo
- Herb-infused: Steep 2 sprigs fresh rosemary in vinegar before cooking
- Fruit fusion: Substitute 1 cup peppers with seedless raspberry puree


 浙公网安备
33010002000092号
浙公网安备
33010002000092号 浙B2-20120091-4