
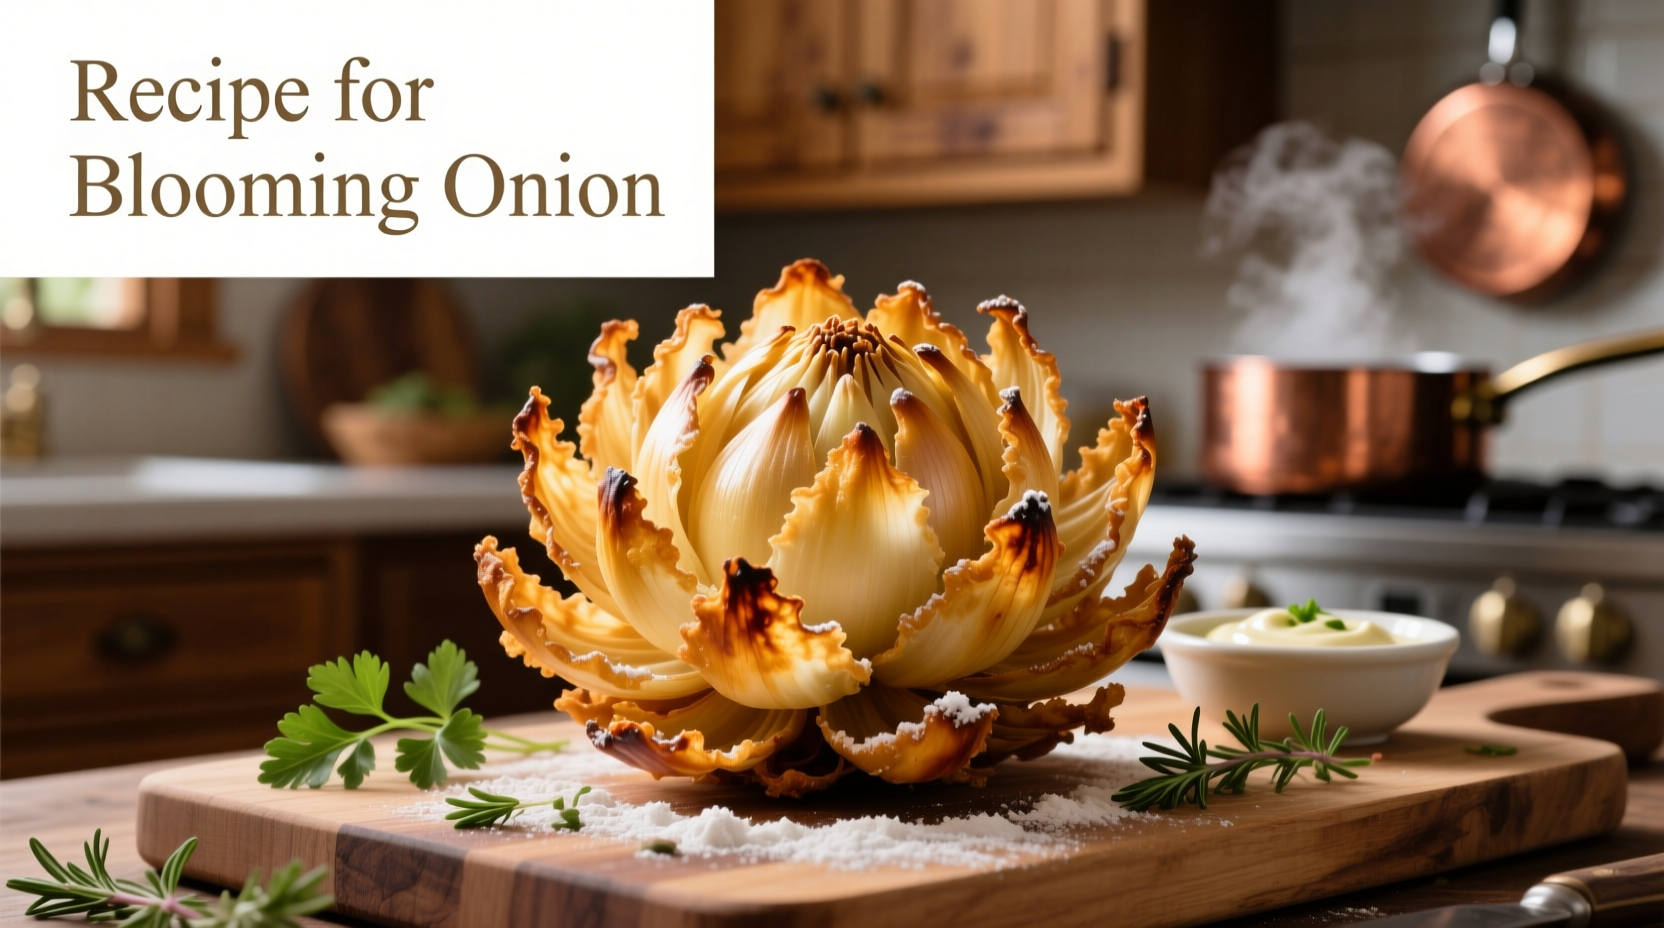
The Story Behind America's Favorite Appetizer
Blooming onion isn't just a restaurant specialty—it's a culinary art form with surprising historical roots. While popularized by Outback Steakhouse in 1988, the technique draws from Japanese ikari age ( exploding squid ) frying methods dating back to the Edo period. Modern American versions transformed this concept into the iconic onion blossom we know today.
| Historical Milestone | Significance |
|---|---|
| 1600s (Edo Period) | Japanese chefs developed "ikari age" technique for seafood |
| 1988 | Outback Steakhouse introduced modern blooming onion |
| 1990s | Became America's most requested appetizer |
Essential Equipment Checklist
Before you begin, gather these critical tools for professional results:
- Sharp 8-inch chef's knife (serrated works better for initial cuts)
- Deep fry thermometer (essential for accurate oil temperature)
- 3-quart heavy-bottomed pot or deep fryer
- Wooden skewers for securing onion petals
- Bamboo chopsticks for safe handling during frying
Perfect Blooming Onion Ingredients
The magic happens through precise ingredient ratios. This authentic recipe serves 2-3 people:
For the Onion:
- 1 large Vidalia or Walla Walla sweet onion (2.5-3 inches diameter)
- 2 cups buttermilk (full-fat for best coating adhesion)
- 1 cup all-purpose flour
- 1 cup fine breadcrumbs
- 2 tsp paprika
- 1 tsp garlic powder
- 1 tsp onion powder
- 1/2 tsp cayenne pepper (optional for heat)
- Vegetable or peanut oil for frying (350°F)
Signature Dipping Sauce:
- 1/2 cup mayonnaise
- 1/4 cup ketchup
- 2 tbsp finely minced white onion
- 1 tbsp lemon juice
- 1 tsp Worcestershire sauce
- 1/2 tsp hot sauce
- Salt and pepper to taste
Step-by-Step Preparation Guide
1. Onion Preparation (The Critical First Step)
Place the onion root-side down. Using a sharp knife, make 16-20 vertical cuts from the top down, stopping 1/2 inch from the root. Rotate the onion 90 degrees and repeat. This creates the signature "bloom" effect. Soak in cold water for 30 minutes to help the petals separate.
2. Coating Technique
Combine flour, breadcrumbs, and spices in a shallow dish. Whisk buttermilk in another bowl. Dip the onion in buttermilk, letting excess drip off, then roll in the flour mixture, pressing gently to adhere. Refrigerate for 15 minutes to set the coating—this prevents slippage during frying.
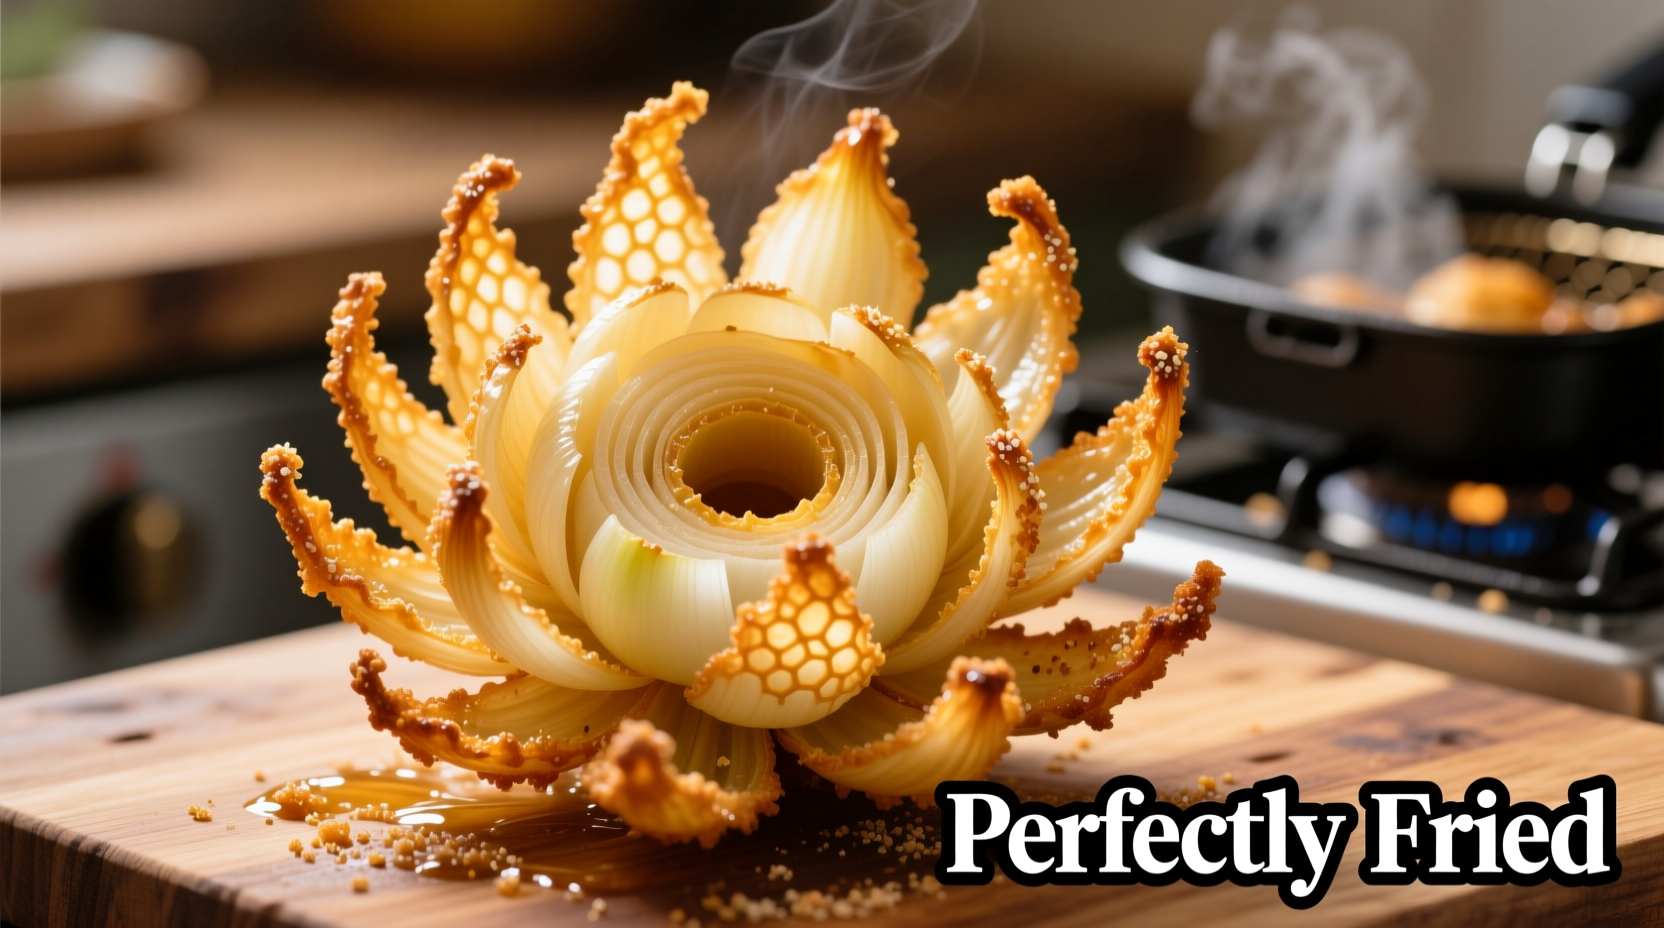
3. Frying Temperature Control
According to the National Fire Protection Association's safety guidelines, deep frying requires precise temperature control to prevent fires. Heat oil to exactly 350°F (175°C) in a heavy pot. Lower the onion petal-side down using chopsticks. Fry for 3-4 minutes until golden brown, turning once. Maintain oil temperature within 345-355°F range—fluctuations cause uneven cooking.
4. Draining and Serving
Remove with a slotted spoon and drain on wire rack (not paper towels) for 2 minutes. This preserves crispness. Serve immediately with homemade dipping sauce.
Pro Chef's Troubleshooting Guide
Avoid these common mistakes that ruin homemade blooming onions:
- Using the wrong onion: Sweet onions like Vidalia have perfect sugar content for caramelization without bitterness
- Incorrect oil temperature: Below 340°F causes greasy results; above 360°F burns coating before interior cooks
- Skipping the chill step: Coating needs time to set or it slides off during frying
- Overcrowding the pot: Lowers oil temperature dramatically—fry one onion at a time
Dietary Adaptations
Make this recipe work for various dietary needs:
- Gluten-free: Substitute rice flour and gluten-free breadcrumbs (test shows Bob's Red Mill blend works best)
- Dairy-free: Replace buttermilk with almond milk + 1 tbsp vinegar
- Lower calorie: Air fryer method at 400°F for 12 minutes (spray lightly with oil)
Serving Suggestions
Elevate your blooming onion experience:
- Pair with a crisp lager or hoppy IPA to cut through richness
- Serve alongside grilled steak for the classic steakhouse experience
- Add pickled jalapeños to the dipping sauce for extra dimension
- Garnish with fresh parsley for color contrast before serving
Storage and Reheating Tips
While best served fresh, leftovers can be stored:
- Refrigerate in airtight container for up to 2 days
- Reheat in air fryer at 375°F for 5-6 minutes (oven makes coating soggy)
- Never microwave—destroys crisp texture completely


 浙公网安备
33010002000092号
浙公网安备
33010002000092号 浙B2-20120091-4