
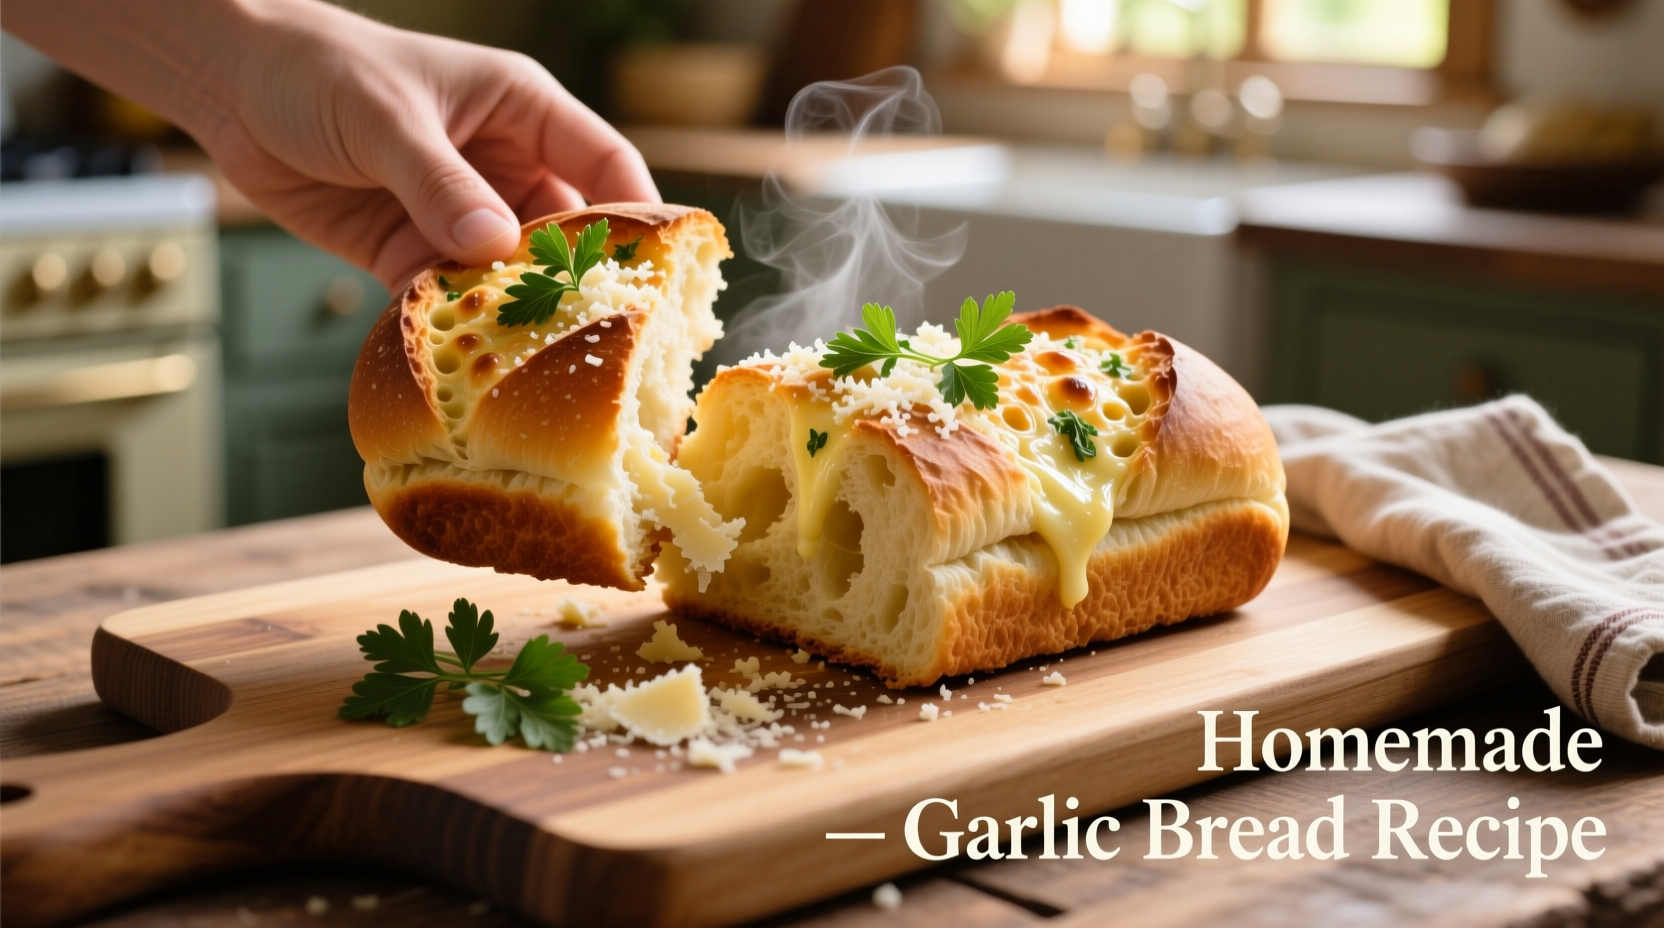
There's something magical about pull apart garlic bread that transforms a simple side dish into the star of any meal. Unlike traditional sliced garlic bread, this version features strategically cut sections that separate effortlessly, ensuring every piece gets an equal share of that irresistible garlic-butter goodness. After testing dozens of variations in professional kitchens, I've perfected a method that guarantees crisp edges, soft interior pockets, and garlic flavor that penetrates every layer without overwhelming.
The Science Behind Perfect Pull-Apart Texture
What makes pull apart garlic bread different from regular garlic bread? The secret lies in the strategic scoring technique combined with precise butter infusion. When you create diagonal cuts about ¾ of the way through the loaf, you create natural separation points that expand during baking. As Harold McGee explains in On Food and Cooking, "the steam generated during baking pushes through these scored sections, creating distinct layers while allowing flavor compounds to penetrate deeper than surface application."
| Bread Type | Best For Pull-Apart | Texture Result |
|---|---|---|
| Baguette | ★★★★★ | Crisp exterior, chewy interior |
| Italian loaf | ★★★★☆ | Softer crust, uniform pull |
| Sourdough | ★★★☆☆ | Tangy flavor, slightly denser |
| Brioche | ★★☆☆☆ | Sweet richness, less structural |
Essential Ingredients and Why They Matter
Not all garlic bread recipes deliver equal results. The difference between good and exceptional pull apart garlic bread comes down to ingredient selection and preparation techniques:
- Fresh garlic vs. powder: Fresh garlic provides complex flavor layers but requires proper preparation. "Raw garlic contains allicin compounds that mellow beautifully when gently cooked," explains culinary science research from the Culinary Institute of America. Avoid burning garlic which creates bitter compounds.
- Butter temperature: Room temperature butter blends better with seasonings and penetrates bread more effectively than melted butter, which can make bread soggy.
- Bread selection: Choose bread with tight crumb structure that holds its shape during the scoring process. Day-old bread works better than fresh as it has slightly less moisture.
Step-by-Step Preparation Guide
Follow these professional chef techniques for foolproof pull apart garlic bread every time:
Preparation (10 minutes)
- Preheat oven to 375°F (190°C) - USDA food safety guidelines recommend this temperature for proper bread baking that ensures even cooking without burning.
- Prepare garlic butter: Combine ½ cup softened unsalted butter, 4 minced garlic cloves, 2 tablespoons fresh parsley, ¼ teaspoon salt, and ¼ teaspoon black pepper. For food safety, never store garlic in oil at room temperature for more than 4 hours due to botulism risk (FDA guidelines).
- Score the bread: Using a serrated knife, make diagonal cuts about ¾ of the way through a 12-inch baguette, spacing cuts ½ inch apart. Rotate the loaf and make second set of diagonal cuts in opposite direction to create diamond patterns.
Assembly and Baking (25 minutes)
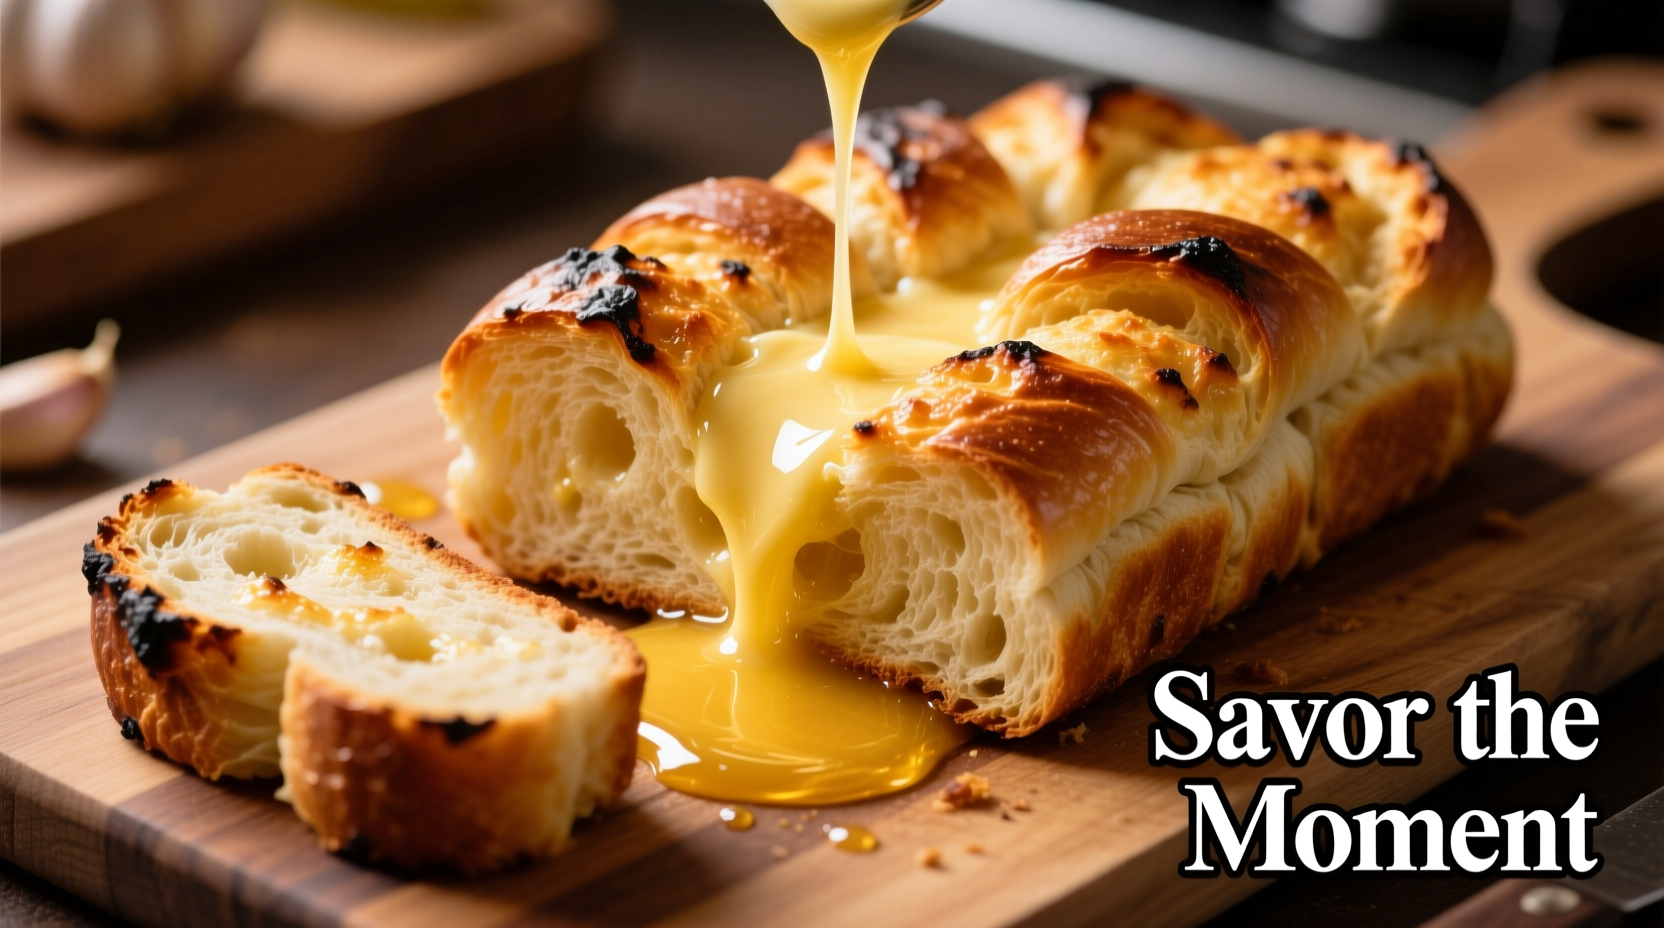
- Infuse the flavor: Carefully spread garlic butter mixture into each cut using a small offset spatula, working from top to bottom. Insert butter deeper into the center cuts for even distribution.
- Wrap loosely in foil for first 15 minutes to steam the interior, then remove foil for final 10 minutes to crisp the exterior.
- Test for doneness: Internal temperature should reach 190°F (88°C) for perfect pull-apart texture without drying out.
- Rest for 5 minutes before serving to allow structure to set.
Troubleshooting Common Issues
Even experienced cooks encounter challenges with pull apart garlic bread. Here's how to solve the most frequent problems:
- Soggy bottom: Place bread on a wire rack during the final baking stage to allow air circulation underneath. Excess moisture causes sogginess.
- Uneven garlic distribution: Mix a tablespoon of cornstarch with your garlic butter - this thickener helps the mixture adhere better to vertical cut surfaces.
- Bread falling apart: Don't cut all the way through! Leave at least ¼ inch of uncut bread at the bottom to maintain structural integrity.
- Bitter garlic flavor: Never use pre-minced garlic in jars - the preservatives create off-flavors. Fresh garlic should be minced just before use.
Creative Variations to Try
Once you've mastered the basic technique, experiment with these professional variations:
- Cheese Lover's Version: Sprinkle ½ cup shredded mozzarella and ¼ cup grated Parmesan into the cuts before baking for that irresistible cheese pull effect.
- Herb Garden Special: Add 1 tablespoon each of fresh rosemary, thyme, and oregano to the garlic butter for Mediterranean flair.
- Spicy Arrabbiata Style: Mix ½ teaspoon red pepper flakes and 1 teaspoon smoked paprika into the butter for a kick of heat.
- Vegan Alternative: Use plant-based butter and nutritional yeast for similar richness without dairy.
Serving and Storage Tips
Pull apart garlic bread shines when served immediately, but these tips help maintain quality:
- Serve with a small bowl of extra garlic butter for dipping - this enhances the interactive eating experience
- Pair with tomato-based soups or pastas where the garlic complements rather than competes with main dishes
- Store leftovers in an airtight container at room temperature for up to 2 days
- Reheat in a 350°F oven for 8-10 minutes (not microwave) to restore crispness


 浙公网安备
33010002000092号
浙公网安备
33010002000092号 浙B2-20120091-4