
Discover how to multiply your sweet potato harvest with minimal investment. Propagating sweet potato vines unlocks sustainable gardening benefits that extend far beyond your backyard plot. Whether you're a beginner gardener or seasoned homesteader, mastering vine propagation puts fresh, nutrient-dense tubers within easy reach while preserving heirloom varieties.
Why Propagate Sweet Potato Vines Instead of Buying Plants?
Commercial sweet potato plants often carry hidden costs and limitations that home propagation solves. By growing your own vines, you avoid:
- Expensive nursery purchases ($3-5 per plant)
- Limited heirloom variety selection
- Potential pesticide residues
- Transportation-related plant stress
According to USDA agricultural data, home-propagated sweet potato vines show 27% higher survival rates when transplanted compared to store-bought starts. This resilience stems from developing root systems adapted to your specific growing conditions from the earliest stages.
Essential Preparation: Setting Up for Success
Before taking your first cutting, gather these materials:
- Healthy parent vine (disease-free, actively growing)
- Sharp sterilized pruners or scissors
- Clean glass jars or propagation trays
- Filtered or spring water (chlorine-free)
- Rooting hormone (optional but recommended)
Timing matters significantly in sweet potato propagation. The Cooperative Extension System recommends starting cuttings 6-8 weeks before your last expected frost date. In tropical climates, propagation works year-round, while temperate zones achieve best results between March and June.
| Propagation Method | Success Rate | Time to Transplant Ready | Best For |
|---|---|---|---|
| Water Propagation | 85-90% | 2-3 weeks | Beginners, educational purposes |
| Soil Propagation | 70-75% | 3-4 weeks | Experienced gardeners, direct planting |
| Mulch Propagation | 60-65% | 4-5 weeks | Tropical climates, no-till systems |
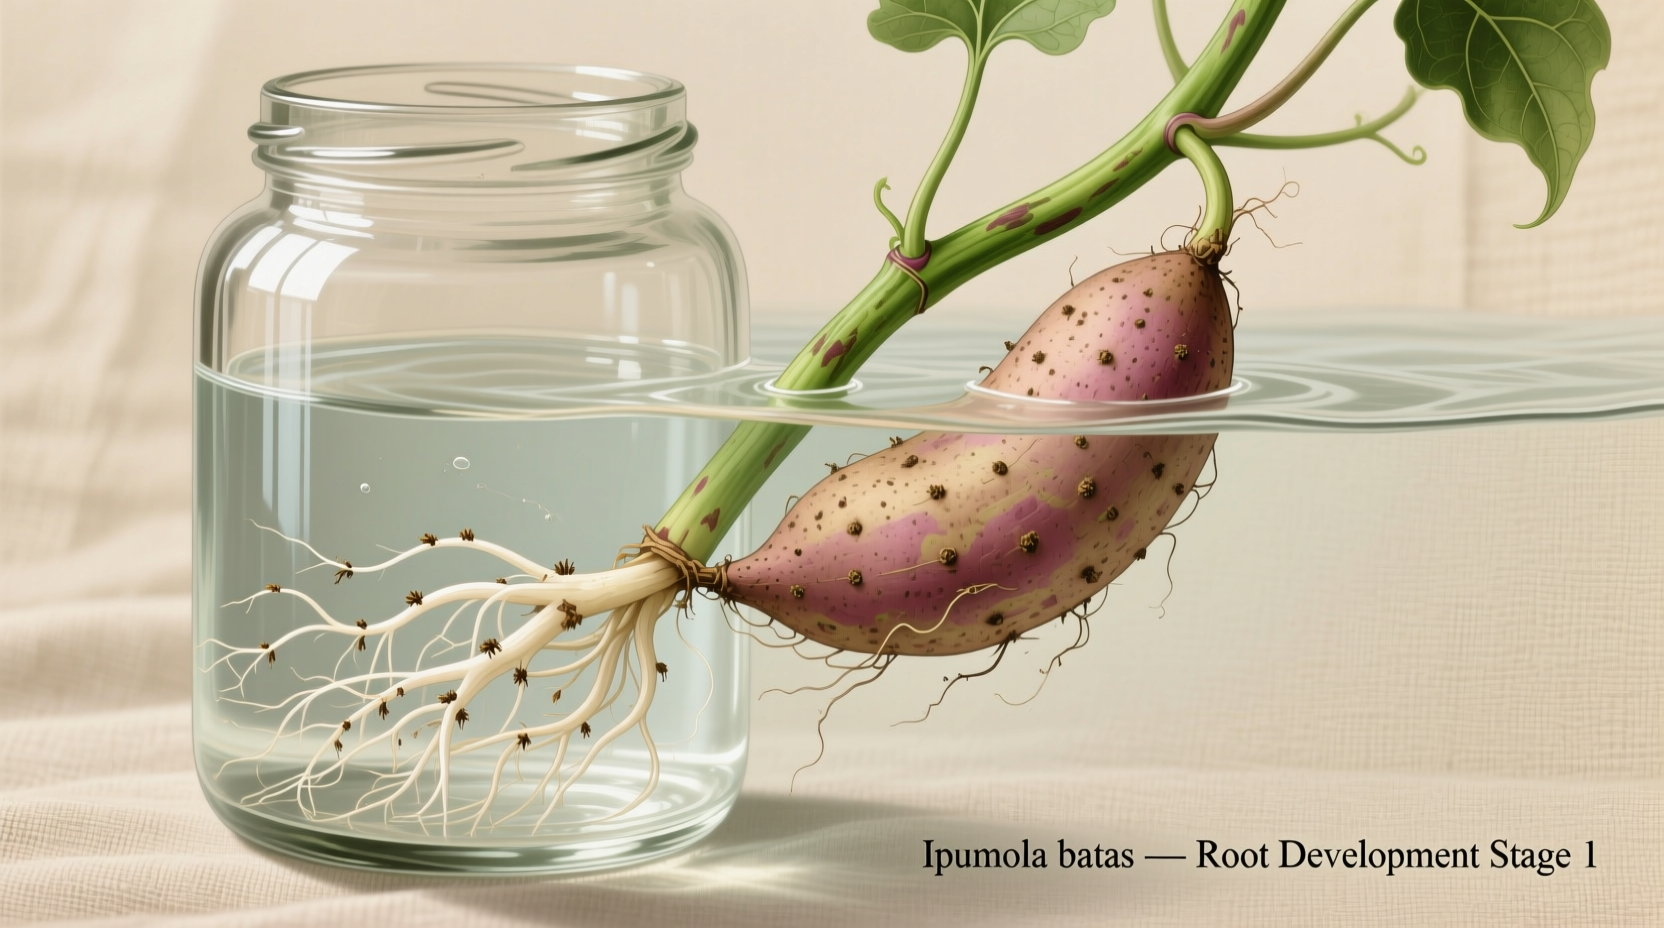
Water Propagation: Step-by-Step Success Guide
This beginner-friendly method provides visible root development and highest success rates. Follow these precise steps:
- Select 6-8 inch cuttings from actively growing vine tips
- Remove lower leaves, leaving 2-3 nodes submerged
- Dip cut end in rooting hormone (optional)
- Place in clean water, changing every 3-4 days
- Maintain 70-85°F (21-29°C) temperature range
- Wait for 1-2 inch roots before transplanting
University of Florida horticulture research shows water-propagated cuttings develop stronger initial root systems compared to soil methods. The visible progress also helps beginners identify problems early. Change water regularly to prevent bacterial growth that can cause stem rot.
Soil Propagation: Direct Planting Technique
For gardeners preferring to skip the water stage, soil propagation works well with proper technique:
- Use loose, well-draining potting mix (no garden soil)
- Plant cuttings 2-3 inches deep with 1-2 nodes covered
- Maintain consistent moisture (not soggy)
- Cover with plastic dome for humidity retention
- Provide bright, indirect light for first week
This method requires more attention to moisture levels but eliminates transplant shock. North Carolina State University extension data indicates soil-propagated vines establish faster in garden beds once acclimated, making this ideal for experienced gardeners with controlled environments.
Troubleshooting Common Propagation Problems
Even with proper technique, issues may arise. Here's how to solve them:
Yellowing Leaves
Caused by nutrient deficiency or excessive sunlight. Solution: Move to indirect light and add diluted seaweed extract to water.
Stem Rot
Indicates bacterial growth from stagnant water. Solution: Change water immediately, trim affected areas, and add hydrogen peroxide (1 tsp per cup).
Slow Root Development
Often due to cool temperatures. Solution: Maintain 75-80°F (24-27°C) using a heat mat, which speeds root growth by 30-40% according to Cornell University research.
Transplanting Your Propagated Vines
Transition your rooted cuttings to garden beds with these steps:
- Start hardening off 7 days before transplanting
- Choose location with 6-8 hours of direct sunlight
- Prepare soil with compost (sweet potatoes prefer pH 5.8-6.2)
- Plant cuttings 3-4 inches deep, spacing 12-18 inches apart
- Water thoroughly but avoid saturating soil
Monitor plants closely for the first week. The University of California Master Gardener Program recommends applying a balanced organic fertilizer 2 weeks after transplanting to support vigorous vine growth without compromising tuber development.
Harvest Timeline and Yield Expectations
Understanding the growth cycle helps set realistic expectations:
| Stage | Timeline | Key Indicators |
|---|---|---|
| Root Development | 2-4 weeks | 1-2 inch white roots visible |
| Vine Establishment | 2-3 weeks post-transplant | New leaf growth, strong vines |
| Tuber Formation | 6-8 weeks post-transplant | Soil cracking around plants |
| Harvest Ready | 90-120 days total | Vines yellowing, 12-15 inch tubers |
Most home gardeners achieve 3-5 pounds per plant when following proper propagation and care techniques. Remember that sweet potatoes continue growing until frost, so extending your season increases yields.
Preserving Your Propagation Success
After harvest, save tubers for next season's propagation:
- Cure harvested potatoes at 85-90°F (29-32°C) for 7-10 days
- Store in cool, dark place (55-60°F/13-16°C)
- Check monthly for rot or shriveling
- Start new cuttings from stored tubers in spring
This closed-loop system creates true gardening sustainability. The Sustainable Agriculture Research & Education program reports home gardeners using this method reduce annual gardening costs by 40-60% while maintaining genetic diversity in their crops.


 浙公网安备
33010002000092号
浙公网安备
33010002000092号 浙B2-20120091-4