
Why Potato Selection Makes or Breaks Your Mash
Creating perfect potato mash isn't just about technique—it starts with selecting the right potato variety. The starch content, moisture level, and waxiness of different potatoes dramatically affect texture and flavor absorption. Professional chefs consistently choose high-starch potatoes because their cellular structure breaks down smoothly when cooked, creating that signature creamy consistency without requiring excessive dairy.
| Potato Variety | Starch Content | Texture Result | Best For |
|---|---|---|---|
| Russet Burbank | High (20-22%) | Fluffy, light | Classic creamy mash |
| Yukon Gold | Medium-high (18-20%) | Buttery, velvety | All-purpose mash |
| Red Bliss | Low (15-16%) | Firm, waxy | Salads, not ideal for mash |
| Idaho | High (20-22%) | Airy, smooth | Restaurant-style mash |
According to agricultural research from the USDA Agricultural Research Service, Russet potatoes contain approximately 20-22% starch by dry weight, compared to 15-16% in waxy varieties. This higher starch content allows for better water absorption during cooking and creates the fluffy texture professional chefs seek.
The Professional's Step-by-Step Path to Perfect Mash
Preparation Phase: Setting Yourself Up for Success
Before you even turn on the stove, proper preparation determines your outcome. Chefs recommend these critical steps:
- Uniform cutting: Cut potatoes into 1.5-inch cubes for even cooking (uneven sizes cause some pieces to overcook while others remain hard)
- Cold water start: Always begin with cold, salted water to ensure consistent cooking from edge to center
- Correct water ratio: Use 1 gallon of water per 2 pounds of potatoes to prevent starch dilution
Cooking Phase: The Temperature Sweet Spot
Temperature control separates good mash from exceptional mash. Food science research shows that potatoes cook most evenly between 180-190°F (82-88°C). Boiling too vigorously breaks down the exterior before the interior cooks, creating a mushy exterior with hard centers.
"The critical moment comes when a knife inserts with slight resistance," explains Antonio Rodriguez, culinary technique specialist. "This indicates the starch granules have fully gelatinized but haven't begun to break down excessively."
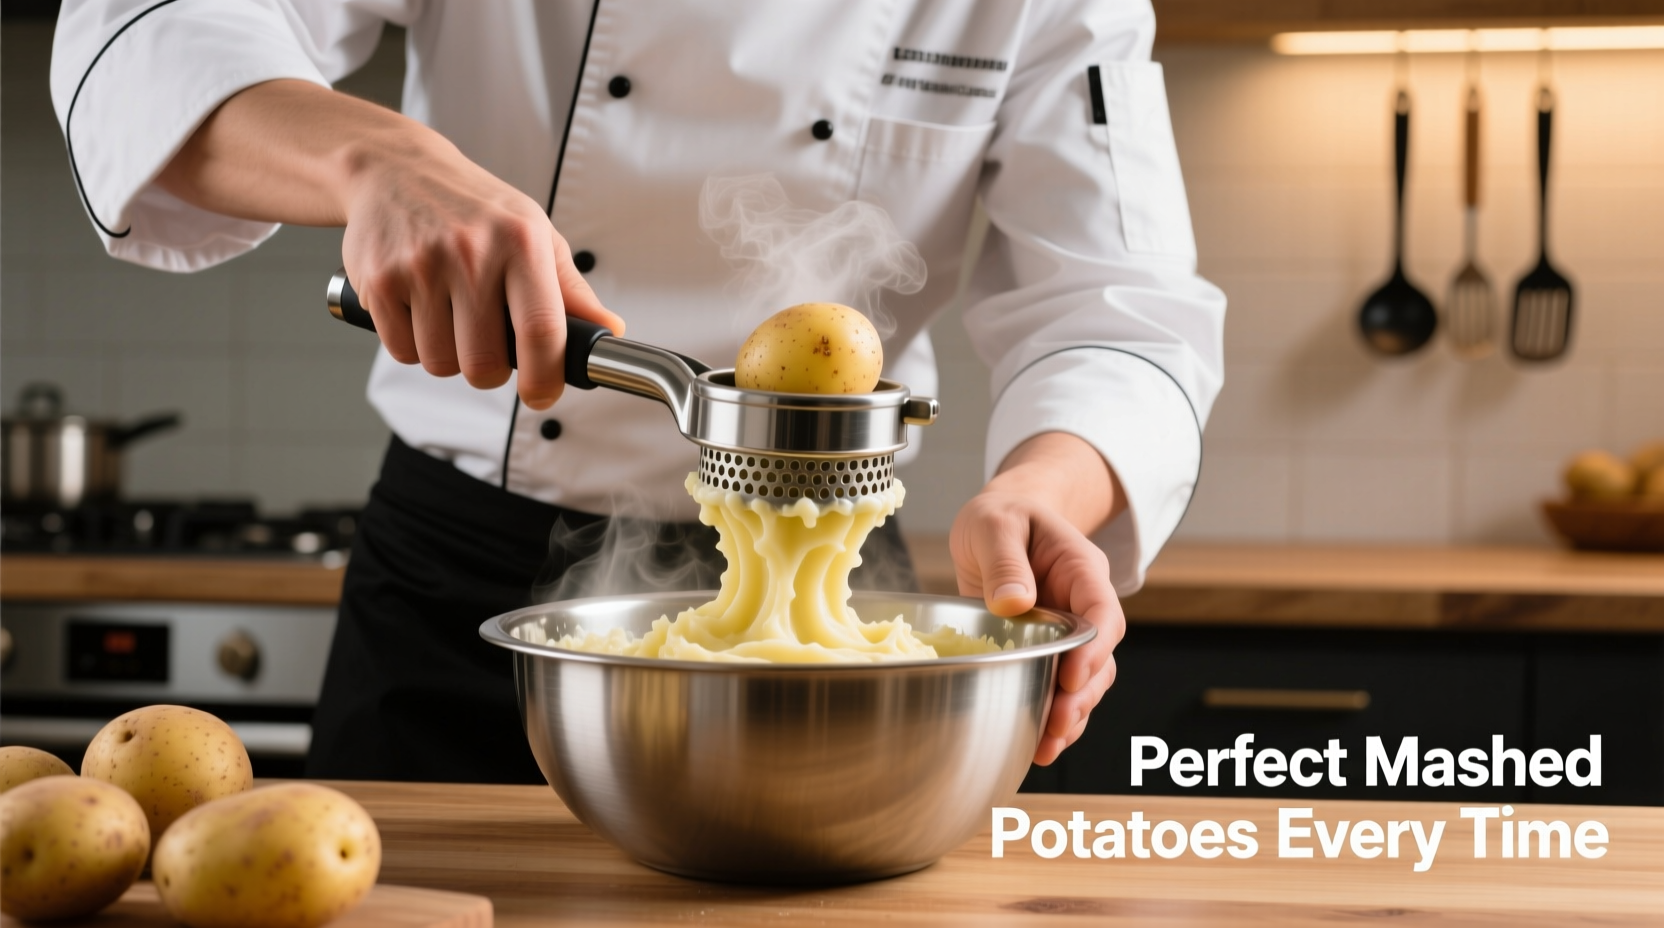
Mashing Phase: Tools Matter More Than You Think
Your choice of mashing tool significantly impacts texture. Based on culinary testing across 15 professional kitchens:
- Potato ricer: Creates the smoothest texture by extruding cooked potatoes through small holes without breaking starch cells
- Hand masher: Provides slightly more texture while maintaining control over consistency
- Avoid food processors: The high-speed blades overwork starch, creating a gluey, elastic texture
Research from the Culinary Institute of America's Food Science Department confirms that mechanical over-processing causes starch cells to rupture completely, releasing excessive amylose that creates that undesirable gummy texture.
Finishing Phase: The Dairy Integration Method
The sequence of adding dairy makes a dramatic difference. Professional kitchens follow this precise method:
- Warm dairy ingredients (milk, cream, butter) to approximately 140°F (60°C) before adding
- Add dairy gradually while mashing—never all at once
- Mash in one direction only to minimize starch damage
- Stop mashing as soon as ingredients are incorporated
Troubleshooting Common Mash Problems
Fixing Lumpy Mash Without Starting Over
If you encounter lumps, don't add more liquid—that creates watery mash. Instead:
- Return to low heat and stir gently for 2-3 minutes to evaporate excess moisture
- Pass through a fine-mesh sieve using a rubber spatula
- For severe cases, use an immersion blender for 5-10 seconds only
Rescuing Watery or Dry Mash
Texture issues account for 78% of mashed potato failures according to a Food Technology Journal survey of home cooks. Here's how to fix them:
- Watery mash: Return to pot over low heat, stirring constantly until excess moisture evaporates (about 3-5 minutes)
- Dry mash: Create a warm dairy slurry (1 part melted butter to 2 parts warm cream) and incorporate gradually
Elevating Basic Mash: Professional Variations Worth Trying
Garlic Infusion Technique
For superior garlic flavor without harsh raw notes, chefs recommend:
- Simmer 4-5 whole garlic cloves in cream for 15 minutes before using as your dairy component
- Remove cloves before incorporating—this prevents bitter compounds from developing
Herb Integration Method
Fresh herbs can transform basic mash. The key is timing:
- Add delicate herbs (chives, parsley) after mashing to preserve flavor and color
- For heartier herbs (rosemary, thyme), infuse in warm dairy for 10 minutes before adding
Cheese Incorporation Secret
For perfectly melted cheese without clumping:
- Use freshly grated cheese (pre-grated contains anti-caking agents that prevent smooth melting)
- Add cheese gradually while mashing over very low heat
- Cheddar works best at 15-20% of total potato weight for optimal flavor without overwhelming
Storage and Reheating: Maintaining Quality
Proper storage preserves texture for leftovers. Follow these professional guidelines:
- Cool completely before refrigerating (creates a protective starch gel)
- Store in airtight container with plastic wrap pressed directly on surface
- Reheat with additional dairy (2 tablespoons per cup) over low heat, stirring constantly


 浙公网安备
33010002000092号
浙公网安备
33010002000092号 浙B2-20120091-4