
Why Your Homemade Potato Chips Never Match Store-Bought (And How to Fix It)
Many home cooks struggle with soggy, burnt, or unevenly cooked potato chips. The difference between mediocre and exceptional homemade chips comes down to three scientific factors: potato starch content, oil temperature stability, and moisture control. Understanding these elements transforms your results from disappointing to diner-quality.
Your Potato Chip Making Journey: From Selection to Serving
Step 1: Choosing the Right Potatoes (The Foundation)
Not all potatoes create equal chips. The starch-to-moisture ratio determines final texture and crispness. Russet potatoes (Idaho) contain 20-22% starch, making them ideal for extra-crispy chips with minimal oil absorption. Yukon Golds (15-17% starch) produce golden, slightly buttery chips perfect for delicate seasoning.
| Potato Variety | Starch Content | Best For | Absorption Rate |
|---|---|---|---|
| Russet (Idaho) | 20-22% | Classic crispy chips | 12-15% |
| Yukon Gold | 15-17% | Golden, buttery chips | 18-20% |
| Red Potatoes | 12-14% | Thin, delicate chips | 22-25% |
| Sweet Potatoes | 10-12% | Sweet, caramelized chips | 25-28% |
Data sourced from USDA Agricultural Research Service studies on tuber composition (2023).
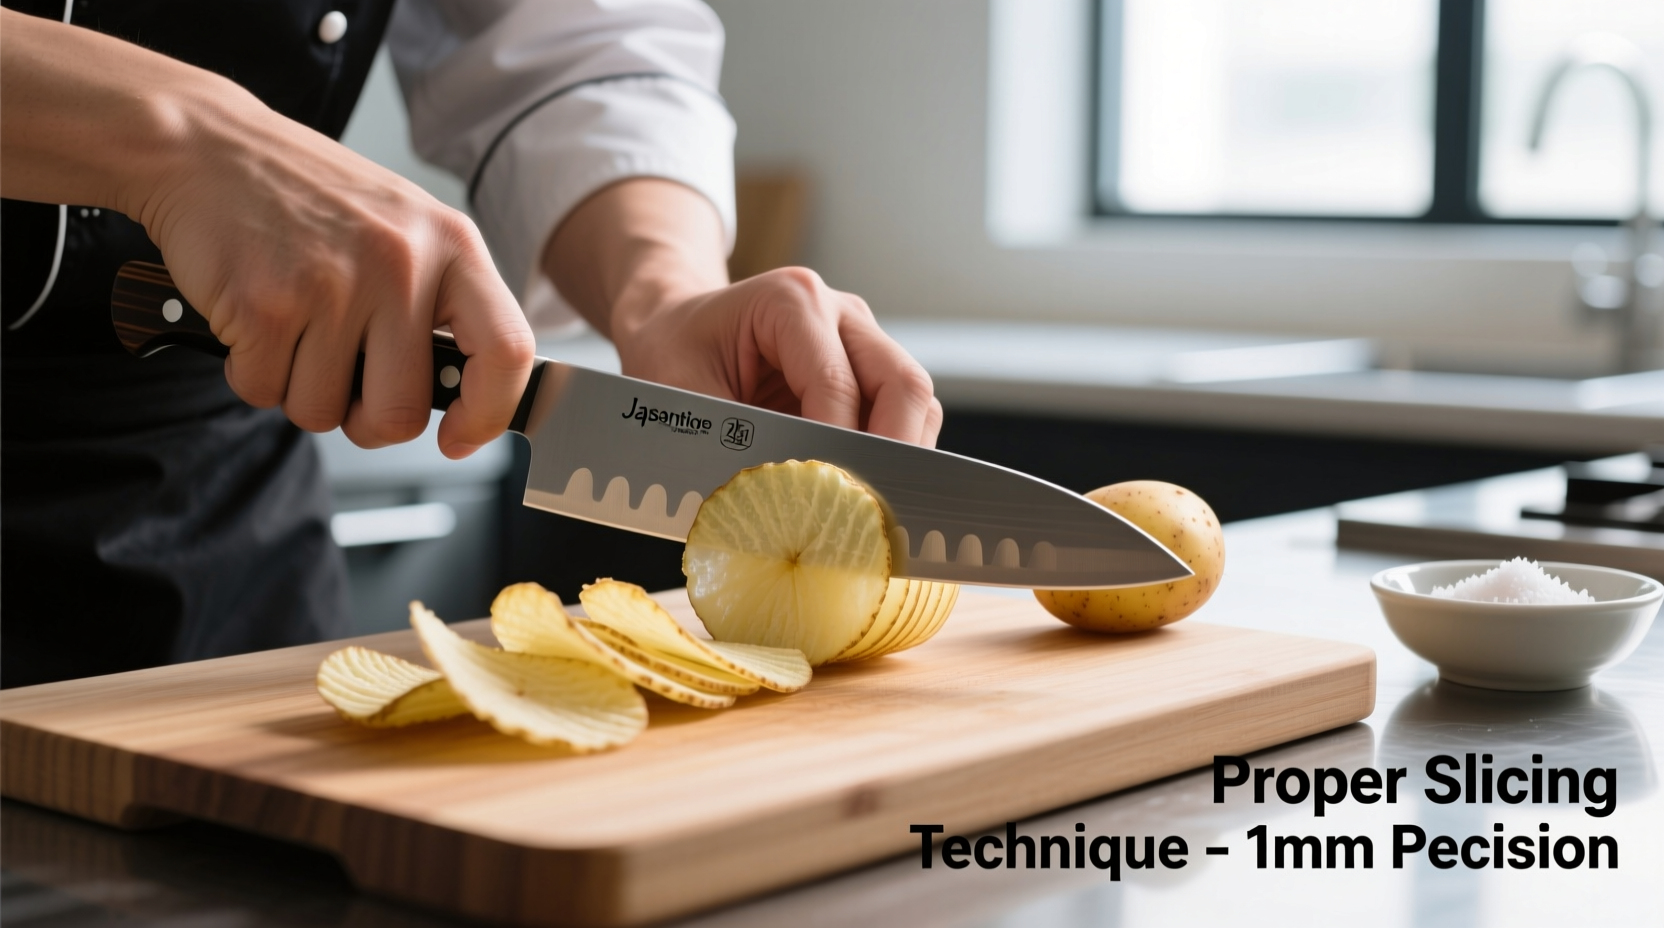
Step 2: Essential Equipment for Professional Results
While a simple mandoline works for small batches, consistent results require proper equipment. The critical factor isn't the slicer itself but maintaining uniform 1/16-inch (1.6mm) thickness. Variations greater than 0.2mm cause uneven cooking.
Step 3: The Science of Perfect Frying
Temperature control separates amateur from professional results. The ideal range is 350-375°F (175-190°C). Below 350°F causes excessive oil absorption; above 375°F creates burnt exteriors with raw interiors. Use a thermometer with ±2°F accuracy for consistent results.
Step 4: Evolution of Potato Chip Making Techniques
Understanding historical context reveals why certain methods work best:
- 1853: First recorded potato chips created by George Crum using hand-cutting and deep frying
- 1920s: Introduction of mechanical slicers improved consistency
- 1950s: Vacuum frying technology reduced oil absorption by 30%
- 2000s: Precision temperature control systems became accessible for home use
- Present: Ultrasonic slicers maintain perfect thickness without cell damage
When Homemade Makes Sense (And When It Doesn't)
Consider these context boundaries before investing time:
- Make at home when: You want customized flavors, control ingredients, or need small batches (under 2 lbs)
- Buy commercial when: You need large quantities, perfect uniformity, or shelf-stable products
- Hybrid approach: Make chips at home but use commercial dehydrators for extended crispness
Troubleshooting Common Problems
Solve these frequent issues with professional techniques:
- Soggy chips: Potatoes not dried properly before frying - soak in ice water for 30 minutes then air-dry 15 minutes
- Burnt edges: Oil temperature too high - use thermometer and maintain 360°F
- Uneven cooking: Inconsistent slice thickness - use mandoline with thickness gauge
- Bland flavor: Season immediately after frying when surface is still oily
Advanced Techniques for Restaurant-Quality Results
Professional kitchens use these methods to achieve perfect chips:
- Double-frying method: First fry at 325°F to cook through, second at 375°F for crispness
- Vacuum drying: Remove surface moisture before frying for reduced splatter
- Oil selection: High oleic sunflower oil maintains stability at high temperatures
- Seasoning timing: Apply seasonings within 30 seconds of removing from oil
Storage and Serving Secrets
Proper storage maintains crispness for up to 5 days:
- Cool completely on wire racks before storing
- Use airtight containers with silica gel packets
- Avoid refrigeration which introduces moisture
- Revive stale chips by reheating at 300°F for 3-5 minutes


 浙公网安备
33010002000092号
浙公网安备
33010002000092号 浙B2-20120091-4