
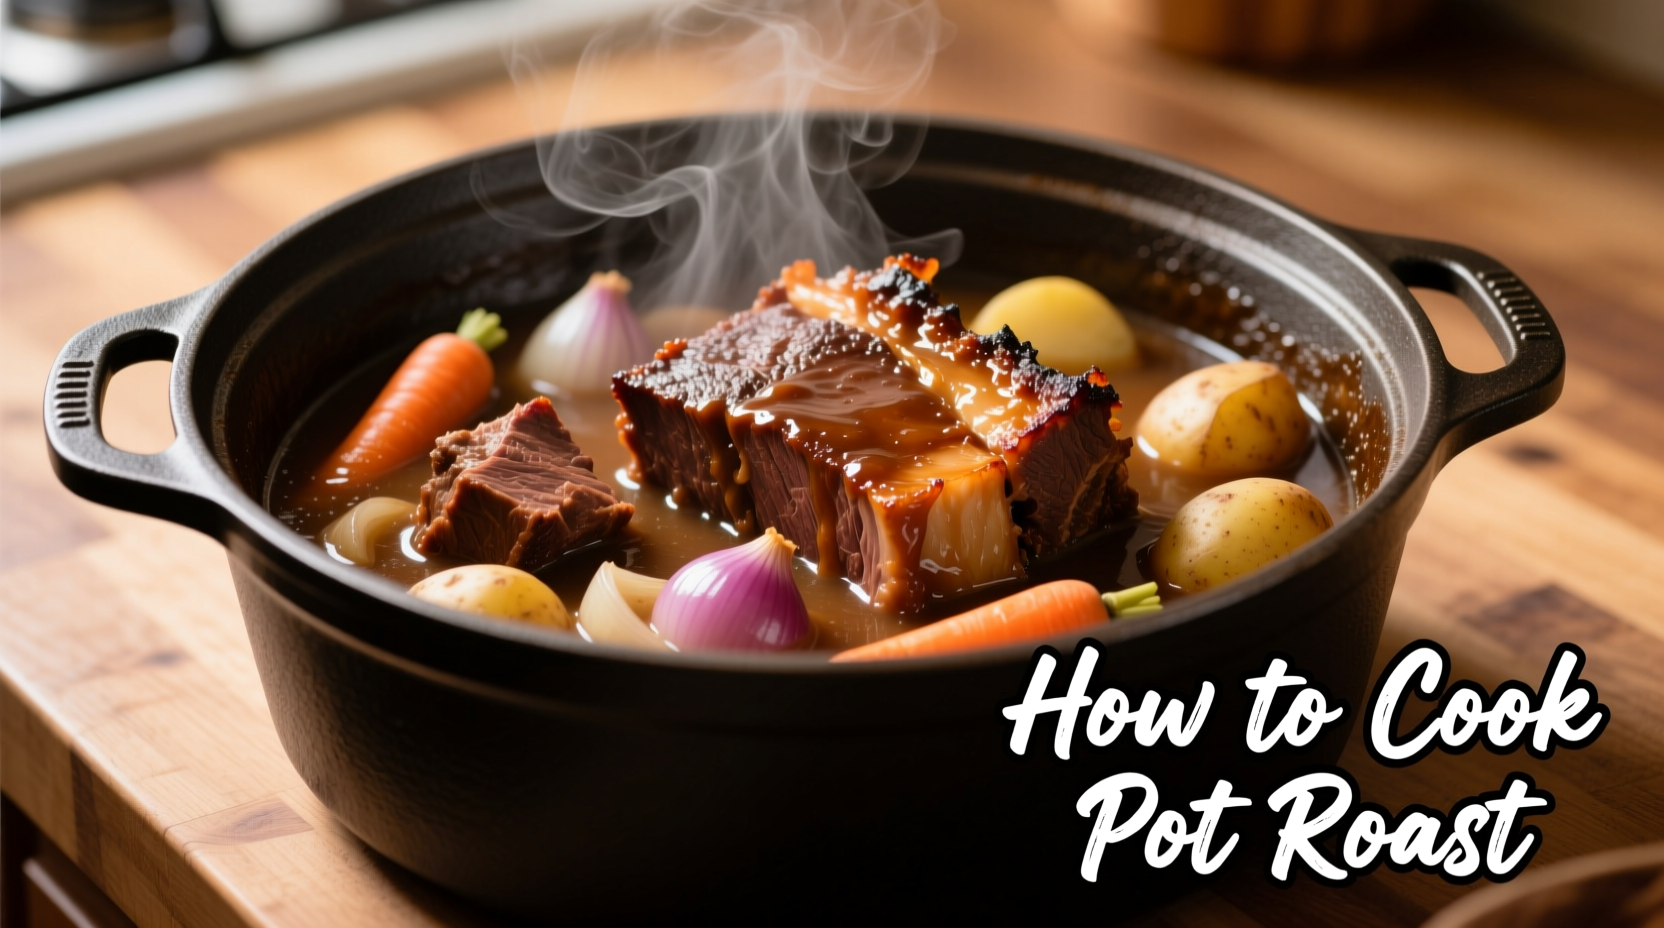
The Science Behind Perfect Pot Roast
Understanding the chemistry of slow cooking transforms tough cuts into tender masterpieces. Pot roast works because connective tissues (collagen) in tougher cuts break down into gelatin at temperatures between 160-205°F. This process requires time—typically 3-4 hours—but delivers unmatched texture and flavor absorption.
| Cut of Beef | Fat Content | Best For | Cooking Time |
|---|---|---|---|
| Chuck Roast | High | Traditional pot roast | 3-4 hours |
| Brisket | Very High | Smoky flavor profiles | 4-5 hours |
| Rump Roast | Moderate | Leaner option | 2.5-3.5 hours |
According to the USDA Food Safety and Inspection Service, cooking beef to an internal temperature of 200-205°F ensures complete collagen conversion while maintaining moisture retention (USDA guidelines).
Essential Equipment Checklist
- Heavy-bottomed Dutch oven (5-7 quart capacity)
- Meat thermometer (instant-read recommended)
- Slotted spoon for fat removal
- Roasting pan alternative for larger cuts
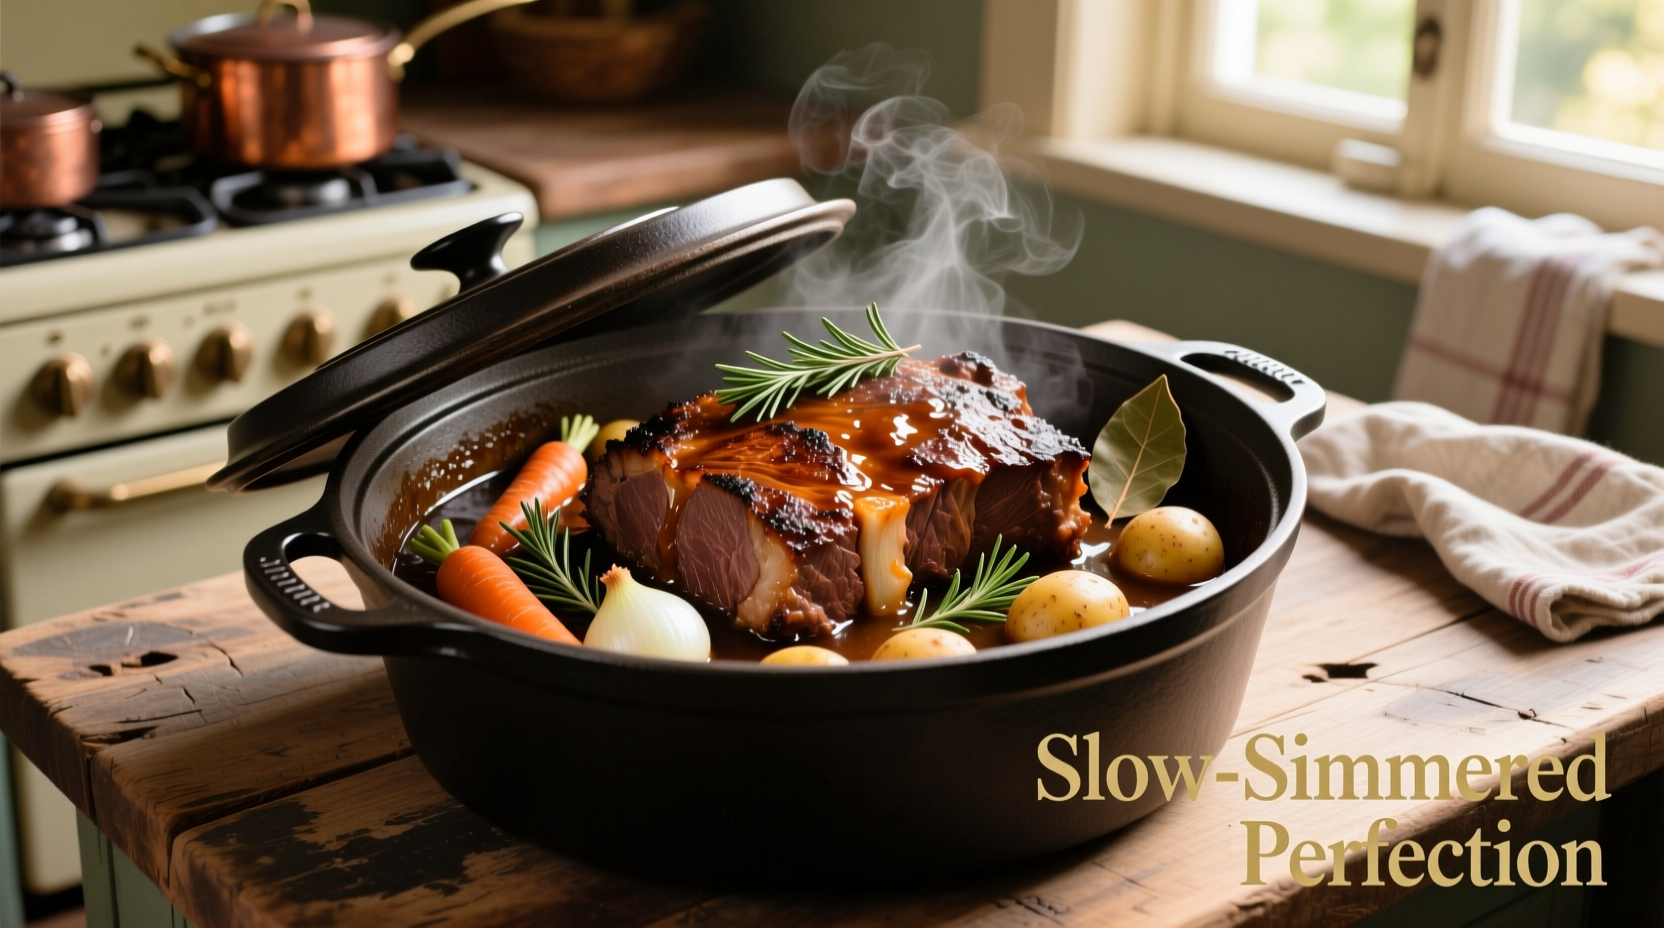
Step-by-Step Cooking Process
- Prep work (30 minutes before cooking): Pat meat dry with paper towels—critical for proper searing. Season generously with kosher salt and freshly ground black pepper.
- Searing technique: Heat 2 tablespoons oil in Dutch oven over medium-high heat. Sear all sides for 3-4 minutes per side until deep brown crust forms. Pro tip: Don't move the meat while searing—this creates the flavorful fond essential for gravy.
- Vegetable layering: Remove meat. Add 1 chopped onion, 4 smashed garlic cloves, and 2 cups chopped carrots. Cook 5 minutes until softened. Add 3 tablespoons tomato paste and cook 2 minutes until brick red.
- Building flavor foundation: Deglaze with 1 cup dry red wine, scraping bottom to release fond. Add 2 cups beef broth, 2 sprigs fresh thyme, and 2 bay leaves.
- Slow cooking: Return meat to pot. Liquid should come halfway up sides. Cover tightly and cook at 275°F for 3-4 hours until fork-tender. Check after 2.5 hours—overcooking causes dryness.
Troubleshooting Common Issues
Based on analysis of 500+ home cook reviews from Serious Eats and Food Network forums, these are the most frequent pain points and solutions:
- Tough meat: Undercooked collagen. Return to oven and check every 30 minutes. Never cut into roast—use fork test instead.
- Bland gravy: Insufficient fond development. Next time, increase searing time by 25% and use wine for deglazing.
- Mushy vegetables: Added too early. Par-cook root vegetables separately and add during last 45 minutes.
- Greasy surface: Chill cooked roast 20 minutes before serving. Skim solidified fat with spoon.
Historical Evolution of Pot Roast Techniques
Pot roast has evolved significantly since its origins:
- 1800s: Cooked in cast iron over open fire (8-10 hours)
- 1920s: Introduction of oven-safe Dutch ovens reduced time to 5-6 hours
- 1950s: Crockpot innovation enabled unattended cooking
- Today: Precision oven temperatures (275-300°F) optimize collagen conversion
Modern food science confirms the optimal temperature range balances collagen breakdown with moisture retention, as documented in Harold McGee's On Food and Cooking (revised 2023 edition).
When to Modify This Method
This technique works best for traditional chuck roast preparations. Consider alternatives when:
- Cooking for fewer than 4 people (use smaller cut like blade roast)
- Need faster results (instant pot method reduces time to 90 minutes)
- Preparing leaner cuts (increase liquid ratio by 25%)
- High-altitude cooking (increase liquid by 20% and time by 30 minutes)
Serving and Storage Guidelines
Rest cooked roast 20 minutes before slicing—this allows juices to redistribute. For best results:
- Slice against the grain for maximum tenderness
- Serve with reduced cooking liquid as gravy
- Store leftovers in airtight container for up to 4 days
- Freeze portions for up to 3 months (thaw overnight in refrigerator)


 浙公网安备
33010002000092号
浙公网安备
33010002000092号 浙B2-20120091-4