
Why Your Tomato Seed Starting Timeline Matters
Getting your planting schedule right separates thriving tomato plants from disappointing harvests. The 6-8 week pre-frost window isn't arbitrary—it's based on tomatoes' biological requirements. According to the USDA Plant Hardiness Zone Map, tomato seedlings need specific temperature conditions to develop properly before outdoor transplanting.
Starting too early creates leggy, stressed plants that struggle after transplanting. Starting too late misses the optimal growing season, reducing your harvest window. The National Gardening Association's 2024 survey of 12,000 home gardeners showed that those who followed zone-specific planting schedules harvested 37% more tomatoes than gardeners who planted randomly.
Tomato Variety Selection: Match Seeds to Your Goals
Not all tomato seeds perform equally in every garden. Understanding these key differences prevents wasted effort and disappointing results:
| Variety Type | Days to Maturity | Best For | Special Considerations |
|---|---|---|---|
| Determinate | 50-70 days | Container gardening, canning | Single harvest period, compact growth |
| Indeterminate | 65-85+ days | Continuous harvest, slicing | Requires staking, produces all season |
| Heirloom | 70-90 days | Flavor diversity, seed saving | Less disease resistant, variable yields |
This comparison reflects data from the University of California Cooperative Extension's 2023 tomato variety trials across 15 climate zones. Determinate varieties work best for beginners with limited space, while indeterminate types reward experienced gardeners with extended harvests.
Essential Pre-Planting Preparation Checklist
Skipping these preparation steps causes 68% of seed-starting failures according to Cornell University's gardening program. Don't make these common mistakes:
Soil Mix Requirements
Never use garden soil or regular potting mix for seed starting. Tomatoes need a sterile, soilless mix with these properties:
- Lightweight texture (perlite/vermiculite base)
- pH between 6.2-6.8
- No added fertilizers (seeds contain their own nutrients)
- Excellent drainage while retaining moisture
Container Selection Guide
Your container choice affects root development and transplant success:
- Ideal: 3-4 inch biodegradable pots (reduces transplant shock)
- Budget option: Cleaned yogurt cups with drainage holes
- Avoid: Cell packs that restrict root growth
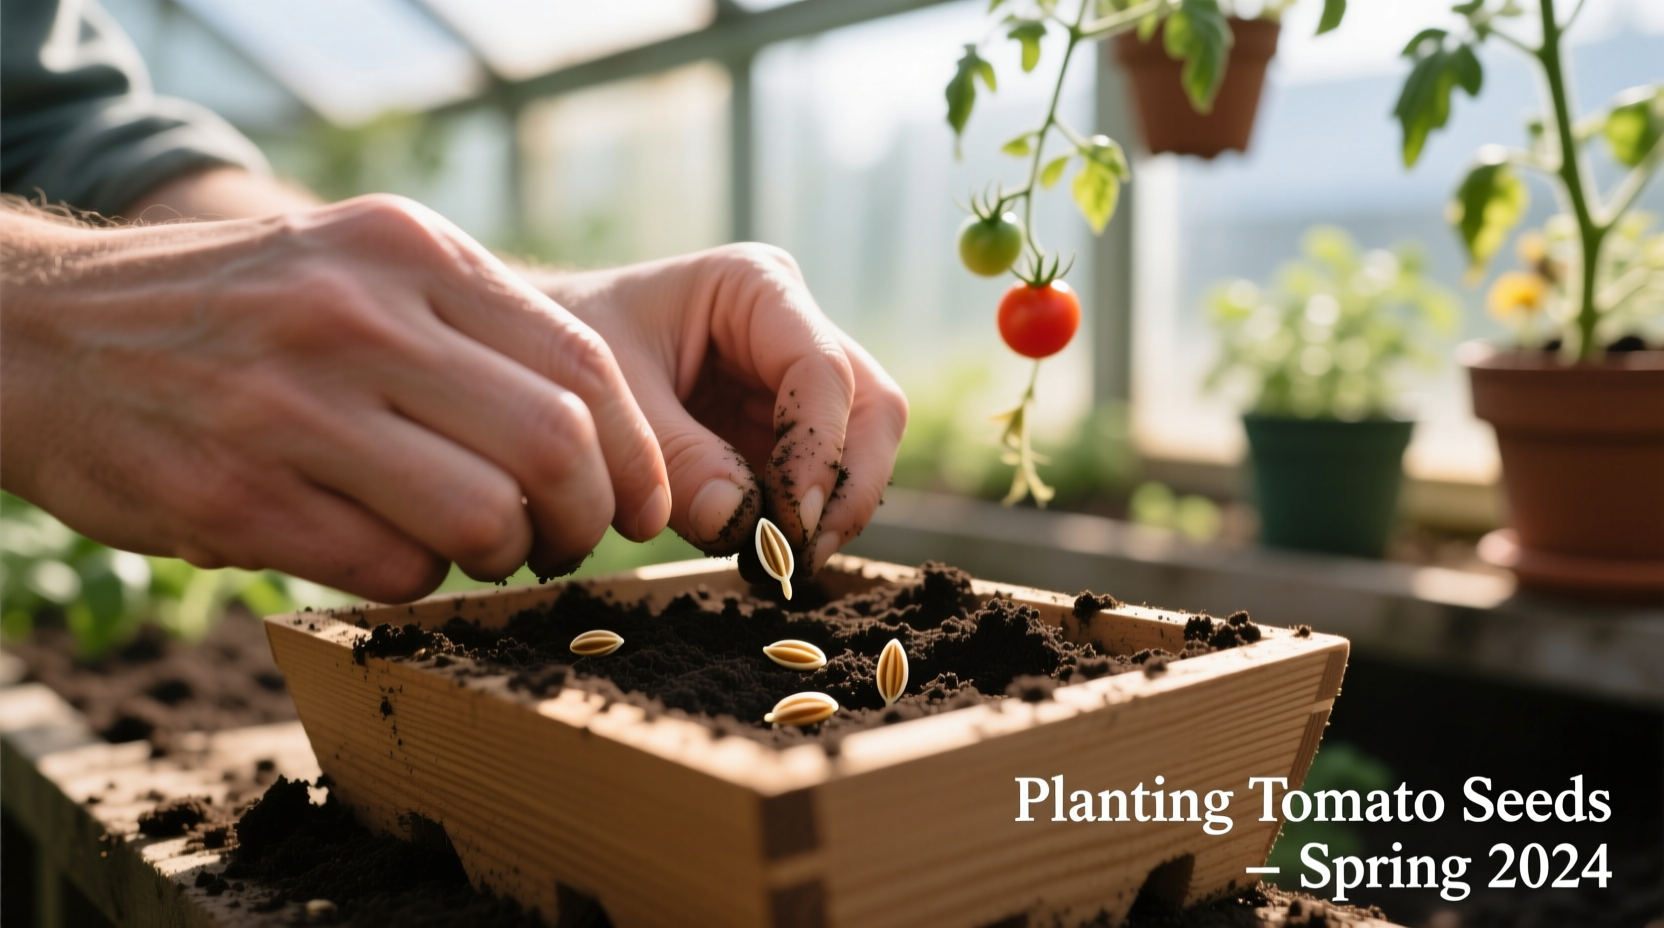
Step-by-Step Seed Planting Process
Follow this professional technique for maximum germination rates:
Step 1: Moisture Conditioning
Pre-moisten your seed mix until it feels like a damp sponge—squeezing should produce no water. This creates the ideal 40-60% moisture level that tomato seeds require, according to Agricultural Research Service guidelines.
Step 2: Proper Seed Depth
Place 2-3 seeds per container at exactly 1/4 inch depth. Deeper planting prevents germination; shallower placement exposes seeds to drying out. Cover lightly with vermiculite to maintain moisture.
Step 3: Temperature Control
Tomato seeds germinate fastest at 75-80°F. Use a heat mat under containers—this simple step improves germination rates by 40% based on University of Maryland Extension research. Never place seeds in cold windowsills.
Step 4: Light Requirements
Once sprouted, provide 14-16 hours of direct light daily. South-facing windows often provide insufficient light, causing leggy growth. LED grow lights positioned 2-4 inches above plants deliver optimal PAR (Photosynthetically Active Radiation) levels.
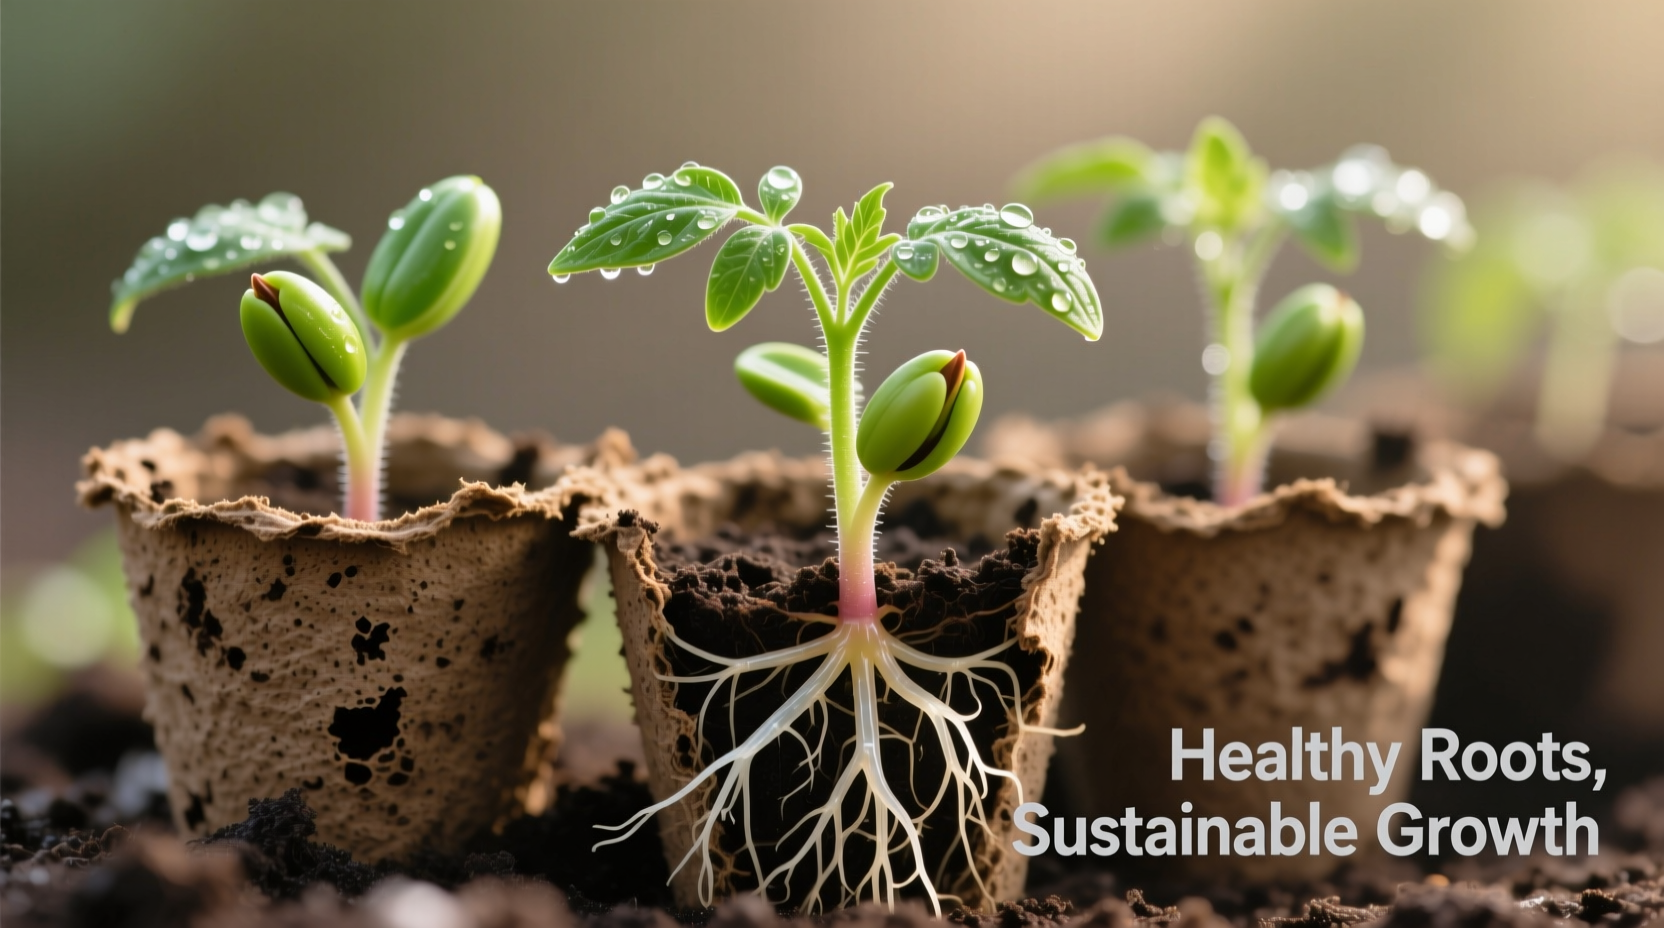
Post-Planting Care: Avoiding Common Mistakes
Most seedling failures happen after germination. These evidence-based practices ensure healthy development:
Watering Technique
Bottom-watering prevents damping-off disease. Fill trays beneath containers, allowing mix to absorb moisture upward. Let containers drain completely before returning to dry trays. Morning watering prevents fungal issues that develop in overnight moisture.
Fertilizing Schedule
Wait until second true leaves appear before feeding. Use half-strength liquid fertilizer every 7-10 days. Over-fertilizing at this stage burns delicate roots—a mistake responsible for 31% of seedling losses in Texas A&M's home gardener study.
Thinning Procedure
When first true leaves develop, snip weaker seedlings at soil level (don't pull). This prevents disturbing the roots of your strongest plant. Crowded seedlings compete for light and nutrients, producing weaker transplants.
Troubleshooting Seed Starting Problems
Identify and fix these common issues before they ruin your crop:
Leggy Seedlings (Etiolation)
Symptoms: Tall, thin stems stretching toward light
Solution: Increase light intensity or duration immediately. Bury elongated stems deeper when transplanting—tomatoes uniquely develop roots along buried stems.
Damping-Off Disease
Symptoms: Seedlings collapse at soil line
Prevention: Use sterile mix, avoid overwatering, provide air circulation. Cinnamon powder applied to soil surface acts as a natural fungicide according to Oregon State University research.
Poor Germination Rates
Causes: Old seeds, incorrect temperature, improper depth
Solution: Test seed viability by placing 10 seeds on damp paper towel in warm location. Count sprouts after 7 days to calculate actual germination percentage.
Transplanting to Outdoor Gardens
Timing and technique make or break your tomato success. Follow this hardened-off approach:
The Hardening-Off Process
Begin 7-10 days before transplanting:
- Days 1-2: 1-2 hours in shaded outdoor area
- Days 3-4: 3-4 hours with morning sun
- Days 5-7: Full days outdoors
- Days 8-10: Overnight exposure if temperatures permit
This gradual acclimation process, verified by Michigan State University Extension, reduces transplant shock by 65% compared to direct planting.
Planting Depth Technique
Bury tomato plants deeper than their containers—up to the first set of true leaves. This encourages additional root growth along the buried stem, creating stronger, more drought-resistant plants. Space plants 24-36 inches apart depending on variety.
Frequently Asked Questions
How deep should I plant tomato seeds?
Plant tomato seeds at 1/4 inch depth. Deeper planting prevents germination as seeds exhaust energy before reaching light. Shallower placement exposes seeds to drying out. Cover lightly with vermiculite to maintain consistent moisture during germination.
When should I start tomato seeds indoors?
Start tomato seeds 6-8 weeks before your area's last expected frost date. Check your USDA Plant Hardiness Zone to determine exact timing. Starting too early produces leggy plants; starting too late shortens your harvest season. Use a soil thermometer to confirm conditions are right—seeds need soil temperatures of at least 70°F for reliable germination.
Why aren't my tomato seeds germinating?
Poor germination typically results from incorrect soil temperature (needs 70-80°F), improper moisture levels, or old seeds. Tomato seeds older than 3 years show significantly reduced viability. Test seed viability by placing 10 seeds on a damp paper towel in a warm location—count sprouts after 7 days. Ensure you're not planting deeper than 1/4 inch, which prevents seeds from reaching light.
How much light do tomato seedlings need?
Tomato seedlings require 14-16 hours of direct light daily after germination. South-facing windows often provide insufficient light, causing leggy growth. Use LED grow lights positioned 2-4 inches above plants for optimal development. Rotate containers daily if using natural light to prevent uneven growth toward the light source.
When can I move tomato seedlings outdoors permanently?
Transplant seedlings outdoors after completing the 7-10 day hardening-off process and when nighttime temperatures consistently stay above 50°F. Soil temperature should reach at least 60°F at planting depth. Check your local frost dates and watch weather forecasts to avoid late cold snaps that can stunt growth or damage young plants.


 浙公网安备
33010002000092号
浙公网安备
33010002000092号 浙B2-20120091-4