
Why Proper Parsley Seedling Planting Matters
Getting parsley seedling planting right creates the foundation for vigorous growth and extended harvests. Unlike direct-seeded parsley which takes 3-4 weeks to germinate, transplanted seedlings jumpstart your garden with established root systems. The University of Minnesota Extension confirms that properly transplanted parsley seedlings produce usable harvests 3-4 weeks earlier than direct-sown plants, giving home gardeners a significant advantage in short growing seasons.
Essential Pre-Planting Requirements
Before you put seedlings in the ground, verify these critical conditions:
| Requirement | Optimal Range | Consequences of Deviation |
|---|---|---|
| Soil Temperature | 50-75°F (10-24°C) | Cold soil stunts growth; hot soil causes bolting |
| Soil pH | 6.0-7.0 | Outside range reduces nutrient uptake |
| Sun Exposure | 4-6 hours daily | Less sun = weak growth; full sun = leaf burn |
Step-by-Step Planting Process
1. Prepare the Soil Bed (3-7 Days Before Planting)
Work 2-3 inches of compost into your garden bed to improve drainage and fertility. The Royal Horticultural Society recommends adding bone meal at planting time to support root development. Create raised beds 4-6 inches high in heavy clay soils to prevent waterlogging, which parsley seedlings cannot tolerate.
2. Harden Off Seedlings (Critical 7-Day Process)
Gradually acclimate indoor-grown seedlings to outdoor conditions:
- Days 1-2: 1-2 hours of morning sun, sheltered from wind
- Days 3-4: 3-4 hours of sun, including some afternoon light
- Days 5-7: Full days outdoors, bringing inside if temperatures drop below 40°F
This process reduces transplant shock by 70% according to Cornell University's gardening research.
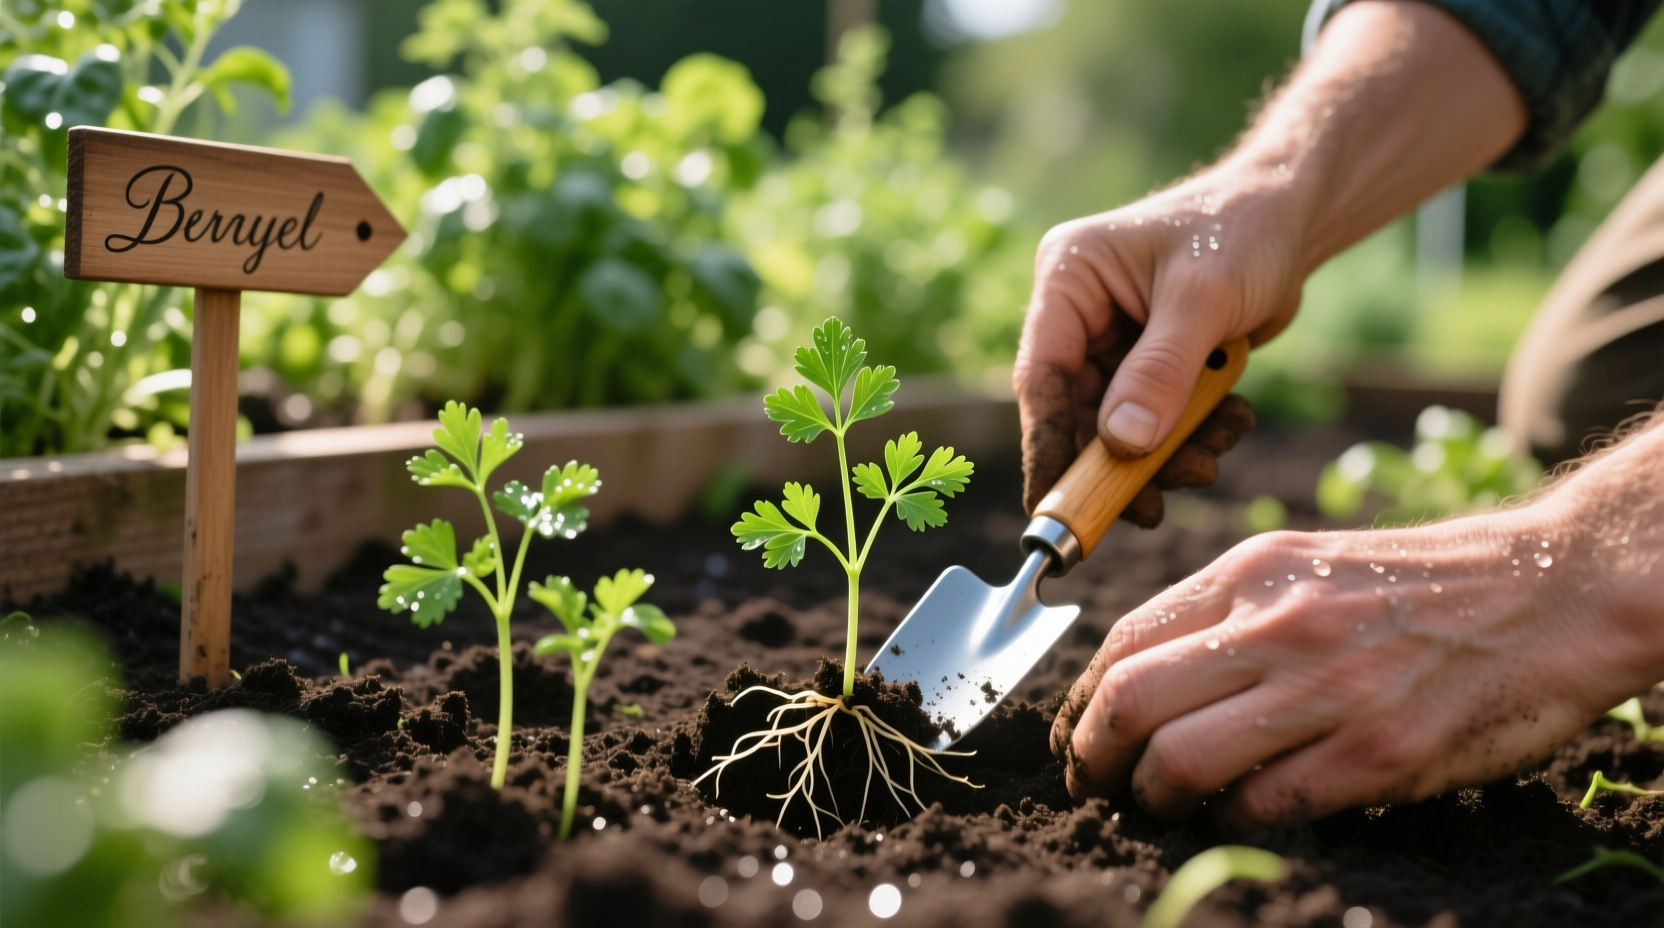
3. Transplanting Technique
Follow these precise steps for successful establishment:
- Water seedlings thoroughly 1 hour before transplanting
- Dig holes matching the depth of seedling containers
- Gently loosen root balls without damaging roots
- Place seedlings in holes, maintaining original soil level
- Backfill with native soil, firming gently around base
- Water immediately with 1/2 cup per seedling
Post-Planting Care Protocol
Watering Schedule for First Month
Maintain consistent moisture without saturation:
- Week 1: Water daily (1/2 cup per plant)
- Week 2: Water every other day
- Week 3: Water when top inch of soil feels dry
- Established plants: 1 inch per week including rainfall
Avoiding Common Planting Mistakes
Based on USDA gardening data, these errors cause 80% of parsley seedling failures:
- Planting too deep: Burying the crown causes rot - maintain original soil level
- Overcrowding: Less than 6 inches spacing reduces air circulation and yields
- Skipping hardening off: Causes 50%+ transplant shock without gradual acclimation
- Watering inconsistently: Fluctuating moisture triggers premature bolting
Seasonal Considerations Timeline
Parsley planting requirements change throughout the growing season:
- Spring planting: Wait until soil reaches 50°F; protect from late frosts with row covers
- Summer planting: Provide afternoon shade; increase watering frequency
- Fall planting: Plant 8-10 weeks before first frost for winter harvests
- Winter care: Mulch with 3 inches of straw when temperatures drop below 32°F
Troubleshooting Guide
Address these common issues promptly:
- Yellowing leaves: Indicates overwatering - reduce frequency and check drainage
- Slow growth: Apply balanced liquid fertilizer (10-10-10) at half strength
- Bolting (flowering): Cut flower stalks immediately and provide more shade
- Pest damage: Hand-pick aphids or use insecticidal soap for severe infestations
Harvesting for Maximum Yield
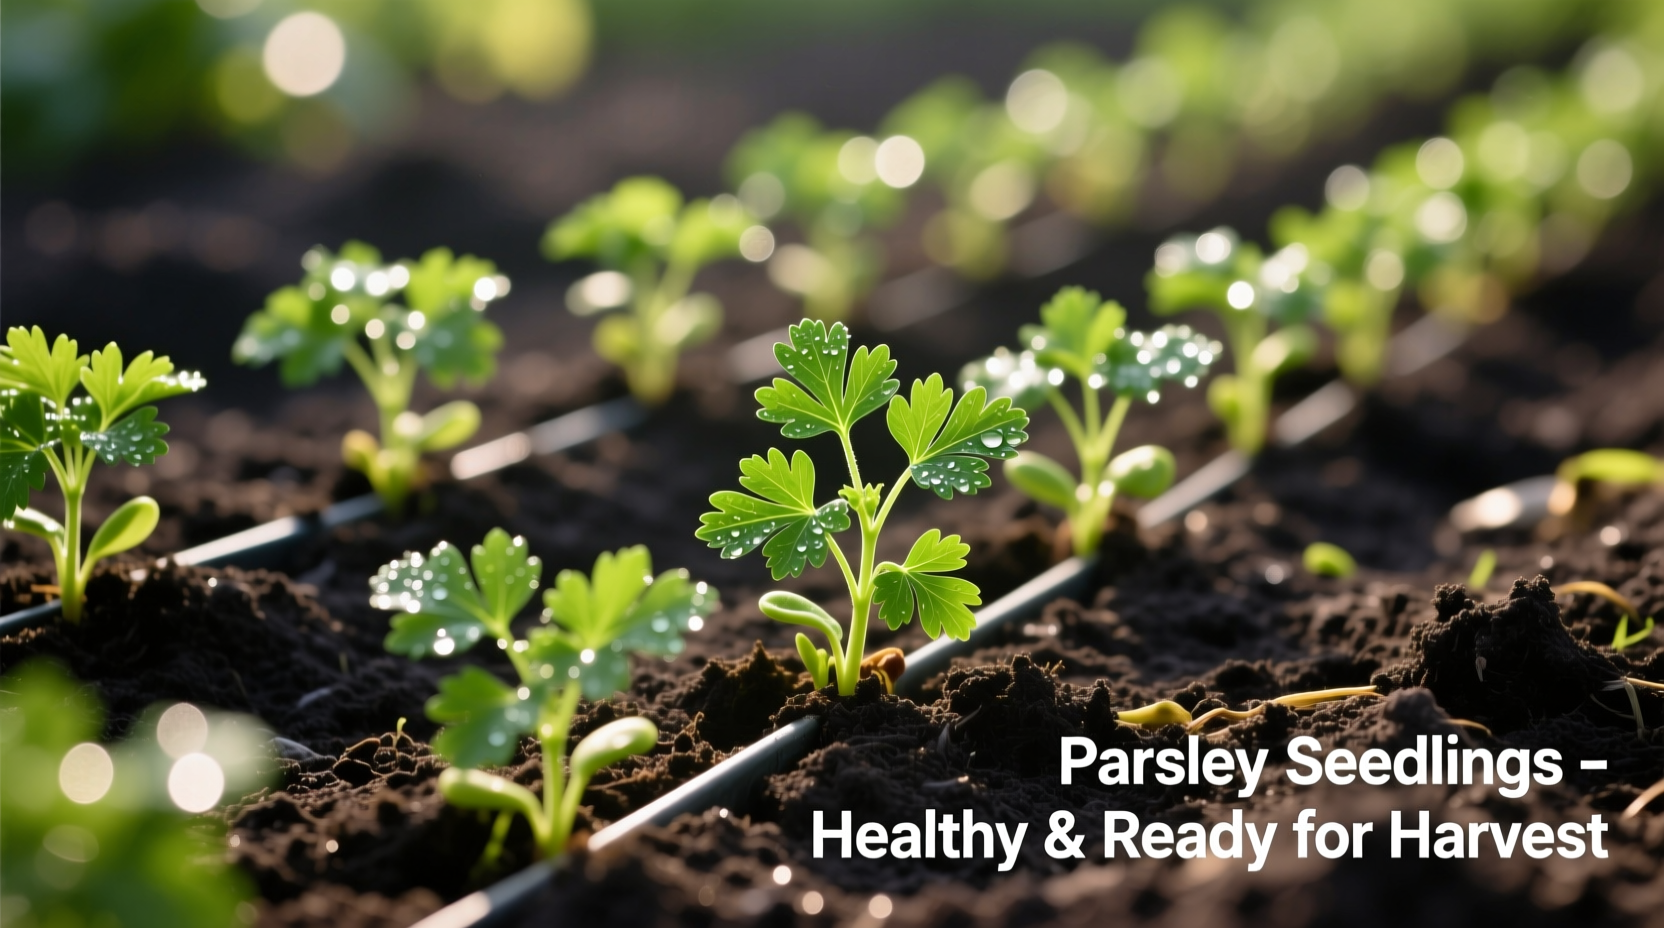
Begin harvesting when plants have 10-15 leaves, always taking outer stems first. The University of California Master Gardeners program confirms that regular harvesting every 7-10 days encourages bushier growth and extends production. Never remove more than one-third of the plant at any single harvest to maintain plant health.


 浙公网安备
33010002000092号
浙公网安备
33010002000092号 浙B2-20120091-4