
Onion sets offer home gardeners a reliable, beginner-friendly method for growing onions with minimal effort compared to seeds. These small pre-grown bulbs provide a head start on the growing season and deliver consistent results when planted correctly. Whether you're cultivating sweet Vidalias for summer salads or pungent storage onions for winter cooking, understanding the proper planting technique ensures a bountiful harvest.
Planning Your Onion Set Planting
Successful onion growing begins with proper timing and preparation. Onion sets should be planted early in the season when soil temperatures reach 50°F (10°C), typically 4-6 weeks before your last expected frost date. This timing allows bulbs to establish roots before summer heat triggers bulb formation.
Before planting, prepare your garden bed by:
- Testing soil pH (ideal range: 6.0-6.8)
- Amending with 2-3 inches of compost
- Ensuring proper drainage (onions dislike soggy conditions)
- Removing rocks and large debris
| Onion Variety | Best Planting Zone | Days to Maturity | Storage Potential |
|---|---|---|---|
| Yellow Storage | 3-9 | 100-120 | 6-8 months |
| Red Creole | 5-10 | 90-110 | 4-6 months |
| Vidalia | 7-9 | 95-105 | 2-3 months |
According to the University of Minnesota Extension, selecting the right variety for your climate zone significantly impacts success rates. Short-day varieties (like Vidalias) require 10-12 hours of daylight to form bulbs, while long-day types (most storage onions) need 14-16 hours.
Step-by-Step Planting Process
Follow these steps for optimal onion set planting:
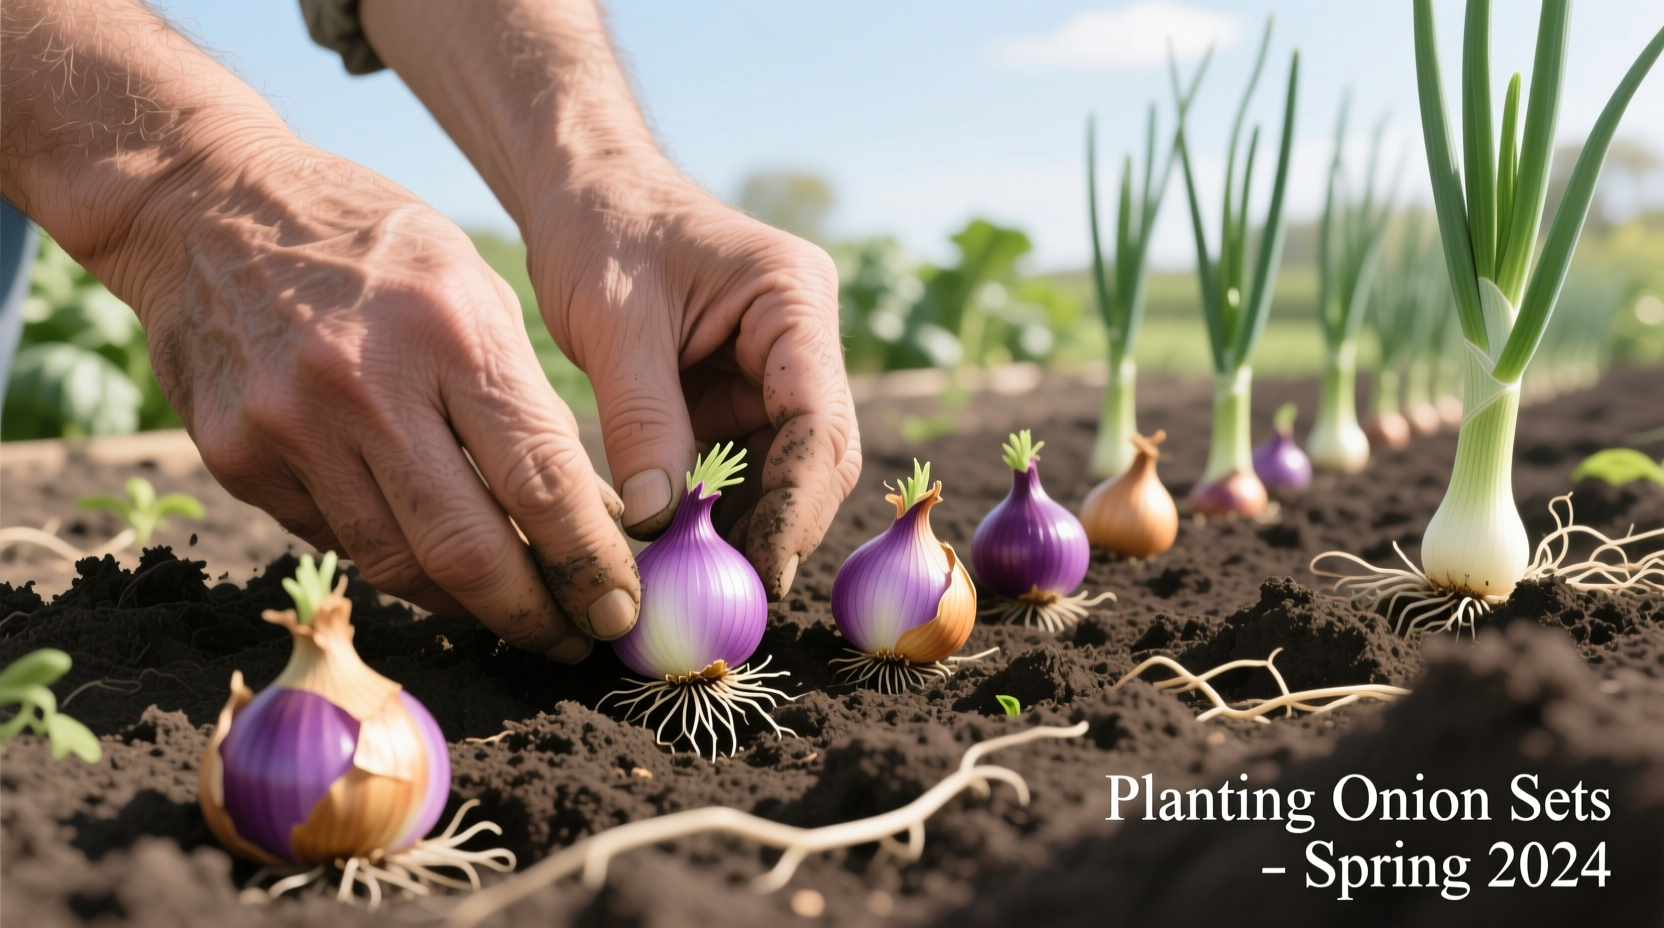
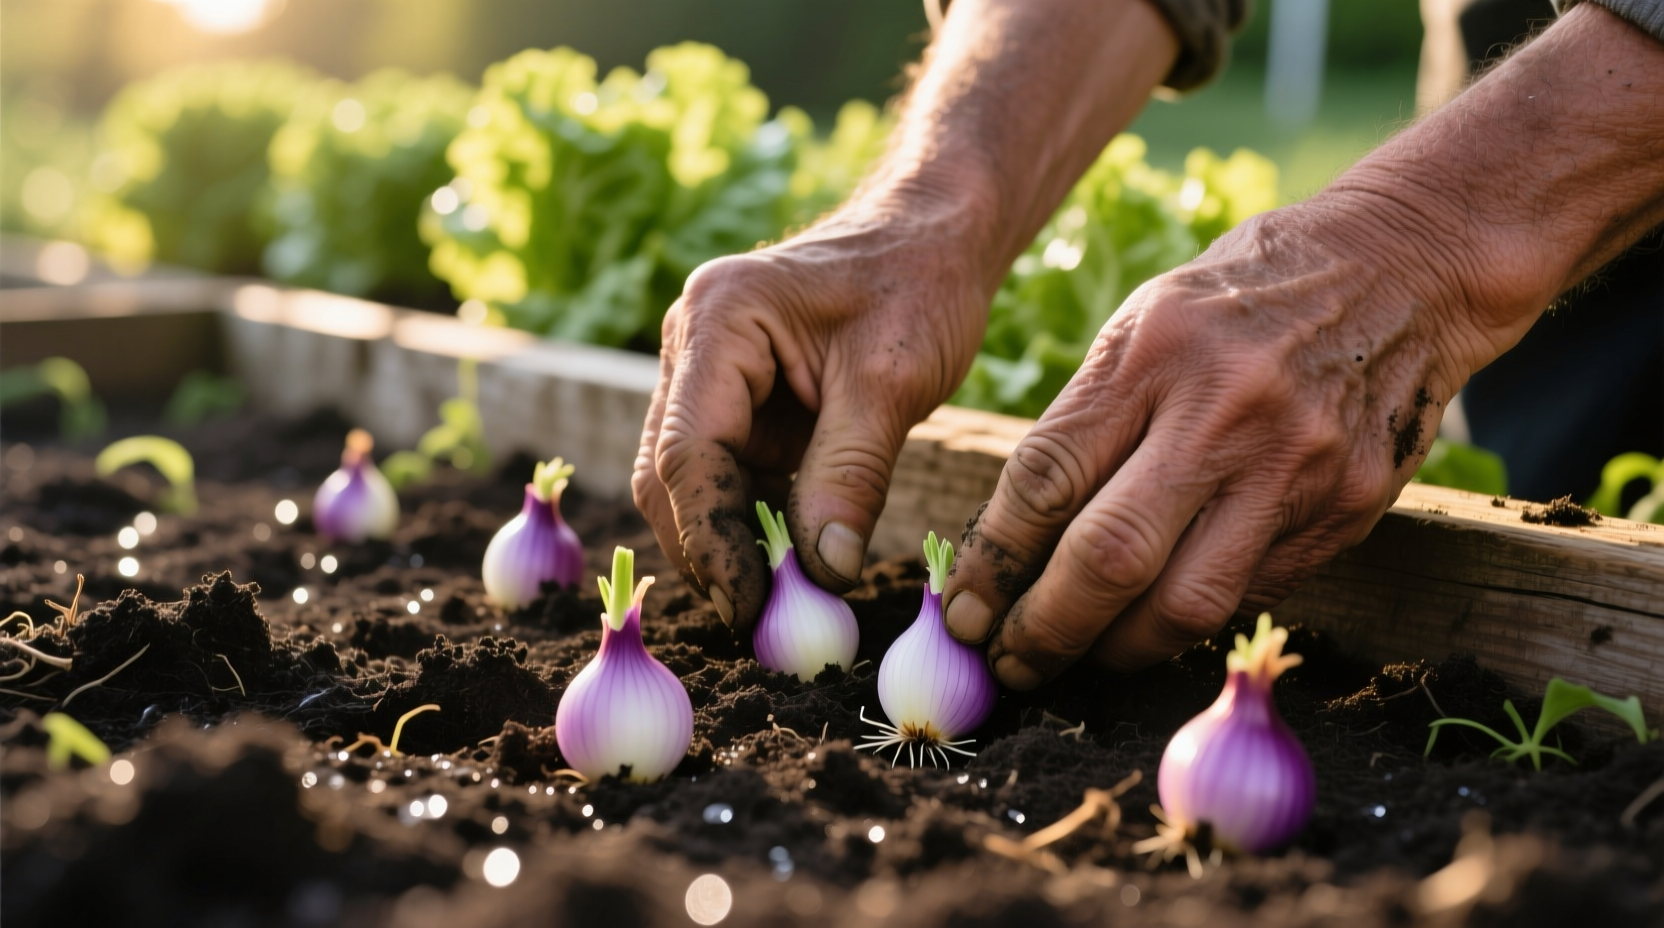
- Prepare sets: Inspect bulbs and discard any soft, moldy, or sprouted specimens. Healthy sets should feel firm with dry outer skins.
- Determine spacing: Arrange sets 4-6 inches apart in rows 12-18 inches apart, depending on variety size.
- Planting depth: Place sets with pointed ends up, burying them 1-2 inches deep (deeper in sandy soils, shallower in clay).
- Cover and firm: Gently cover with soil and press down to ensure good soil contact.
- Water thoroughly: Provide 1 inch of water immediately after planting to settle the soil.
Unlike seeds, onion sets shouldn't be soaked before planting. The Oregon State University Extension confirms that pre-soaking can increase rot risk without improving germination rates.
Post-Planting Care Requirements
Proper care after planting ensures healthy bulb development:
- Watering: Maintain consistent moisture (1 inch per week), increasing slightly during bulb formation (June-July)
- Weeding: Hand-pull weeds carefully to avoid damaging shallow roots
- Fertilizing: Apply balanced fertilizer when tops reach 6 inches tall
- Pest monitoring: Watch for thrips and onion maggots, especially in warm weather
As your onions grow, you'll notice distinct development stages:
| Weeks After Planting | Growth Stage | Care Focus |
|---|---|---|
| 1-3 | Root establishment | Consistent moisture |
| 4-6 | Top growth | Weed control, light feeding |
| 7-10 | Bulb formation | Increase watering, monitor pests |
| 11-16 | Bulb maturation | Reduce watering, prepare for harvest |
This growth timeline from the USDA Agricultural Research Service demonstrates why consistent care throughout the season matters—interrupted growth can lead to double bulbs or premature bolting.
Harvesting and Storage Techniques
Harvest onions when tops naturally fall over and yellow (about 90-120 days after planting). Follow these steps:
- Carefully lift bulbs using a garden fork
- Cure in a warm, dry, well-ventilated area for 2-3 weeks
- Trim roots and tops to 1 inch after curing
- Store in mesh bags in a cool, dry place (32-40°F with 65-70% humidity)
Properly cured storage onions can last 6-8 months. Sweet varieties like Vidalias have thinner skins and shorter storage life (2-3 months). The Royal Horticultural Society recommends checking stored onions monthly and removing any showing signs of decay to prevent spoilage from spreading.
Troubleshooting Common Issues
Even with proper planting, gardeners sometimes encounter these problems:
- Premature bolting: Caused by temperature fluctuations; remove flower stalks immediately
- Small bulbs: Usually from overcrowding or nutrient deficiency
- Rotting sets: Indicates poor drainage or overwatering
- Thick necks: Results from excess nitrogen or late-season watering
Remember that onion sets naturally produce smaller bulbs than seed-grown plants, typically reaching 1.5-2.5 inches in diameter. This makes them ideal for green onions or small cooking onions rather than large storage varieties.


 浙公网安备
33010002000092号
浙公网安备
33010002000092号 浙B2-20120091-4