
Plant garlic seedlings in fall (4-6 weeks before first frost) or early spring when soil reaches 40°F (4°C). Space seedlings 4-6 inches apart in well-draining soil with pH 6.0-7.0, planting at 2-3 inch depth with roots down and green shoots up. Water immediately after planting and apply 3-4 inch mulch layer for winter protection.
Discover the exact timing, spacing, and care techniques that transform ordinary garlic planting into a bountiful harvest. Whether you're a first-time gardener or looking to refine your technique, this guide delivers field-tested methods used by experienced growers to maximize bulb size and flavor development.
Garlic Seedlings vs. Cloves: Understanding Your Planting Options
Many gardeners confuse garlic seedlings with cloves, but they serve different purposes. Garlic seedlings (also called sets) are young plants grown from bulbils or small bulbs, while cloves come directly from mature garlic bulbs. Seedlings establish faster with less winter kill risk but may produce smaller bulbs initially. According to the University of Minnesota Extension, seedlings work best for gardeners in colder zones (3-5) where cloves might struggle with winter survival.
| Planting Method | Best For Zones | Time to Harvest | Bulb Size Potential |
|---|---|---|---|
| Garlic Seedlings | 3-7 | 10-12 months | Medium (builds size over 2 seasons) |
| Individual Cloves | 5-9 | 8-9 months | Large (single season) |
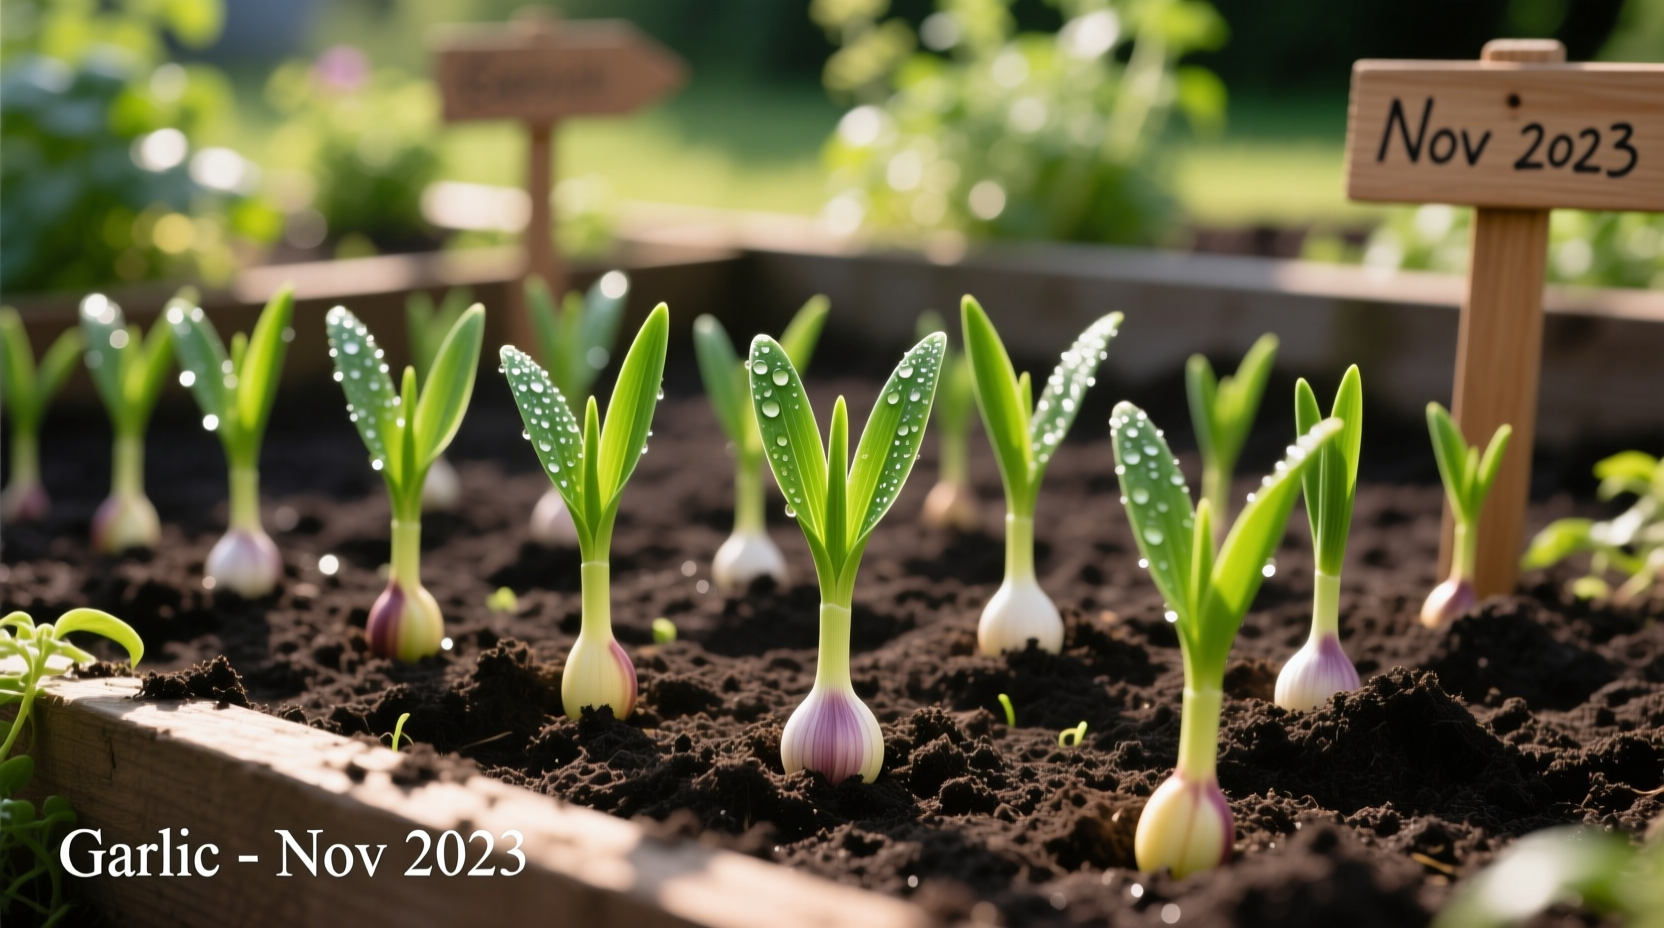
Optimal Planting Timeline by Climate Zone
Timing makes or breaks your garlic harvest. The USDA Plant Hardiness Zone Map provides critical guidance for planting schedules. In zones 3-5, plant seedlings in September to early October to allow root development before ground freezes. Zones 6-7 gardeners should target October planting, while southern growers (zones 8-10) can wait until November or December.
"Planting too early exposes seedlings to excessive top growth vulnerable to winter kill, while late planting prevents adequate root establishment," explains Dr. Mary Meyer from the University of Florida Institute of Food and Agricultural Sciences. She recommends using soil temperature as your guide—plant when soil consistently measures between 50-60°F (10-15°C) at 4-inch depth.
Soil Preparation: The Foundation for Flavorful Bulbs
Garlic thrives in loose, well-draining soil rich in organic matter. Prepare your bed 2-3 weeks before planting by incorporating 3-4 inches of compost and a balanced organic fertilizer (5-10-10). The ideal soil pH ranges between 6.0-7.0—test your soil using a kit from your local extension office.
For heavy clay soils, create raised beds 6-8 inches high to improve drainage. Sandy soils benefit from additional compost to increase water retention. Avoid fresh manure which can cause bulb diseases. The Oregon State University Extension confirms that proper soil preparation reduces common issues like basal plate rot by up to 70%.
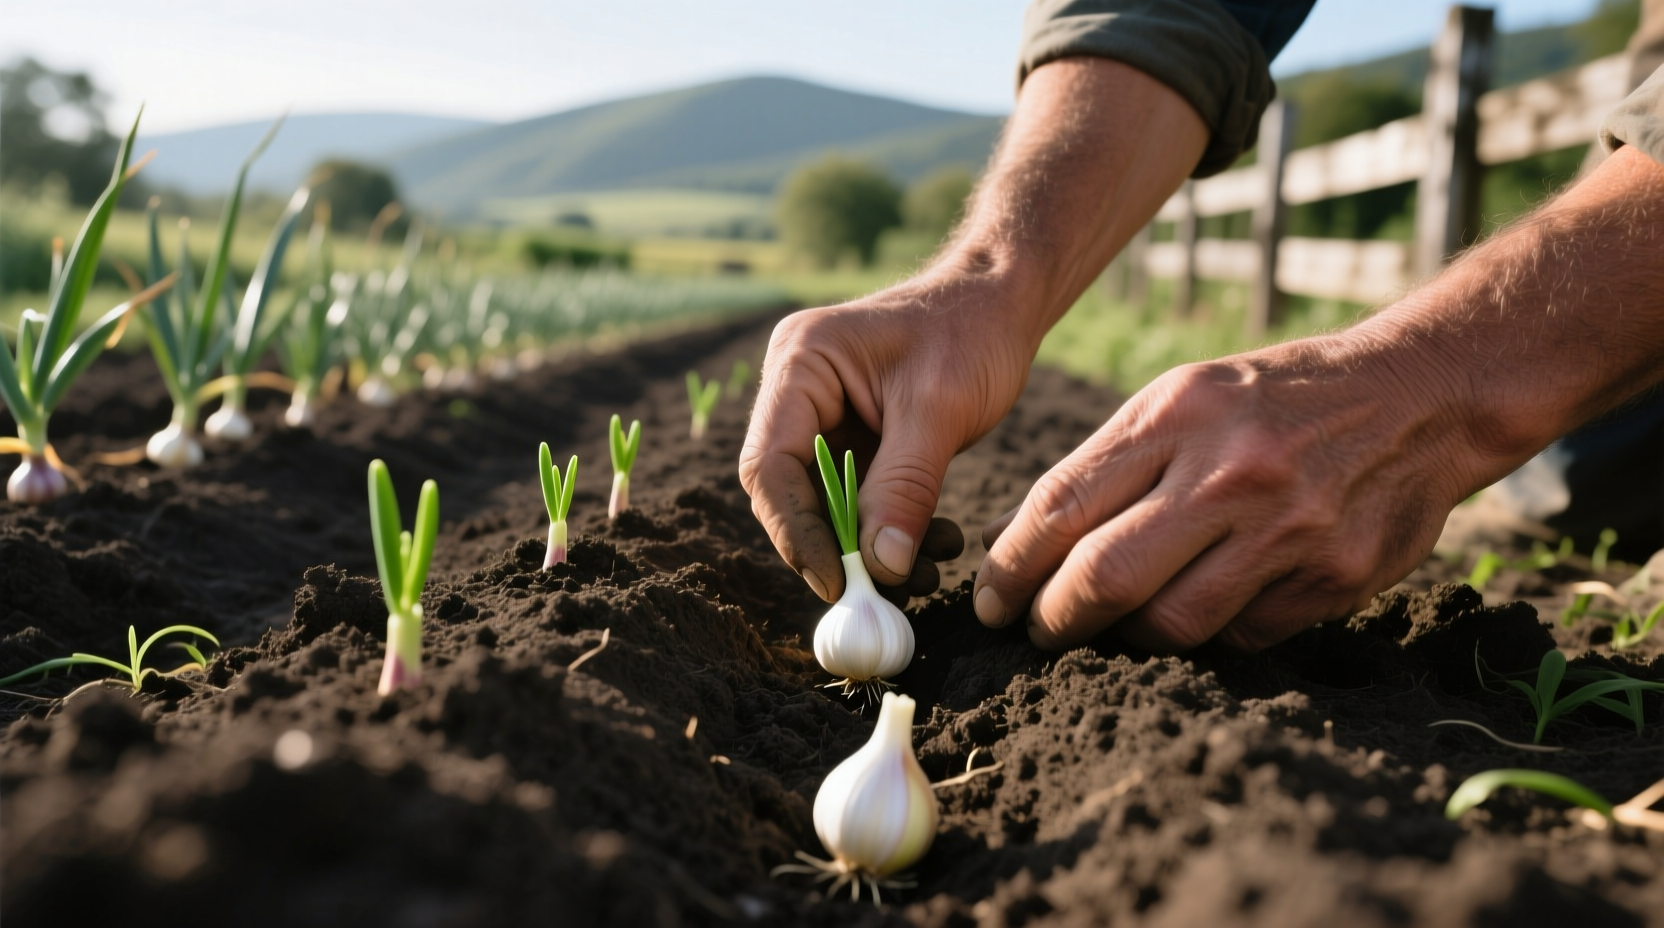
Step-by-Step Planting Process
Follow these precise steps for successful garlic seedling establishment:
- Separate carefully: Gently separate seedlings, keeping roots intact
- Trim roots: Cut roots to 1 inch if excessively long
- Dig holes: Create 2-3 inch deep holes using dibber or finger
- Position correctly: Place seedling with roots down, green shoot up
- Spacing: Maintain 4-6 inches between plants, 12-18 inches between rows
- Cover: Fill hole with soil, firm gently around base
- Water: Apply 1 inch of water immediately after planting
- Mulch: Apply 3-4 inch straw or leaf mulch layer
Seasonal Care Requirements
Proper care throughout the growing season determines your harvest quality. During winter, maintain consistent mulch coverage to prevent frost heaving. In early spring, remove mulch gradually as temperatures stabilize, then apply nitrogen-rich fertilizer when shoots reach 6 inches tall.
Water requirements change throughout the season: provide 1 inch weekly during active growth (April-May), reduce watering in June as bulbs mature, and stop completely 2-3 weeks before harvest. The Penn State Extension notes that improper watering causes 65% of garlic crop failures—either from splitting bulbs (too much water) or stunted growth (too little).
Troubleshooting Common Issues
Even with proper planting, challenges arise. Yellowing leaves often indicate nitrogen deficiency—apply fish emulsion immediately. White mold at soil line signals white rot disease; remove affected plants and rotate crops for 4 years. If seedlings produce flower stalks (scapes), cut them when 6-8 inches long to redirect energy to bulb development.
For pest control, use row covers to prevent onion maggot damage. The most common mistake? Planting too deep—seedlings planted deeper than 3 inches often produce smaller bulbs. Remember: garlic is a heavy feeder but hates waterlogged conditions. Monitor soil moisture with your finger—if the top 2 inches feel dry, it's time to water.
Harvesting and Curing Timeline
Harvest when 40% of leaves turn brown (usually late June to August depending on variety). Carefully dig bulbs using a garden fork, avoiding punctures. Cure in a shaded, well-ventilated area for 2-3 weeks until outer skins rustle. Store cured bulbs in mesh bags at 55-65°F with 60-70% humidity.
Patience pays with seedlings—while first-year bulbs may be small, they'll produce larger harvests in subsequent seasons. Track your planting dates and results in a garden journal to refine your technique each year. Remember that hardneck varieties typically outperform softnecks when grown from seedlings in colder climates.


 浙公网安备
33010002000092号
浙公网安备
33010002000092号 浙B2-20120091-4