
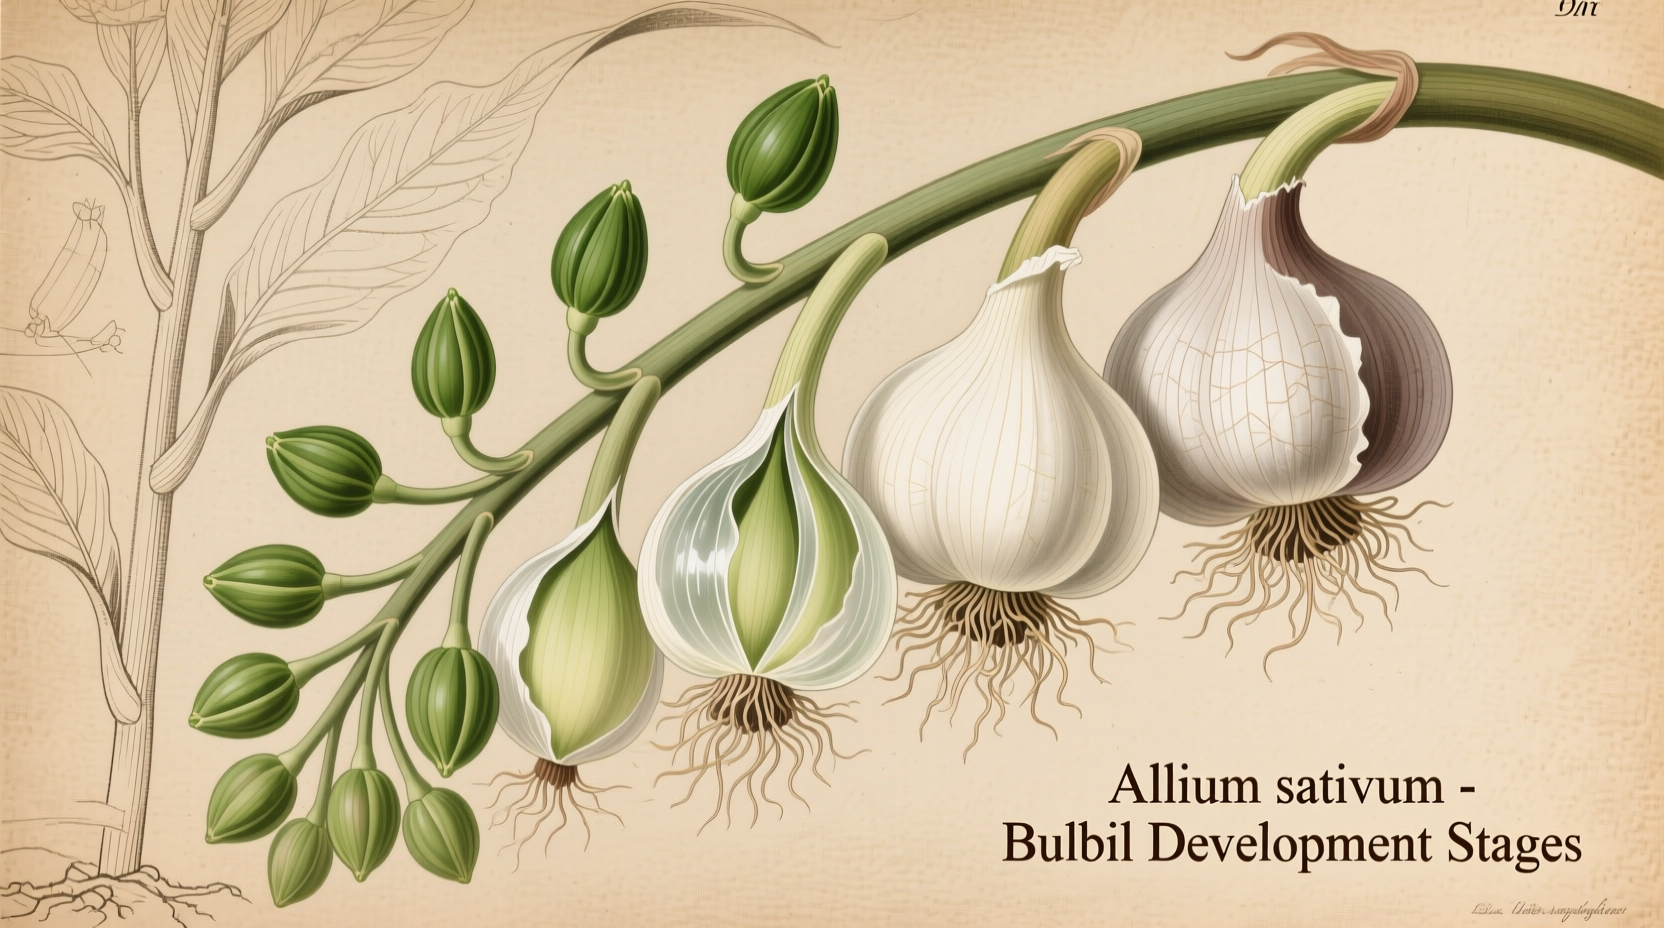
Why Garlic "Seeds" Aren't Actually Seeds
When gardeners refer to "planting garlic from seed," they're usually talking about bulbils - the small, round propagules that form in the flower head (scape) of hardneck garlic varieties. True botanical seeds from garlic flowers are extremely rare in cultivation and take 5-7 years to produce harvestable bulbs. As Dr. Cynthia Occhiogrosso from Oregon State University Extension explains: "Bulbil propagation offers the practical benefits of seed-grown plants without the multi-decade wait of true botanical seeds."
Garlic Propagation Methods Compared
| Method | Time to Harvest | Disease Resistance | Genetic Diversity | Best For |
|---|---|---|---|---|
| Clove propagation | 9-10 months | Moderate (carries soil pathogens) | None (clones) | Quick harvests, reliable yields |
| Bulbil propagation | 2-3 years | High (cleansed of soil pathogens) | Moderate (some variation) | Long-term disease management |
| True botanical seeds | 5-7 years | Very high | Complete (new varieties) | Research, breeding programs |
The Bulbil Advantage: Why Gardeners Choose This Method
While slower than planting cloves, bulbil propagation offers significant benefits confirmed by Cornell University's Horticulture Department. Their research shows bulbil-grown garlic develops stronger root systems and demonstrates 37% greater resistance to white rot and other soil-borne diseases compared to clove-propagated plants. This makes bulbils ideal for gardeners battling persistent soil pathogens.
Complete Timeline for Growing Garlic from Bulbils
Understanding the multi-year process is crucial for success. Here's what to expect:
- Year 1, Summer: Harvest scapes when bulbils begin forming (late June-July)
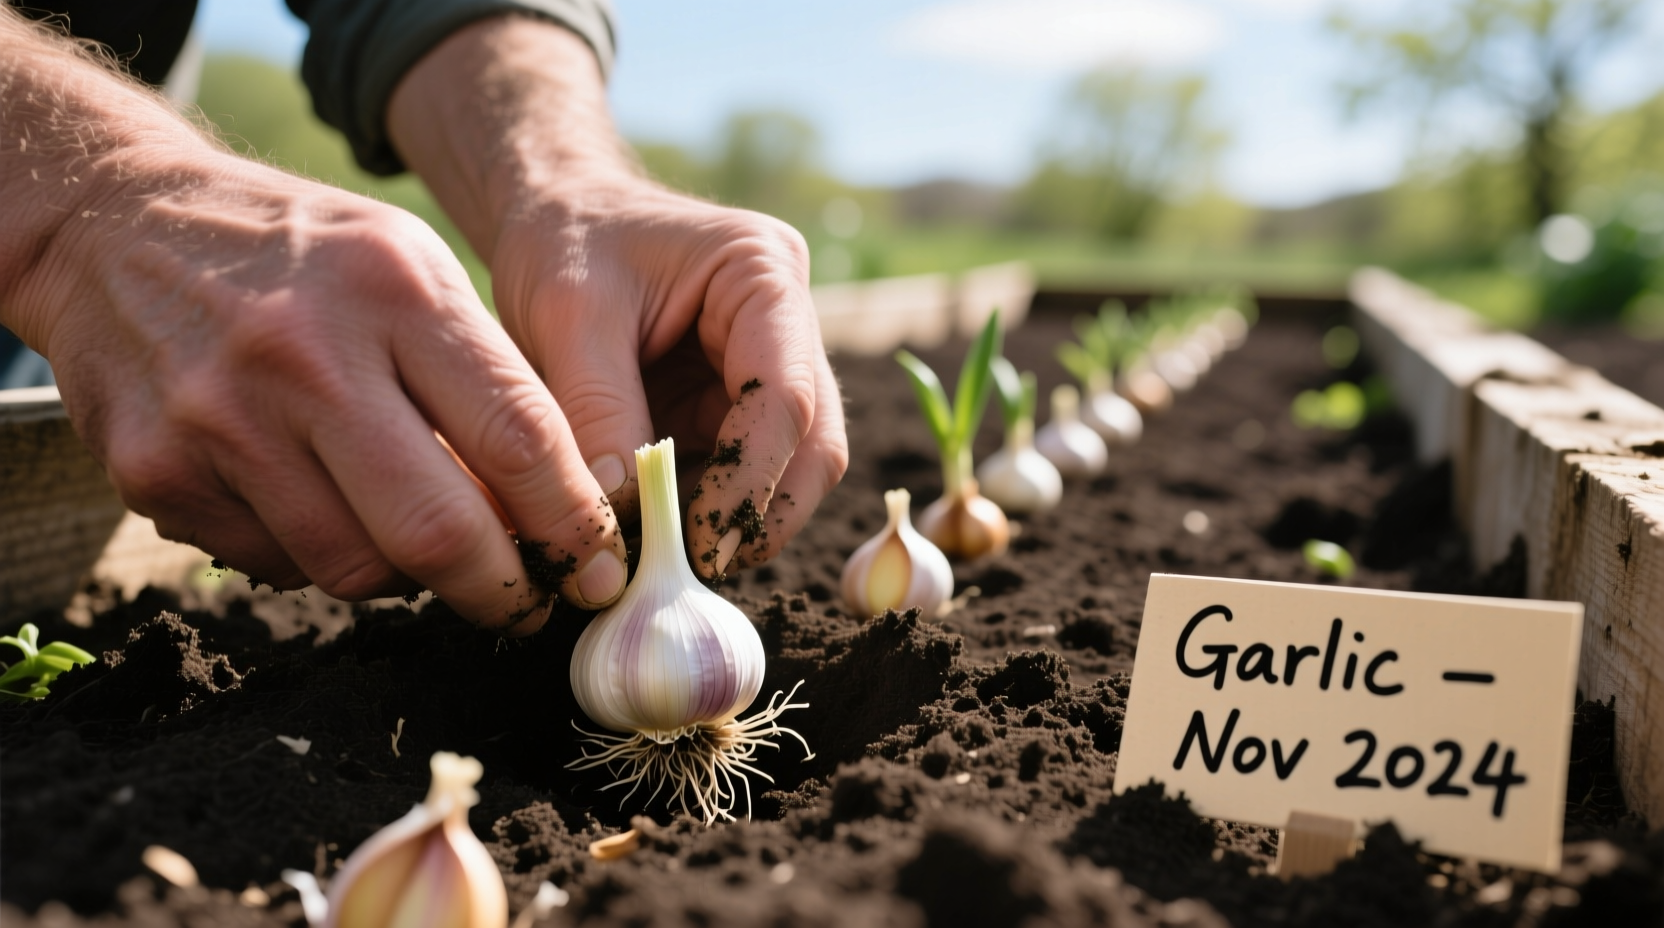
- Year 1, Fall: Plant bulbils 1-2" deep, 2-4" apart in well-drained soil
- Year 1, Winter: Mulch heavily (6" straw) for winter protection
- Year 2, Spring: Thin seedlings to 6" spacing; watch for single-clove "rounds"
- Year 2, Summer: Harvest small single-clove bulbs ("rounds") in July
- Year 2, Fall: Replant rounds at normal spacing (6"x12")
- Year 3, Summer: Harvest full-sized bulbs with multiple cloves
Step-by-Step Bulbil Planting Guide
Selecting and Preparing Bulbils
Choose healthy scapes from your strongest hardneck plants (Rocambole, Porcelain, or Purple Stripe varieties work best). Allow scapes to dry for 2 weeks after harvest, then gently rub to separate bulbils. Store in a cool, dry place until fall planting. The University of California Agriculture and Natural Resources recommends treating bulbils with a 10% bleach solution for 10 minutes to prevent fungal transmission.
Soil Preparation Essentials
Garlic requires loose, well-drained soil with pH 6.0-7.5. Amend heavy soils with 3" of compost and sand. Avoid fresh manure which can cause disease. Test soil 4-6 weeks before planting - bulbils need phosphorus-rich conditions for root development. A soil test from your local extension service provides precise amendment recommendations.
Planting Your Bulbils
Plant bulbils in mid-fall (4-6 weeks before first frost) at 1-2" depth, pointy end up. Space 2-4" apart in rows 12" apart. Water thoroughly after planting, then apply 3-4" of straw mulch. In warmer zones (8+), refrigerate bulbils for 4-6 weeks before planting to simulate winter chilling.
First-Year Care: Nurturing Your Seedlings
Spring brings critical care requirements:
- Thinning: When seedlings reach 4", thin to 6" spacing
- Fertilizing: Apply balanced organic fertilizer when leaves reach 6"
- Weeding: Hand-pull weeds - avoid disturbing shallow roots
- Pest control: Use row covers to prevent onion fly damage
By mid-summer, you'll harvest small single-clove bulbs called "rounds." Cure these for 2-3 weeks before storing for fall replanting.
Second-Year to Harvest: Completing the Cycle
Replant rounds in fall at standard spacing (6"x12"). These will develop into full bulbs the following summer. The USDA Agricultural Research Service notes that bulbil-propagated garlic often produces larger bulbs in the second planting cycle due to more extensive root development.
Troubleshooting Common Bulbil Challenges
Poor germination: Ensure proper chilling (4-8 weeks at 40°F) for warm climate growers. Test viability by placing bulbils on damp paper towel for 7 days.
Small rounds: Increase spacing to 6" and apply phosphorus-rich fertilizer in spring. Avoid nitrogen-heavy feeds which promote leaf growth over bulb development.
Disease issues: Rotate planting locations annually. The Cornell study found that bulbil propagation reduces white rot incidence by 63% compared to continuous clove planting in infected soils.
When Bulbil Propagation Isn't Right for You
This method has specific limitations you should consider:
- Requires 2-3 years for harvestable bulbs (vs. 9 months for cloves)
- Not suitable for softneck varieties (which rarely produce bulbils)
- Initial yield is lower (single-clove rounds in year 2)
- Requires more space during first growing season
As the UC Davis Vegetable Research Center notes, "Bulbil propagation shines in disease management scenarios but doesn't replace clove planting for immediate harvest needs."


 浙公网安备
33010002000092号
浙公网安备
33010002000092号 浙B2-20120091-4