
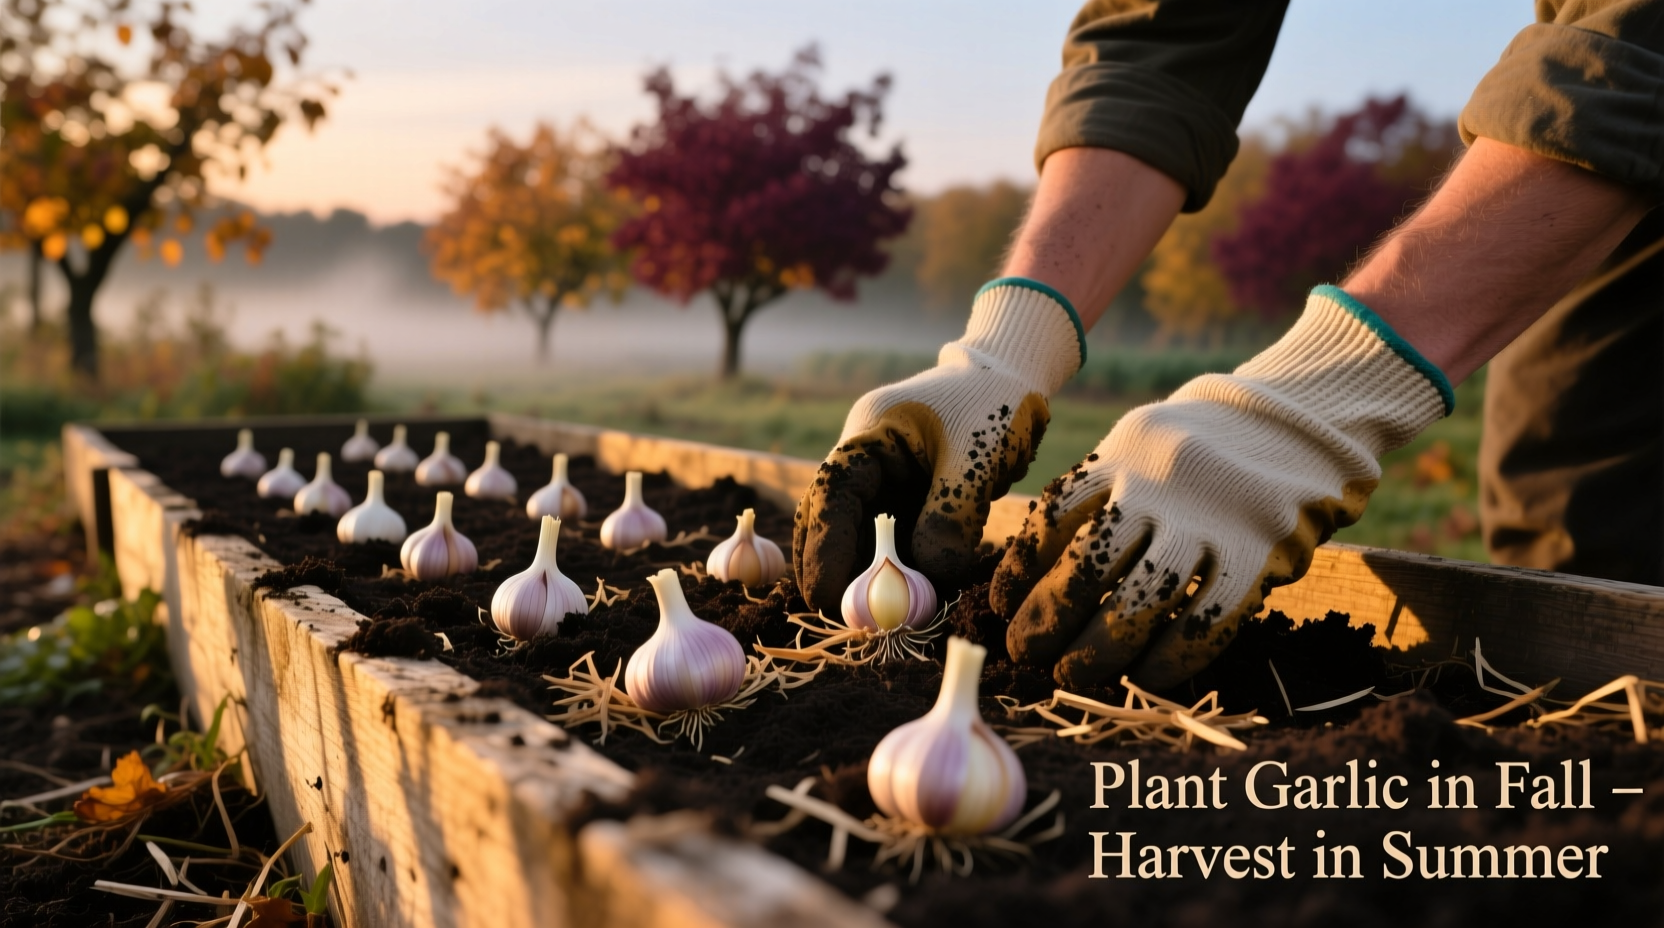
There's a reason experienced gardeners swear by fall garlic planting—it transforms your harvest from modest bulbs to robust, flavorful heads that store for months. Unlike spring planting which yields smaller bulbs, fall-planted garlic develops an extensive root system before winter dormancy, giving it a crucial head start when spring growth resumes.
Why Fall Planting Beats Spring Every Time
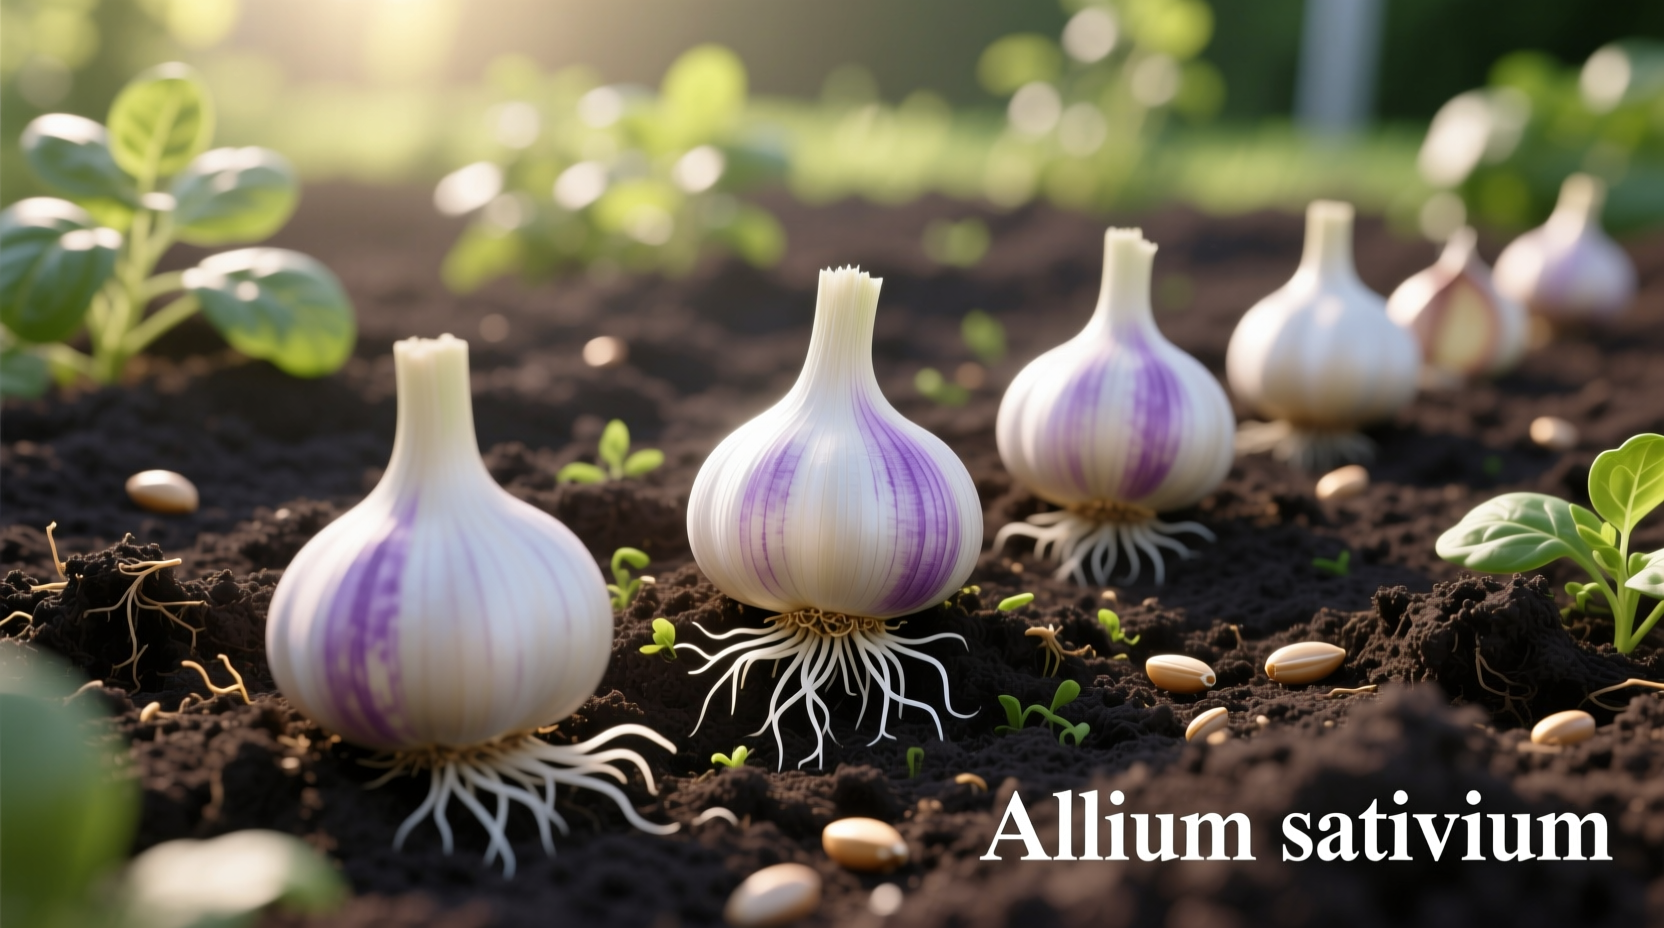
Garlic (Allium sativum) requires a period of cold exposure—called vernalization—to trigger proper bulb formation. When you plant in fall, cloves experience natural winter chilling that activates the physiological processes needed for maximum bulb development. University of Minnesota Extension research confirms fall-planted garlic typically produces bulbs 25-50% larger than spring-planted counterparts, with thicker protective wrappers that extend storage life by 2-3 months.
The science is clear: garlic needs 6-8 weeks of soil temperatures below 40°F (4°C) to initiate proper bulb differentiation. Plant too early and shoots emerge before winter, risking frost damage. Plant too late and roots won't develop sufficiently to support vigorous spring growth.
Perfect Timing for Your Region
Getting the planting date right is your most critical decision. Use this evidence-based timing guide from USDA Agricultural Research Service data:
| USDA Hardiness Zone | Optimal Planting Window | Soil Temperature Target |
|---|---|---|
| 3-4 | September 15 - October 15 | 45-50°F (7-10°C) |
| 5-6 | October 1 - November 1 | 50-55°F (10-13°C) |
| 7-8 | October 15 - November 15 | 55-60°F (13-16°C) |
| 9-10 | November 1 - December 15 | 60-65°F (16-18°C) |
Pro Tip: Plant when average nighttime temperatures consistently stay between 40-50°F (4-10°C). In colder zones, aim for 4-6 weeks before ground freezes; in warmer zones, plant when soil cools below 65°F (18°C).
Selecting Quality Garlic Bulbs for Planting
Never use grocery store garlic—it's often treated to prevent sprouting and may carry diseases. Instead, source from these verified suppliers:
- Seed garlic specialists: Filaree Garlic Farm (USDA-certified disease-free)
- Local farmers: Check farmers markets for regionally adapted varieties
- University extension programs: Many offer locally tested cultivars
Look for these quality indicators in planting stock:
- Firm, plump cloves without shriveling
- Intact basal plate (root attachment point)
- No signs of mold or soft spots
- Papery wrapper fully covering cloves
Soil Preparation: The Foundation for Success
Garlic demands excellent drainage—soggy soil causes rot. Prepare your bed 2 weeks before planting:
- Clear all plant debris and weeds
- Loosen soil to 12-inch depth with garden fork
- Mix in 3-4 inches of compost or well-rotted manure
- Add 1 cup organic fertilizer (5-10-10) per 10 sq ft
- Adjust pH to 6.0-7.0 with lime (if acidic) or sulfur (if alkaline)
For heavy clay soils, create 4-6 inch raised beds. Sandy soils benefit from additional compost to improve moisture retention.
Step-by-Step Planting Process
Follow these precise steps for maximum bulb development:
- Separate cloves: Gently break bulb into individual cloves 1-2 days before planting. Keep wrappers intact.
- Select cloves: Use largest, healthiest cloves from outer bulb layers (reserve small inner cloves for cooking).
- Planting depth: Position cloves 2-3 inches deep (deeper in cold climates, shallower in warm zones) with pointed end up.
- Spacing: Place cloves 4-6 inches apart in rows 12-18 inches apart.
- Cover: Fill hole with soil, firm gently, and water lightly to settle soil.
Critical mistake to avoid: Don't plant cloves too shallow—this exposes developing bulbs to temperature fluctuations. Don't plant too deep—this delays emergence and reduces bulb size.
Winter Protection: The Mulch Secret
Apply mulch 2-3 weeks after planting, once soil has cooled:
- Use 4-6 inches of straw, shredded leaves, or pine needles
- Ensure mulch covers entire bed, not just plants
- Replenish if wind blows it away
This timing prevents mice from nesting in warm mulch while still protecting against freeze-thaw cycles. Cornell Cooperative Extension research shows properly mulched garlic has 30% higher survival rates in zones 4-5.
Spring Care for Maximum Bulb Development
When green shoots emerge in spring:
- Gently pull back mulch but keep it nearby for weed suppression
- Apply nitrogen-rich fertilizer when leaves reach 6 inches tall
- Water 1 inch per week during bulbing (May-June)
- Remove flower scapes when they curl (redirects energy to bulbs)
Stop watering 2-3 weeks before harvest when lower leaves begin yellowing—this improves storage quality.
Regional Adaptation Tips
Garlic varieties perform differently across climates. These evidence-based recommendations come from USDA Agricultural Research Service trials:
- Cold climates (Zones 3-5): Use hardneck varieties like 'Music' or 'German Extra Hardy'—they tolerate -30°F with proper mulch
- Moderate climates (Zones 6-7): Both hardneck and softneck work; try 'Chesnok Red' for excellent storage
- Warm climates (Zones 8-10): Plant softnecks like 'Inchelium Red'—they require less chilling and handle heat better
In zones 8+, chill cloves in refrigerator for 4-6 weeks before planting to simulate winter conditions.
Common Mistakes That Reduce Your Harvest
Avoid these pitfalls documented in University of Vermont Extension field trials:
- Planting too early: Causes premature top growth vulnerable to winter kill (reduces yield by 40%)
- Using damaged cloves: Increases rot risk by 75% compared to healthy planting stock
- Over-fertilizing: Excess nitrogen creates leafy tops but small bulbs
- Skipping mulch: In zone 5, unprotected garlic had 60% winter kill versus 5% with proper mulch
Remember: garlic is a heavy feeder but responds best to balanced nutrition. Too much nitrogen promotes leaf growth at the expense of bulb development.
What to Expect Through the Growing Season
Understanding garlic's growth cycle helps you provide proper care:
- Fall: Root development only (no top growth in cold zones)
- Early spring: Rapid leaf growth (6-8 leaves needed for bulb formation)
- Mid-spring: Flower scape emergence (remove for larger bulbs)
- Early summer: Bulb enlargement phase (critical watering period)
- Late spring/early summer: Harvest when 1/3 of leaves turn brown
Hardneck varieties produce edible scapes in late spring—removing these redirects 30% more energy to bulb development according to Oregon State University research.


 浙公网安备
33010002000092号
浙公网安备
33010002000092号 浙B2-20120091-4