
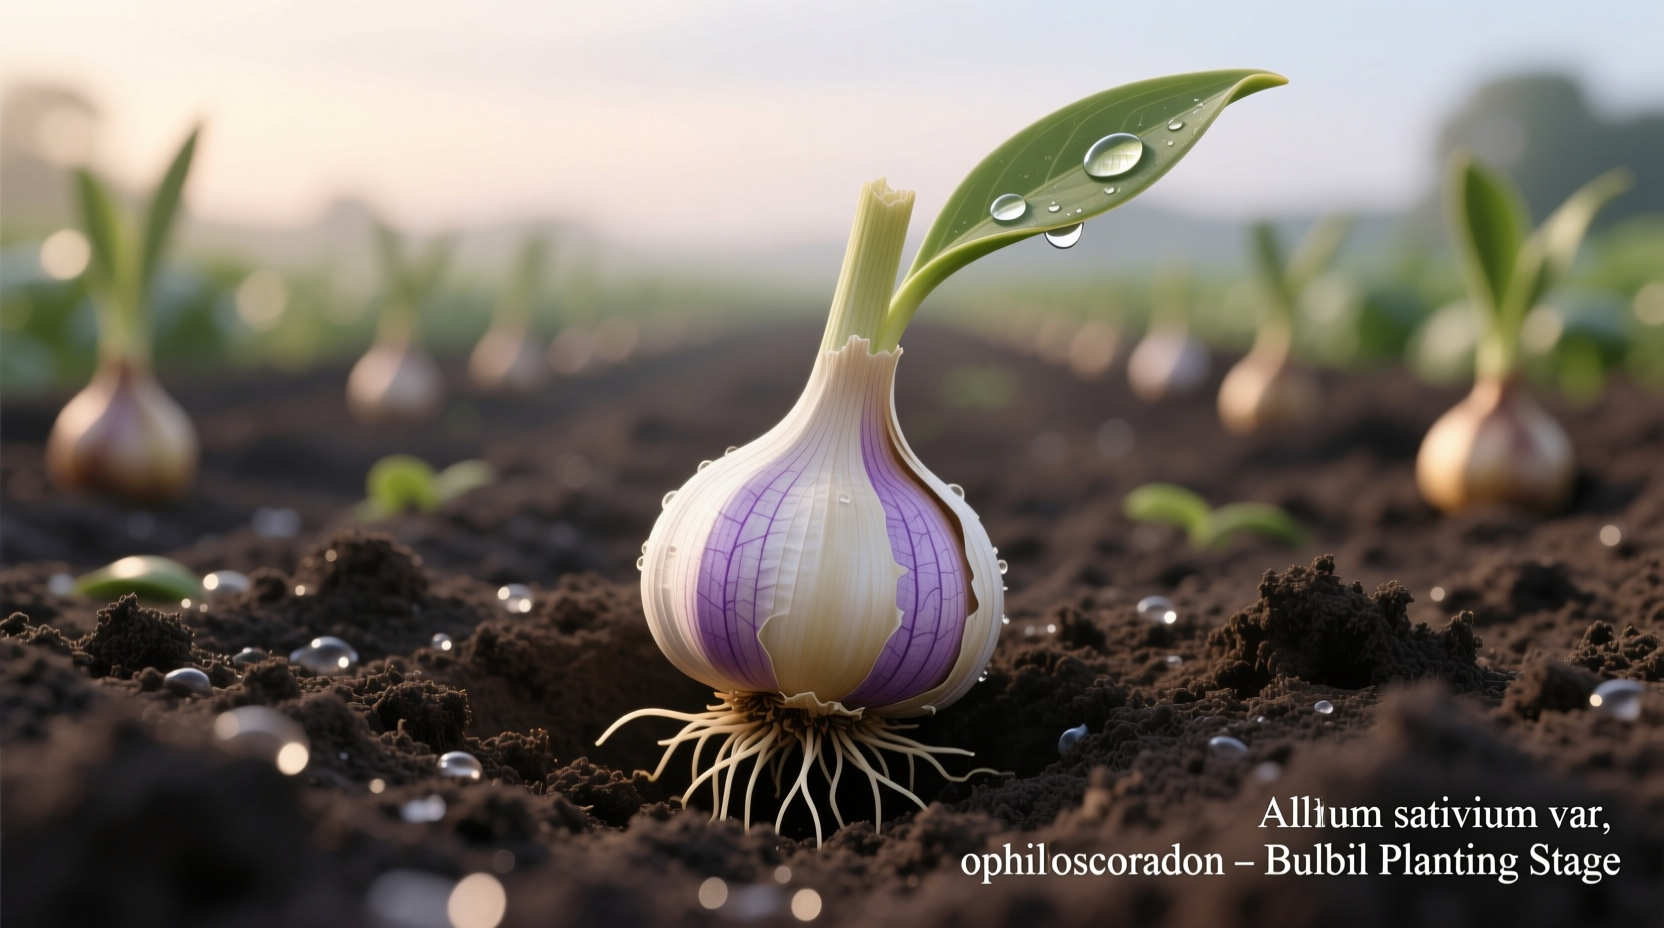
Garlic bulbils—the tiny, seed-like cloves that form in the flower head (scape) of hardneck garlic varieties—offer gardeners a cost-effective propagation method that avoids disease transmission common in store-bought cloves. Unlike planting traditional cloves, bulbils create genetically diverse plants with renewed vigor, making them ideal for seed saving and long-term crop health.
Why Choose Garlic Bulbils Over Traditional Cloves?
While planting garlic cloves delivers harvestable bulbs in one season, bulbils provide distinct advantages for sustainable gardening. According to Cornell University's agricultural extension, bulbil propagation eliminates soil-borne pathogens that often accumulate in clove stocks over time. This method also allows you to multiply your garlic stock exponentially—each scape contains 20-100 bulbils compared to the 4-12 cloves in a single bulb.
| Propagation Method | Time to Maturity | Disease Resistance | Yield Potential |
|---|---|---|---|
| Traditional cloves | 1 growing season | Moderate (accumulates pathogens) | 4-12 bulbs per planting |
| Garlic bulbils | 2-3 growing seasons | High (pathogen-free start) | 20-100+ bulbs per scape |
Optimal Timing for Planting Garlic Bulbils
Successful bulbil planting depends on precise seasonal timing. In most temperate climates, plant bulbils in late summer to early fall (August-September), approximately 6-8 weeks before your first expected frost. This timing allows roots to establish before winter dormancy while preventing premature sprouting. The USDA Natural Resources Conservation Service confirms that fall planting aligns with garlic's natural growth cycle, giving bulbils the necessary cold period (vernalization) for proper bulb formation.
For gardeners in warmer zones (USDA 8+), refrigerate bulbils for 4-6 weeks before planting to simulate winter conditions. Plant immediately after the summer heat breaks but before soil temperatures drop below 40°F (4°C).
Step-by-Step Planting Process
Step 1: Harvest and cure bulbils—Wait until garlic scapes turn brown and papery (typically July). Cut scapes and dry them in a shaded, well-ventilated area for 2-3 weeks until bulbils rattle inside their cases.
Step 2: Prepare planting beds—Create raised rows 6-8 inches high with soil amended with 3 inches of compost. Garlic requires loose, well-draining soil with pH 6.0-7.5. The University of California Cooperative Extension recommends adding bone meal for phosphorus to support root development.
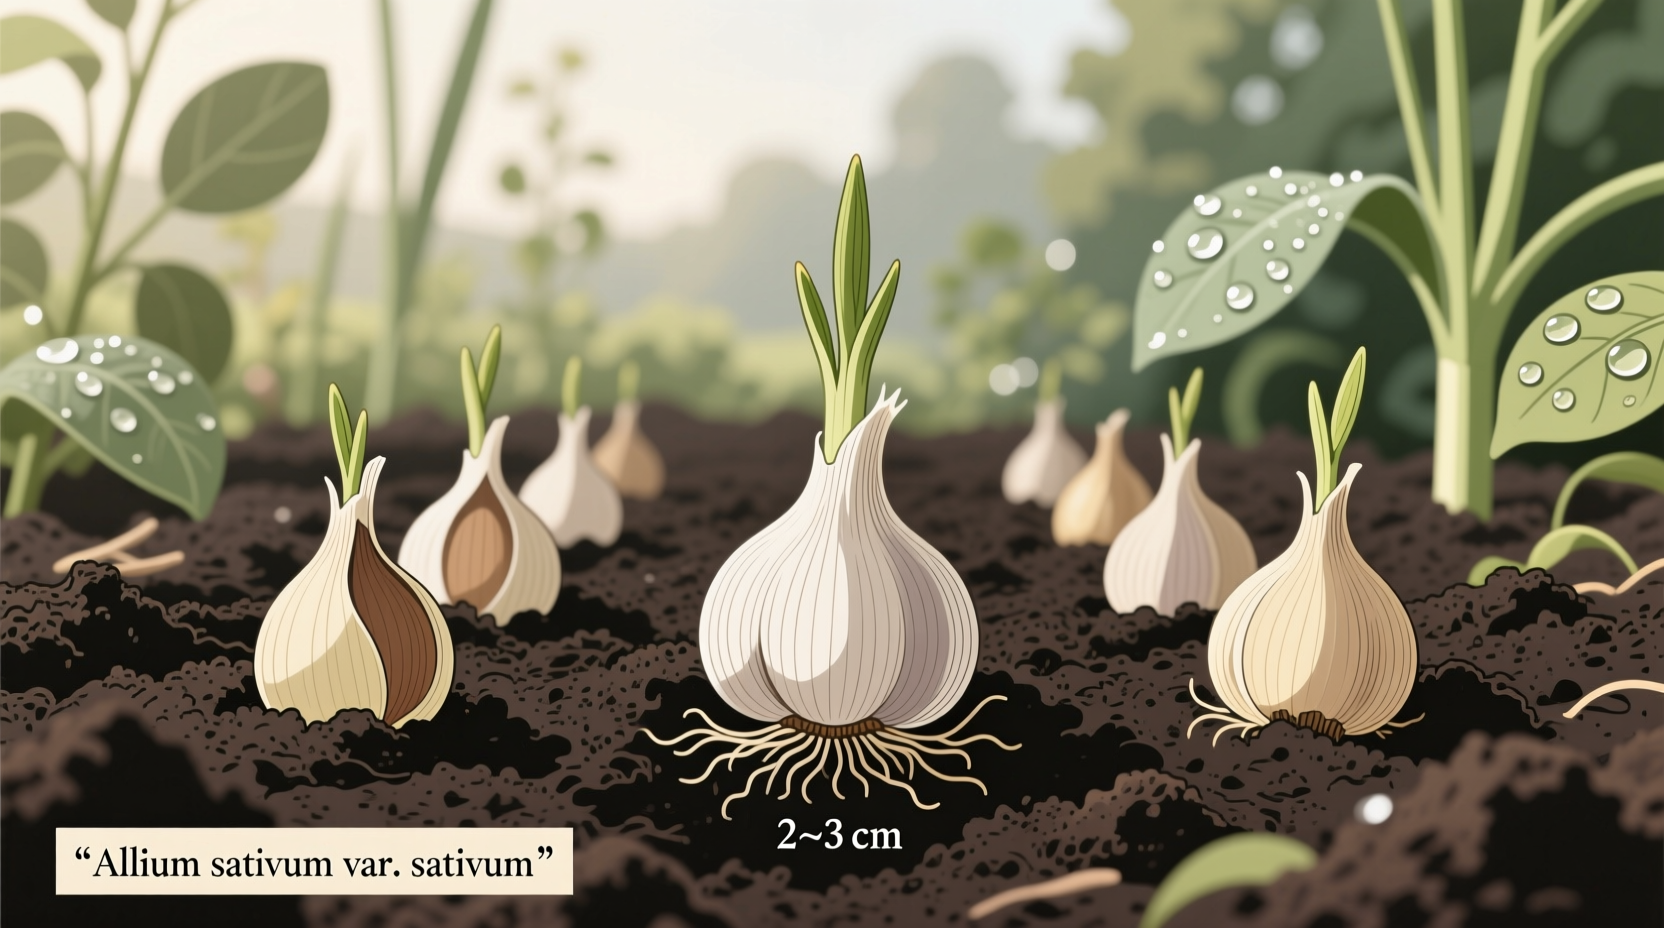
Step 3: Plant at proper depth—Sow bulbils 1-2 inches deep and 1 inch apart in rows spaced 12 inches apart. Deeper planting (2 inches) works better in sandy soils, while shallower (1 inch) suits clay soils. Cover with soil and mulch with 3 inches of straw.
First-Year Growth Expectations
During the first growing season, bulbils develop into rounds—small, single-cloved bulbs about the size of a marble. These won't form full heads but establish strong root systems. Keep soil consistently moist (1 inch of water weekly) and remove competing weeds. In spring, apply nitrogen-rich fertilizer when green shoots reach 6 inches tall.
Monitor for common issues: rust appears as orange spots on leaves (treat with copper fungicide), while white rot causes yellowing foliage (remove affected plants immediately). The American Phytopathological Society notes that bulbil-grown garlic shows 40% higher resistance to white rot compared to conventional cloves.
Second and Third Year Development
Replant your rounds in the second fall at standard clove spacing (4-6 inches apart). These will develop into full multi-cloved bulbs, though typically smaller than commercial varieties. For maximum size, replant these second-year bulbs for a third season—this three-cycle approach produces bulbs comparable to those grown from cloves while maintaining disease resistance.
Gardeners in northern climates often achieve best results with the three-year cycle, while southern growers may succeed in two years due to longer growing seasons. Track your progress using this simple timeline:
- Year 1: Bulbils → Rounds (single-cloved bulbs)
- Year 2: Rounds → Small multi-cloved bulbs
- Year 3: Small bulbs → Full-sized harvestable bulbs
Harvesting and Storage Tips
Harvest bulbil-grown garlic when 40% of leaves turn brown (typically late June to July). Gently dig bulbs with a garden fork to avoid damage. Cure in a shaded, well-ventilated area for 3-4 weeks until outer skins become papery. Store cured bulbs in mesh bags at 55-65°F with 60-70% humidity.
For seed saving, select your largest, healthiest bulbs to replant in fall. This selective breeding improves your stock's vigor and adaptation to local conditions over time—a practice documented in sustainable agriculture studies by Oregon State University.
Troubleshooting Common Challenges
Problem: Bulbils fail to sprout
Solution: Check planting depth—bulbils planted deeper than 2 inches in heavy soil may not emerge. Ensure consistent moisture during germination.
Problem: Weak, spindly growth
Solution: Increase sunlight exposure (garlic needs 6+ hours daily) and apply balanced fertilizer when shoots reach 4 inches tall.
Problem: Small bulb size in third year
Solution: Test soil pH and nutrient levels. Most failures stem from inadequate phosphorus or improper planting depth in previous seasons.


 浙公网安备
33010002000092号
浙公网安备
33010002000092号 浙B2-20120091-4