
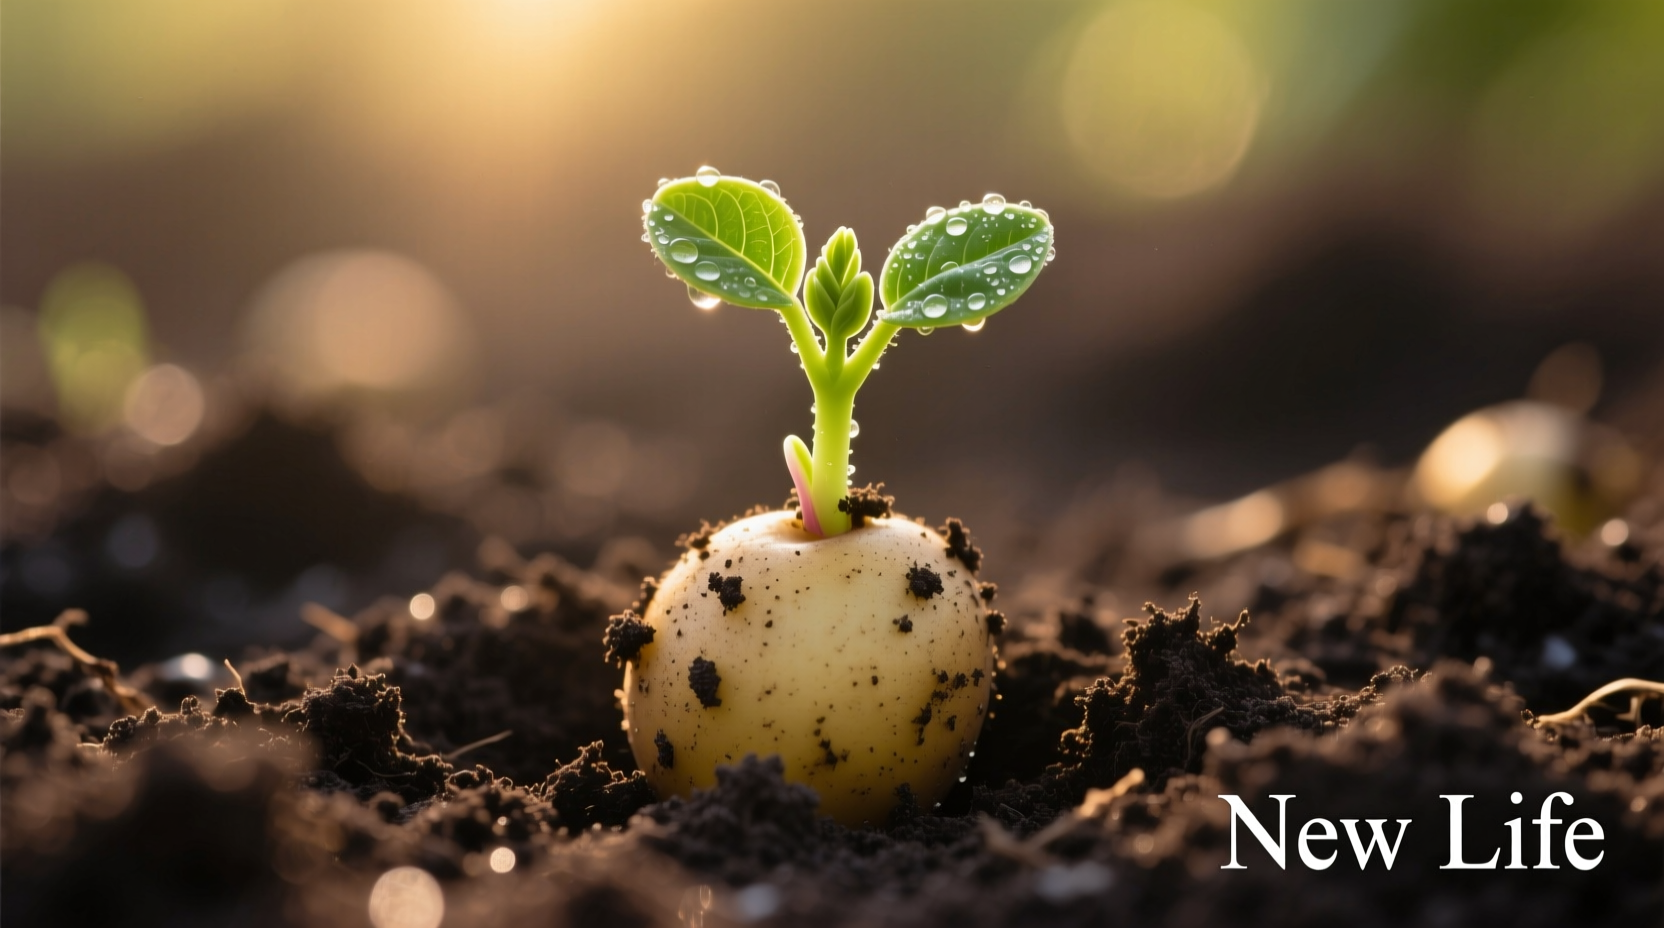
That forgotten potato in your pantry with long, green sprouts isn't waste—it's a free gardening opportunity. Planting sprouting potatoes bypasses the traditional seed potato waiting period, giving you a head start on your harvest. Thousands of home gardeners have discovered this sustainable method produces robust plants with proper technique, and you can too.
Why Sprouted Potatoes Make Excellent Garden Starts
Sprouted potatoes have already broken dormancy, meaning they're biologically primed for growth. Unlike dormant seed potatoes that may take 3-4 weeks to emerge, pre-sprouted tubers typically show green growth within 7-10 days of planting. The Royal Horticultural Society confirms that "chitting" (pre-sprouting) improves yield by up to 25% compared to planting unsprouted tubers.
| Planting Method | Time to Emergence | Average Yield Increase | Best For |
|---|---|---|---|
| Pre-sprouted potatoes | 7-10 days | 20-25% | Cooler climates, short seasons |
| Unsprouted seed potatoes | 21-28 days | Baseline | Warmer climates, longer seasons |
| Grocery store potatoes | Variable | 10-15% lower* | Emergency planting only |
*Grocery store potatoes often have sprout inhibitors; yields typically lower than certified seed potatoes
Step 1: Selecting and Preparing Your Sprouting Potatoes
Not all sprouted potatoes make good planting candidates. Follow these selection criteria:
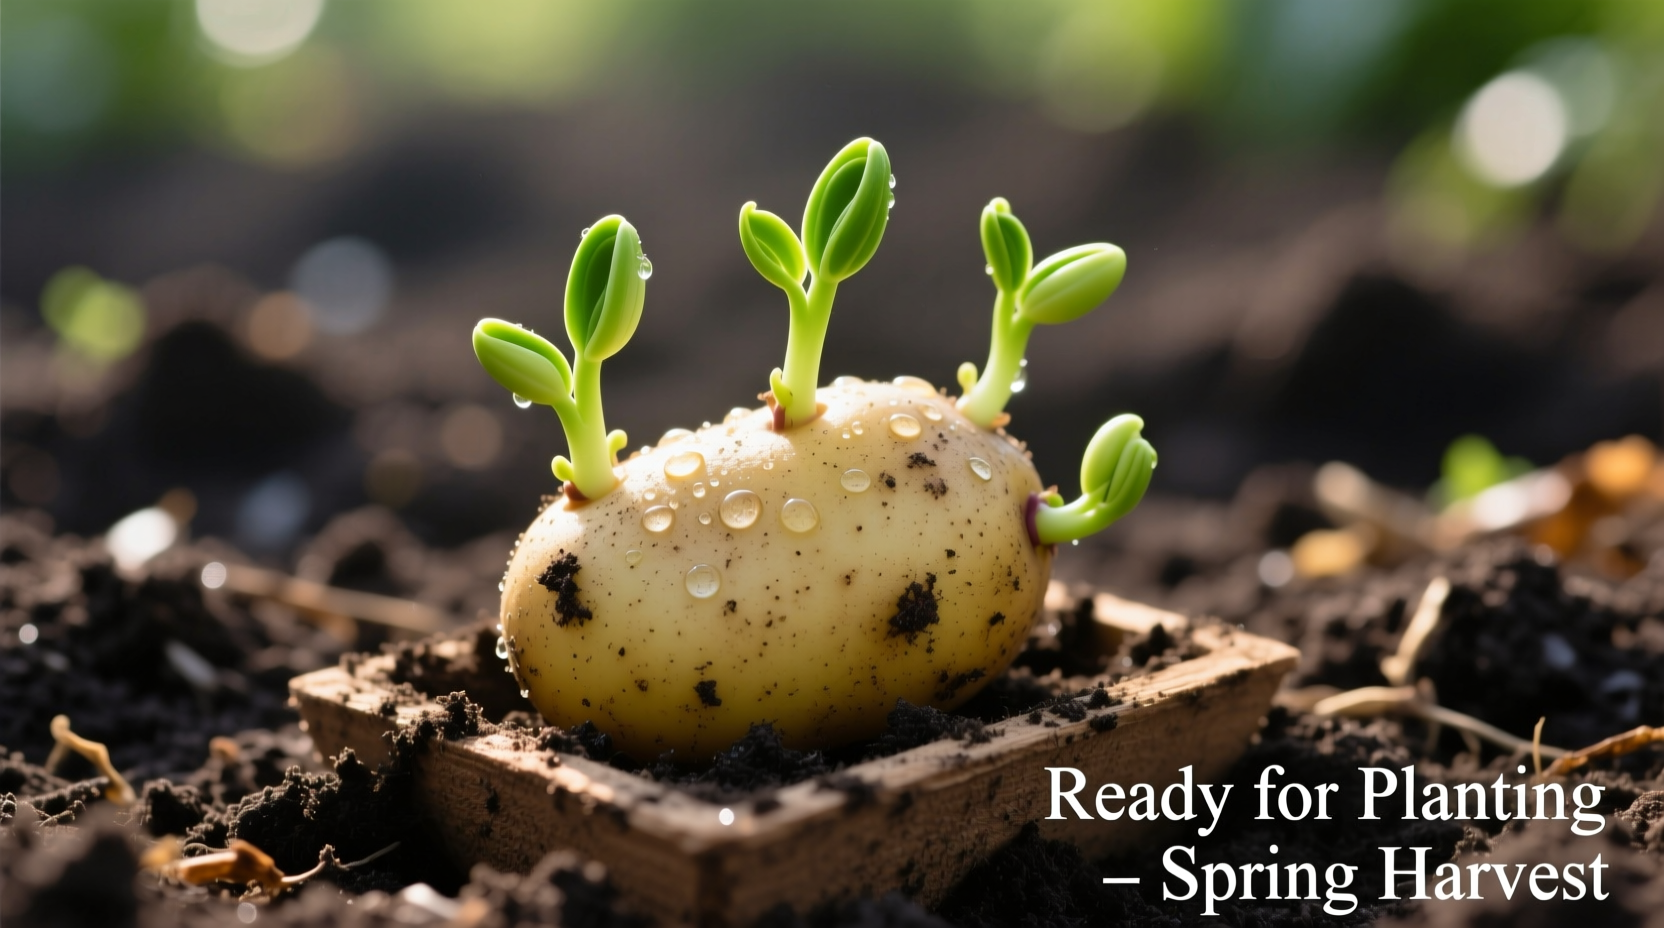
- Sprout quality: Choose potatoes with short (1-2 inch), sturdy sprouts that are green or purple-tinged (indicating exposure to light). Avoid potatoes with long, white, wispy sprouts which indicate poor light conditions.
- Tuber condition: Discard any potatoes showing signs of rot, deep wrinkles, or extensive greening (which indicates solanine buildup).
- Variety matters: Russets and Yukon Golds generally perform better than waxy varieties for home growing. Certified seed potatoes outperform grocery store potatoes due to disease resistance.
For optimal results, continue the pre-sprouting process for 2-3 weeks before planting. Place potatoes in a single layer in an egg carton with sprouts facing up, in a cool (60-70°F), bright location. This develops"chits"—thick, compact sprouts that withstand planting better than fragile, elongated ones.
Step 2: Planting Your Sprouted Potatoes
Timing and technique determine your harvest success. Follow this planting sequence:
When to Plant Sprouted Potatoes
Plant 2-4 weeks before your last expected frost date when soil temperature reaches 45°F. In warmer zones (7+), plant in early spring or late summer for fall harvest. The USDA Plant Hardiness Zone Map provides specific timing for your region.
Soil Preparation Essentials
Potatoes thrive in loose, well-draining soil rich in organic matter:
- Amend soil with 3-4 inches of compost worked to 8-inch depth
- Maintain pH between 5.0-6.0 (slightly acidic)
- Avoid fresh manure which can cause scab disease
Planting Technique That Maximizes Yield
Place each sprouted potato with sprouts facing up, 3-4 inches deep in loose soil. Space plants 12 inches apart in rows 24-36 inches apart. For container growing, use 5-gallon buckets with drainage holes, filling halfway with potting mix before planting.
| Growth Stage | Timeline After Planting | Critical Actions |
|---|---|---|
| Emergence | 7-14 days | Monitor for pests, maintain consistent moisture |
| Vegetative growth | 2-6 weeks | Hill soil around stems, apply balanced fertilizer |
| Tuber formation | 6-10 weeks | Increase hilling, maintain even watering |
| Maturity | 90-120 days | Reduce watering, wait for foliage yellowing |
Step 3: Care for Maximum Harvest
Proper maintenance separates modest yields from abundant harvests:
Hilling: The Secret to Bigger Potatoes
When plants reach 6-8 inches tall, mound soil around the base to cover all but the top leaves. Repeat every 2-3 weeks until plants flower. This technique:
- Prevents greening of tubers from sun exposure
- Creates more space for tuber development
- Suppresses weed competition
- Improves drainage around developing potatoes
Watering Wisdom
Maintain consistent moisture—1-2 inches of water weekly. Critical periods for watering:
- During sprout emergence (first 2 weeks)
- During flowering (tuber formation phase)
- Avoid overwatering as harvest approaches
Organic Pest and Disease Prevention
Prevent common potato problems with these methods:
- Colorado potato beetles: Hand-pick adults and larvae; use floating row covers
- Blights: Rotate crops annually; avoid overhead watering; remove affected foliage
- Scab: Maintain consistent soil moisture; avoid high-pH soils
- Aphids: Spray with insecticidal soap; encourage ladybugs with companion planting
Harvesting Your Homegrown Potatoes
Timing your harvest correctly ensures maximum storage life:
- New potatoes: Harvest 7-8 weeks after planting when plants flower (small, thin-skinned)
- Main crop: Wait until foliage yellows and dies back (90-120 days)
- Dry soil thoroughly before harvesting to prevent rot
- Cure harvested potatoes in dark, humid conditions (50-60°F) for 10-14 days
Store cured potatoes in a cool (45-50°F), dark, well-ventilated space. Properly stored main crop potatoes can last 6-8 months. Check monthly for any rotting tubers and remove them immediately.
Troubleshooting Common Sprouted Potato Problems
Address these frequent issues promptly:
- Yellowing leaves: Could indicate overwatering, nutrient deficiency, or early blight. Test soil moisture and apply balanced fertilizer.
- Poor sprout development: Often caused by insufficient light during pre-sprouting. Move to brighter location.
- Small tuber size: Usually results from inadequate hilling, poor soil nutrition, or overcrowding.
- Green spots on tubers: Caused by sun exposure. Always hill properly and harvest promptly after foliage dies.


 浙公网安备
33010002000092号
浙公网安备
33010002000092号 浙B2-20120091-4