
Have you discovered sprouting onions in your pantry and wondered if you should toss them or try planting them? Don't throw away those sprouting onions just yet! With proper technique, you can transform what seems like spoiled produce into a thriving onion plant that produces multiple harvests. This guide provides the complete process for successfully planting sprouting onions, whether you're working with grocery store onions or garden surplus.
Why Sprouting Onions Deserve a Second Chance
When onions begin sprouting, it's actually nature's signal that conditions are right for growth. Rather than viewing sprouting as spoilage, consider it a free gardening opportunity. Onions sprout when they receive enough moisture and warmth to break dormancy - the same conditions needed for successful planting. By understanding this natural process, you can harness the onion's built-in growth mechanism instead of wasting food.
Assessing Your Sprouting Onion's Viability
Not all sprouting onions make good candidates for planting. Before proceeding, check these critical factors:
- Firmness test: Squeeze gently - if the onion feels mushy or has soft spots, it's too far gone for planting
- Sprout condition: Healthy sprouts should be green and firm, not yellowed or slimy
- Smell check: Discard onions with sour or moldy odors
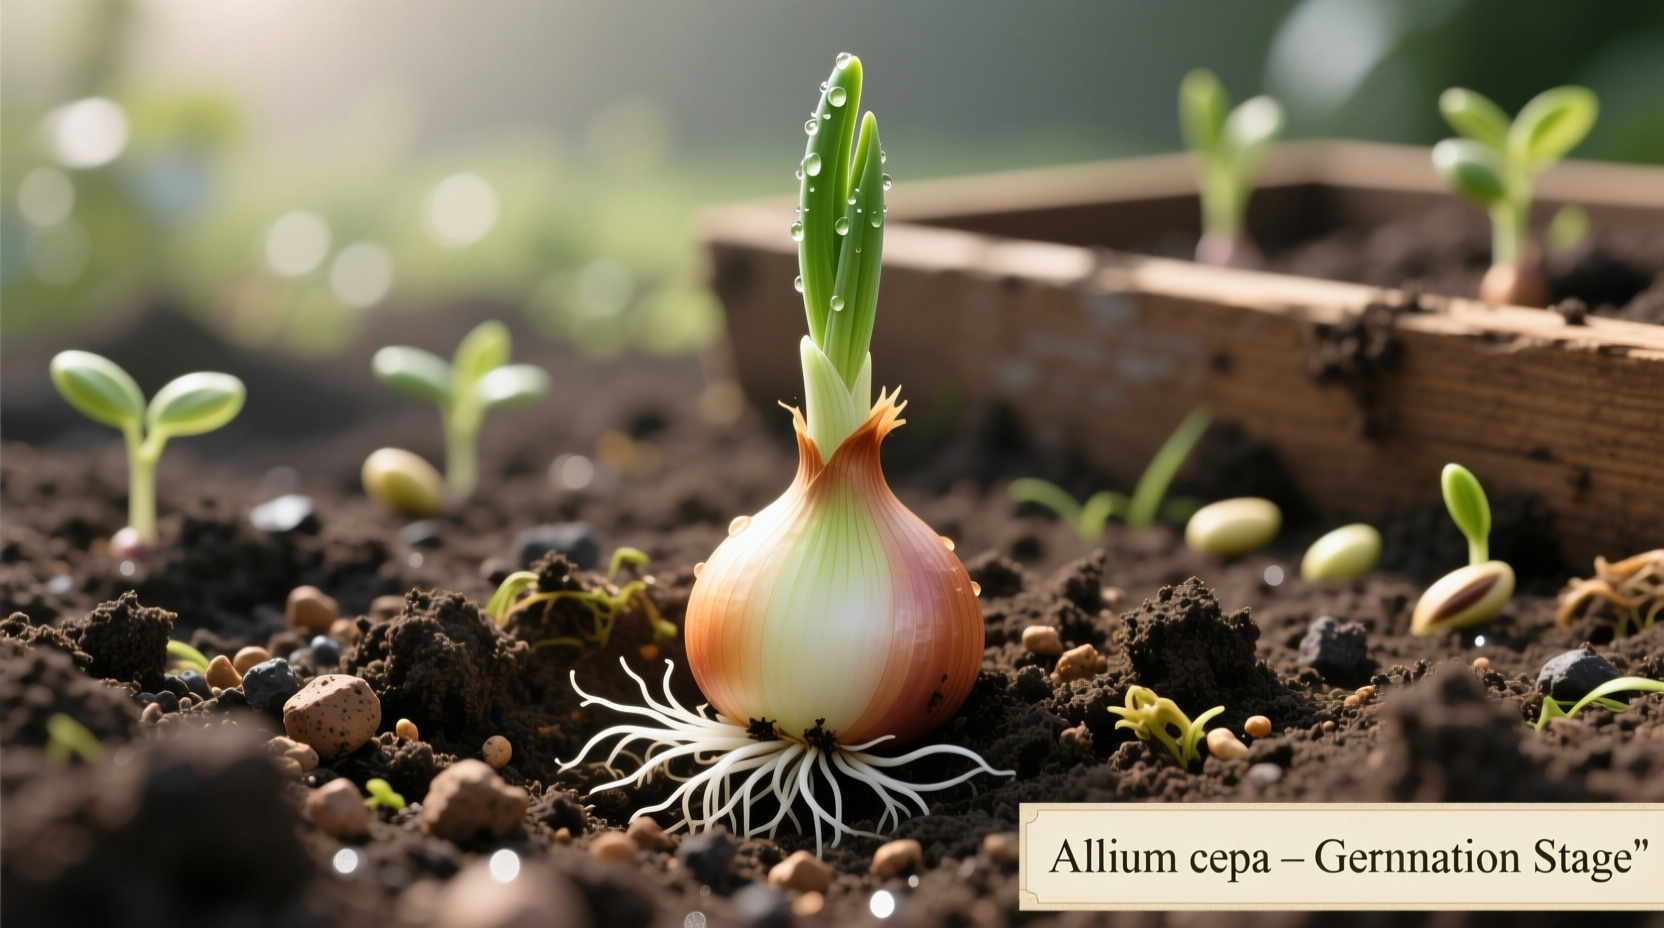
- Root development: Look for small white root nubs at the base - these indicate readiness for planting
Onions with significant sprouting (over 2 inches) still work well for planting, though extremely long sprouts may need trimming to redirect energy to root development.
Essential Supplies for Planting Success
Gathering the right materials ensures your sprouting onion gets the best start:
- Container with drainage holes (at least 6 inches deep) or garden space
- Well-draining potting mix (avoid garden soil for containers)
- Small trowel or hands for planting
- Watering can with fine spray
- Optional: Organic fertilizer for later growth stages
For optimal results, use organic potting mix amended with compost. Onions prefer slightly acidic to neutral soil (pH 6.0-7.0), which most quality potting mixes provide.
Step-by-Step Planting Process
Follow these precise steps for successful sprouting onion planting:
- Prepare the onion: If sprouts exceed 3 inches, trim to 2 inches to redirect energy to root growth
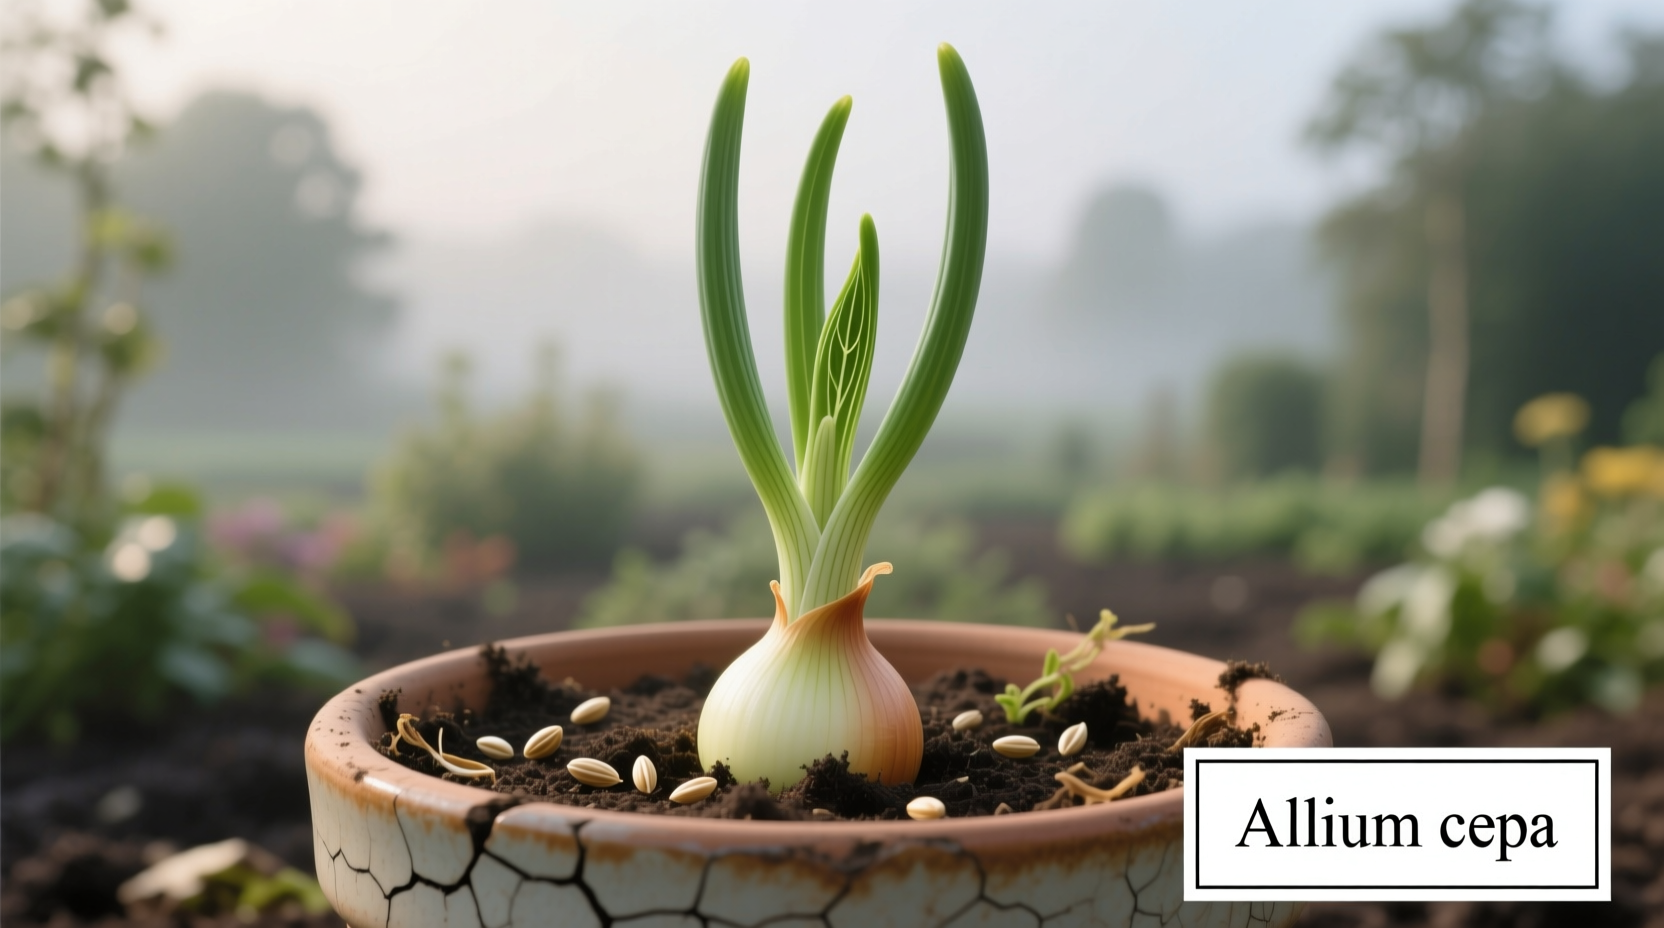
- Position correctly: Place onion with root end down, pointed side up - the sprouts should face upward
- Planting depth: Bury onion so the top sits just at soil surface (about 1 inch deep for most varieties)
- Spacing: Allow 4-6 inches between onions if planting multiple
- Initial watering: Water thoroughly until moist but not soggy
- Light exposure: Place in bright, indirect light for first week, then move to full sun
Onion Growth Timeline and Care Requirements
Understanding the growth stages helps you provide appropriate care at each phase. This verified timeline comes from University of California Agriculture and Natural Resources data:
| Time Period | Visible Growth | Care Requirements |
|---|---|---|
| Days 1-7 | New green shoots emerge | Keep soil consistently moist; indirect light |
| Weeks 2-4 | Rapid leaf growth; root development | Full sun (6+ hours); water when top inch dries |
| Weeks 5-8 | Bulb formation begins | Apply balanced fertilizer; maintain consistent moisture |
| Weeks 9-12 | Bulb enlargement; top growth slows | Reduce watering; watch for harvest signs |
| Harvest Time | Yellowing leaves; falling tops | Dry soil completely before harvesting |
Maximizing Your Onion Harvest
For the best results, follow these professional growing tips:
- Watering strategy: Provide consistent moisture but avoid overwatering - onions need about 1 inch of water weekly
- Fertilizing schedule: Apply balanced organic fertilizer every 3-4 weeks during active growth
- Pest prevention: Monitor for thrips and onion maggots; use row covers for protection
- Harvest timing: Wait until at least half the tops have fallen over naturally for best storage onions
When growing from sprouted onions, you'll typically get two harvest opportunities: green onion shoots within 3-4 weeks, and mature bulbs in 8-12 weeks depending on variety and growing conditions.
Troubleshooting Common Issues
Even with proper care, challenges may arise. Here's how to address them:
- Yellowing leaves: Could indicate overwatering or nitrogen deficiency - adjust watering and consider balanced fertilizer
- Stunted growth: Often caused by overcrowding or poor soil - ensure proper spacing and nutrient-rich soil
- Soft bulbs: Usually from excessive moisture - improve drainage and reduce watering frequency
- Pest damage: Hand-pick larger pests; use insecticidal soap for smaller infestations
Remember that sprouting onions from the grocery store may not produce as large a bulb as purpose-grown varieties, but they'll still yield delicious green shoots and smaller bulbs perfect for cooking.
Harvesting and Storage Techniques
Proper harvesting ensures maximum flavor and storage life:
- Green onion stage: Snip outer leaves as needed, leaving inner shoots to continue growing
- Mature bulb harvest: Wait until tops yellow and fall over naturally
- Curing process: After harvesting, dry bulbs in a warm, well-ventilated area for 2-3 weeks
- Storage: Keep cured onions in mesh bags in a cool, dry place (55-60°F) for up to 6 months
For immediate use, your homegrown onions will have superior flavor compared to store-bought varieties, with a fresher, more complex taste profile.


 浙公网安备
33010002000092号
浙公网安备
33010002000092号 浙B2-20120091-4