
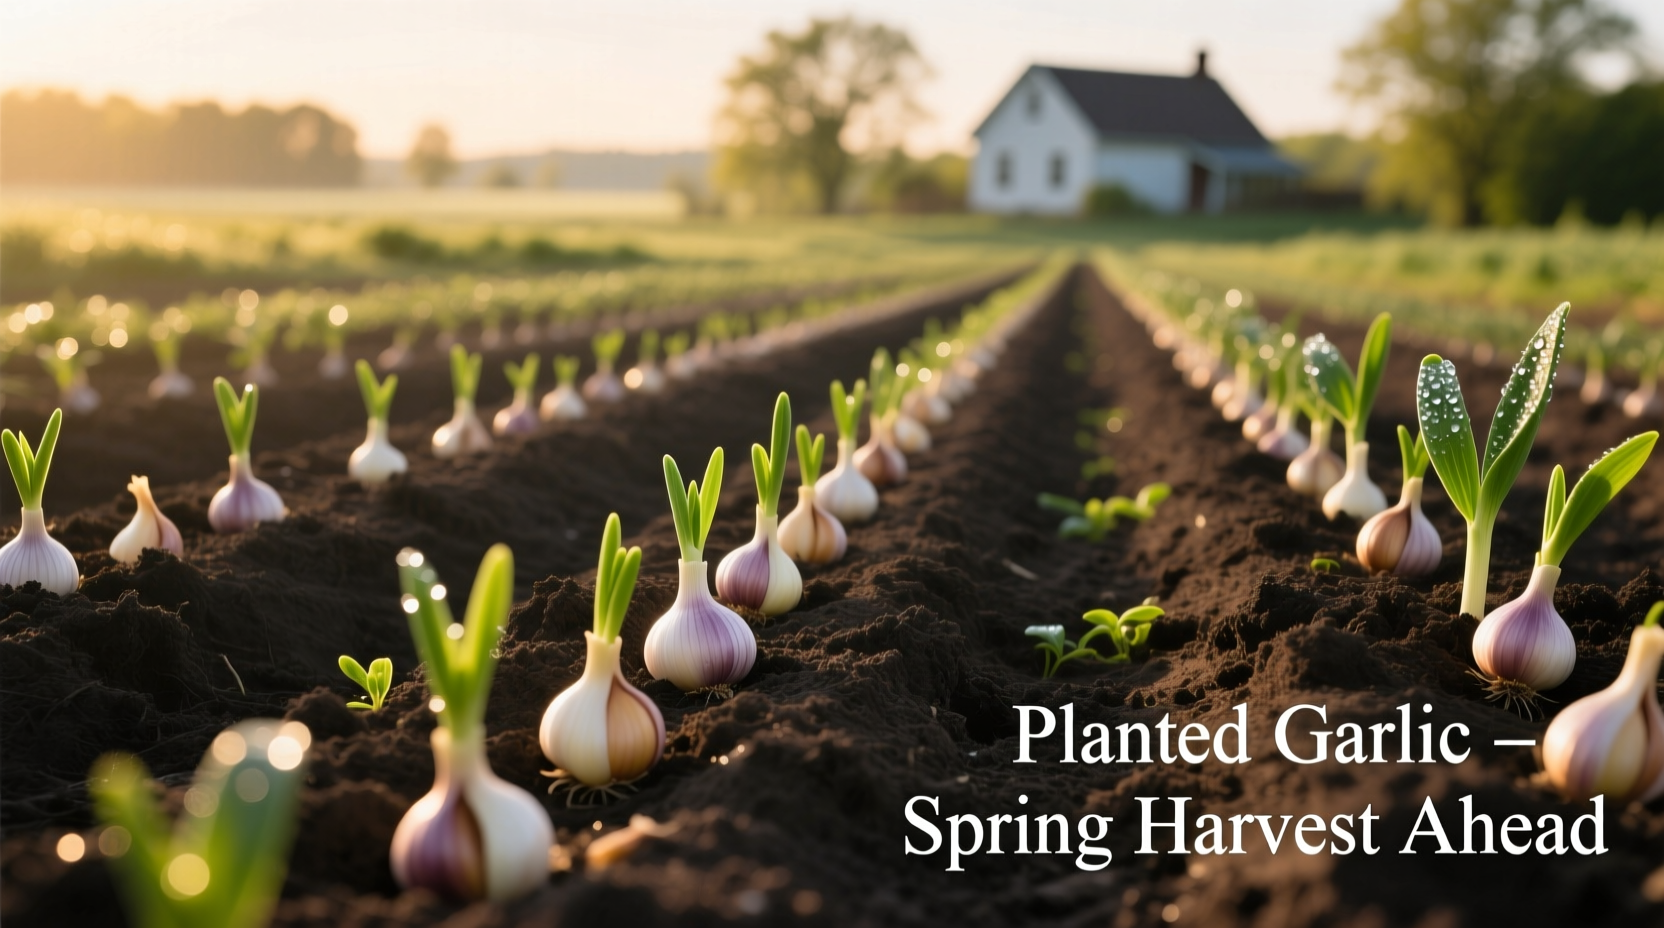
Planting garlic marks the beginning of a fascinating biological process that transforms individual cloves into full bulb harvests. Understanding what happens after you place those cloves in the soil is crucial for successful cultivation. This guide details the complete growth journey of planted garlic, providing actionable insights for gardeners at every experience level.
Garlic's Underground Development: The Critical First Phase
Within days of planting, garlic cloves begin developing root systems that anchor the plant and absorb nutrients. The first 4-6 weeks are critical for establishing what agricultural experts at University of Minnesota Extension call "the foundation for healthy bulb development." During this initial phase:
- Roots grow downward at approximately 1 inch per week
- Cloves draw on internal energy reserves before photosynthesis begins
- Optimal soil temperature (40-50°F) encourages steady root growth without premature top development
- Mulching with straw or leaves protects against temperature fluctuations
This underground development continues until soil temperatures drop below 40°F, when growth temporarily pauses for winter dormancy. The strength of this root system directly impacts your eventual harvest size.
| Variety Type | Root Development Timeline | Optimal Planting Depth | Winter Hardiness |
|---|---|---|---|
| Hardneck Garlic | 4-6 weeks before dormancy | 3-4 inches | Excellent (tolerates -30°F) |
| Softneck Garlic | 3-5 weeks before dormancy | 2-3 inches | Moderate (tolerates 0°F) |
According to Oregon State University Extension, hardneck varieties generally develop more extensive root systems than softnecks, contributing to their superior cold tolerance but slightly shorter storage life.
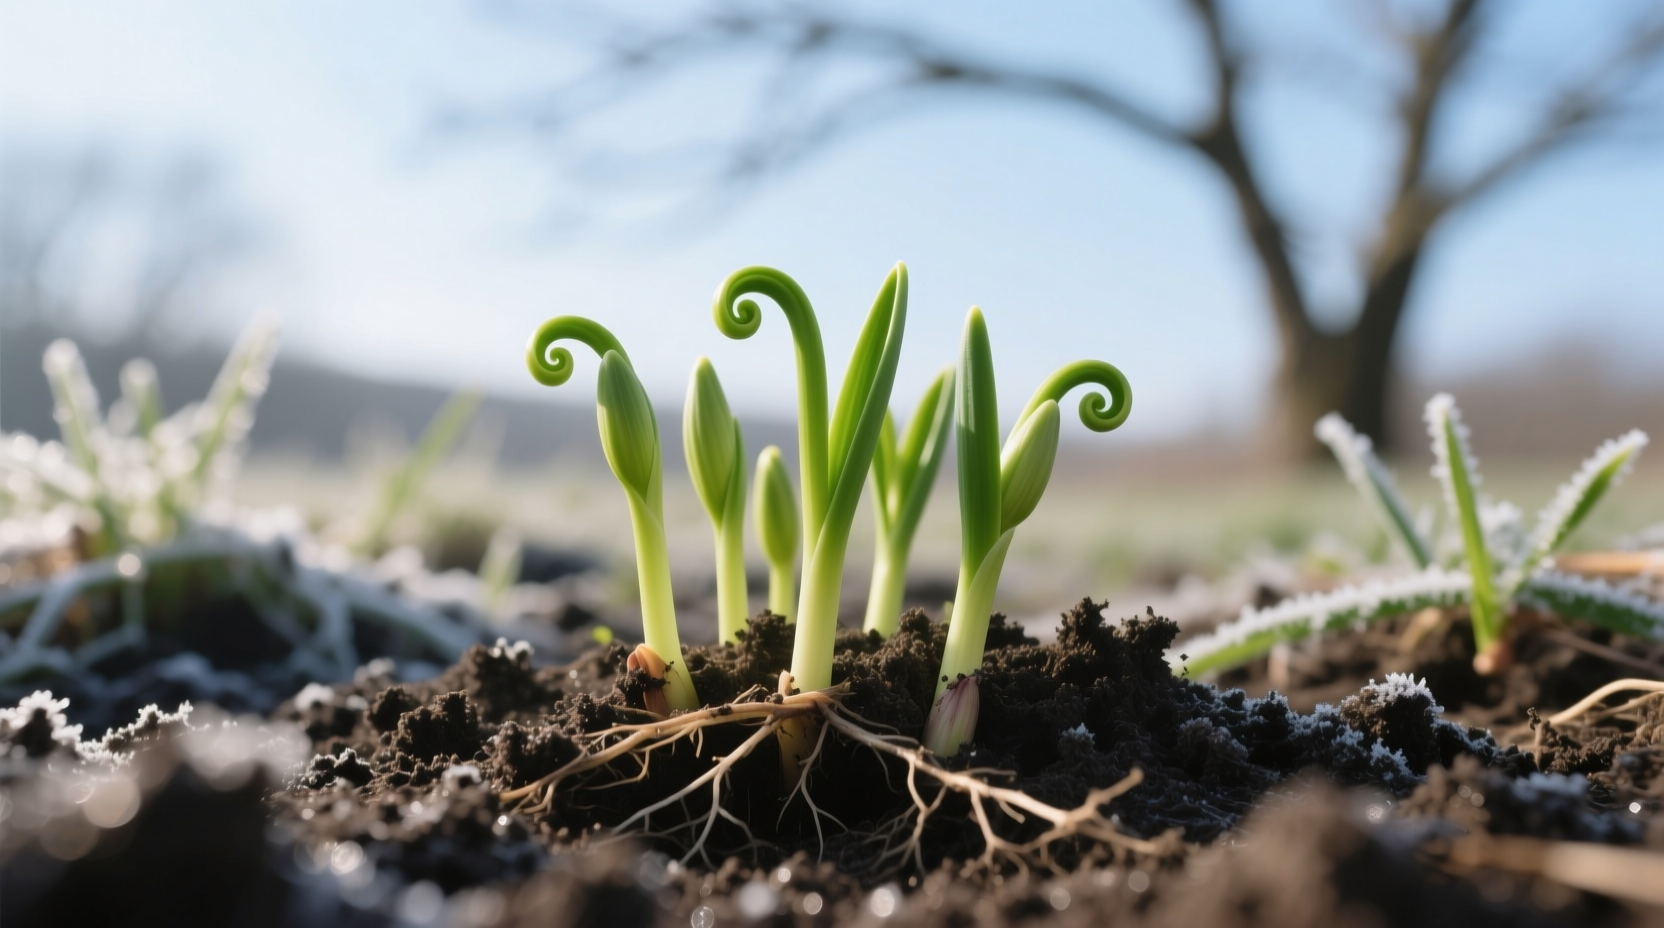
Spring Emergence: What to Expect as Temperatures Rise
As soil temperatures warm to 40°F in spring, garlic breaks dormancy. The first visible sign is green shoots emerging through the soil surface, typically 4-8 weeks after the last frost date. This growth phase follows a predictable pattern:
- Weeks 1-2: Initial green shoots appear, growing at 1-2 inches per week
- Weeks 3-6: Rapid leaf development (3-5 leaves visible)
- Weeks 7-10: Bulb formation begins as daylight exceeds 14 hours
- Weeks 11-14: Maximum leaf growth (8-12 leaves) signals peak bulb development
The Royal Horticultural Society notes that consistent moisture during this period is critical—garlic needs approximately 1 inch of water per week, either from rainfall or irrigation. However, avoid overwatering as saturated soil promotes fungal diseases that can rot developing bulbs.
Seasonal Timeline: From Planting to Harvest
Understanding garlic's complete growth cycle helps you anticipate key milestones. The following timeline assumes fall planting (mid-October in zone 5-7), which produces the largest bulbs:
- October: Plant cloves 2-4 inches deep, 6 inches apart
- November: Root development continues until soil freezes
- December-February: Winter dormancy (no visible growth)
- March: First green shoots emerge
- April: Rapid leaf growth; apply nitrogen-rich fertilizer
- May: Scapes appear on hardneck varieties; remove to direct energy to bulb
- June: Bulb formation accelerates; reduce watering
- July: Harvest when 40% of leaves turn brown
Climate significantly affects this timeline. Gardeners in warmer zones (8-10) should plant in November or December for optimal results, while those in colder zones (3-4) benefit from October planting with extra mulch protection. The USDA Agricultural Research Service confirms that planting timing directly correlates with final bulb size, with fall-planted garlic typically producing bulbs 2-3 times larger than spring-planted alternatives.
Common Challenges and Solutions for Planted Garlic
Even with proper planting, gardeners may encounter issues. Recognizing these problems early improves your chances of a successful harvest:
- No sprouting: Check soil temperature—garlic needs 40°F+ to emerge. If planted too deep (>4 inches), carefully loosen soil above cloves.
- Yellowing leaves: Often indicates nitrogen deficiency. Apply balanced fertilizer or compost tea.
- Mold on cloves: Caused by excessive moisture. Improve drainage and avoid overhead watering.
- Stunted growth: May signal nematode infestation. Rotate crops and plant resistant varieties next season.
The Cornell University College of Agriculture and Life Sciences reports that proper crop rotation (avoiding alliums in the same spot for 3-4 years) reduces disease pressure by up to 70%. Additionally, they recommend soil testing before planting to ensure optimal pH (6.0-7.0) and nutrient levels.
Harvest Indicators: Knowing When Your Garlic Is Ready
Timing your garlic harvest correctly is essential for maximum storage life. The most reliable indicators include:
- Lower third of leaves turning brown while upper leaves remain green
- Bulb wrappers becoming dry and papery
- Individual cloves clearly defined when gently squeezing the bulb
- Soil around plants appearing pushed up as bulbs expand
Harvest too early, and bulbs won't reach full size. Wait too long, and cloves may separate, reducing storage potential. The Oregon State University Extension recommends checking one plant as a test before harvesting your entire crop. Gently dig around a plant to examine bulb development without fully extracting it.
Post-Harvest Care: Maximizing Your Garlic's Shelf Life
Proper curing and storage determine how long your harvest remains usable. Follow these steps for optimal results:
- Clean soil gently from bulbs without washing
- Cure in a shaded, well-ventilated area for 2-3 weeks
- Trim roots to ¼ inch and stems to 1-2 inches after curing
- Store in mesh bags or braids at 60-65°F with 60-70% humidity
Hardneck varieties typically store for 4-6 months, while softnecks can last 8-12 months under ideal conditions. The University of Minnesota Extension emphasizes that improper curing is the leading cause of premature spoilage, with bulbs requiring complete drying before storage to prevent mold development.
Frequently Asked Questions
How long does it take for planted garlic to sprout?
Garlic typically sprouts 4-8 weeks after planting, depending on soil temperature and variety. In warmer climates, sprouts may appear within 3-4 weeks, while colder regions might see emergence in 6-10 weeks. The first green shoots usually emerge when soil temperatures consistently reach 40°F.
Can I plant garlic that has already sprouted in the grocery store?
While possible, grocery store garlic often produces disappointing results. Most commercial garlic is treated with sprout inhibitors, and non-organic varieties may carry diseases. For best results, use certified disease-free seed garlic from gardening suppliers, which offers better variety selection and disease resistance tailored to your climate zone.
Why are my garlic plants flowering?
Flowering (scape production) is normal for hardneck garlic varieties, typically appearing in late spring. While softnecks rarely produce scapes, hardnecks send up curly flower stalks that should be removed to redirect energy to bulb development. If left intact, scapes will produce bulbils (tiny cloves) but result in smaller main bulbs.
How deep should I plant garlic cloves?
Plant garlic cloves 2-4 inches deep, with the pointed end up. In colder climates (zones 1-4), plant deeper (3-4 inches) with extra mulch. Warmer climates (zones 8-10) require shallower planting (2-3 inches). Proper depth protects cloves from temperature extremes while allowing easy shoot emergence in spring.
What happens if I plant garlic in spring instead of fall?
Spring-planted garlic produces smaller bulbs because it misses the critical cold period needed for proper clove separation. Fall planting allows root development before winter, followed by natural vernalization that triggers bulb formation. Spring-planted garlic typically yields single-clove bulbs or significantly smaller multi-clove bulbs compared to fall-planted counterparts.


 浙公网安备
33010002000092号
浙公网安备
33010002000092号 浙B2-20120091-4