
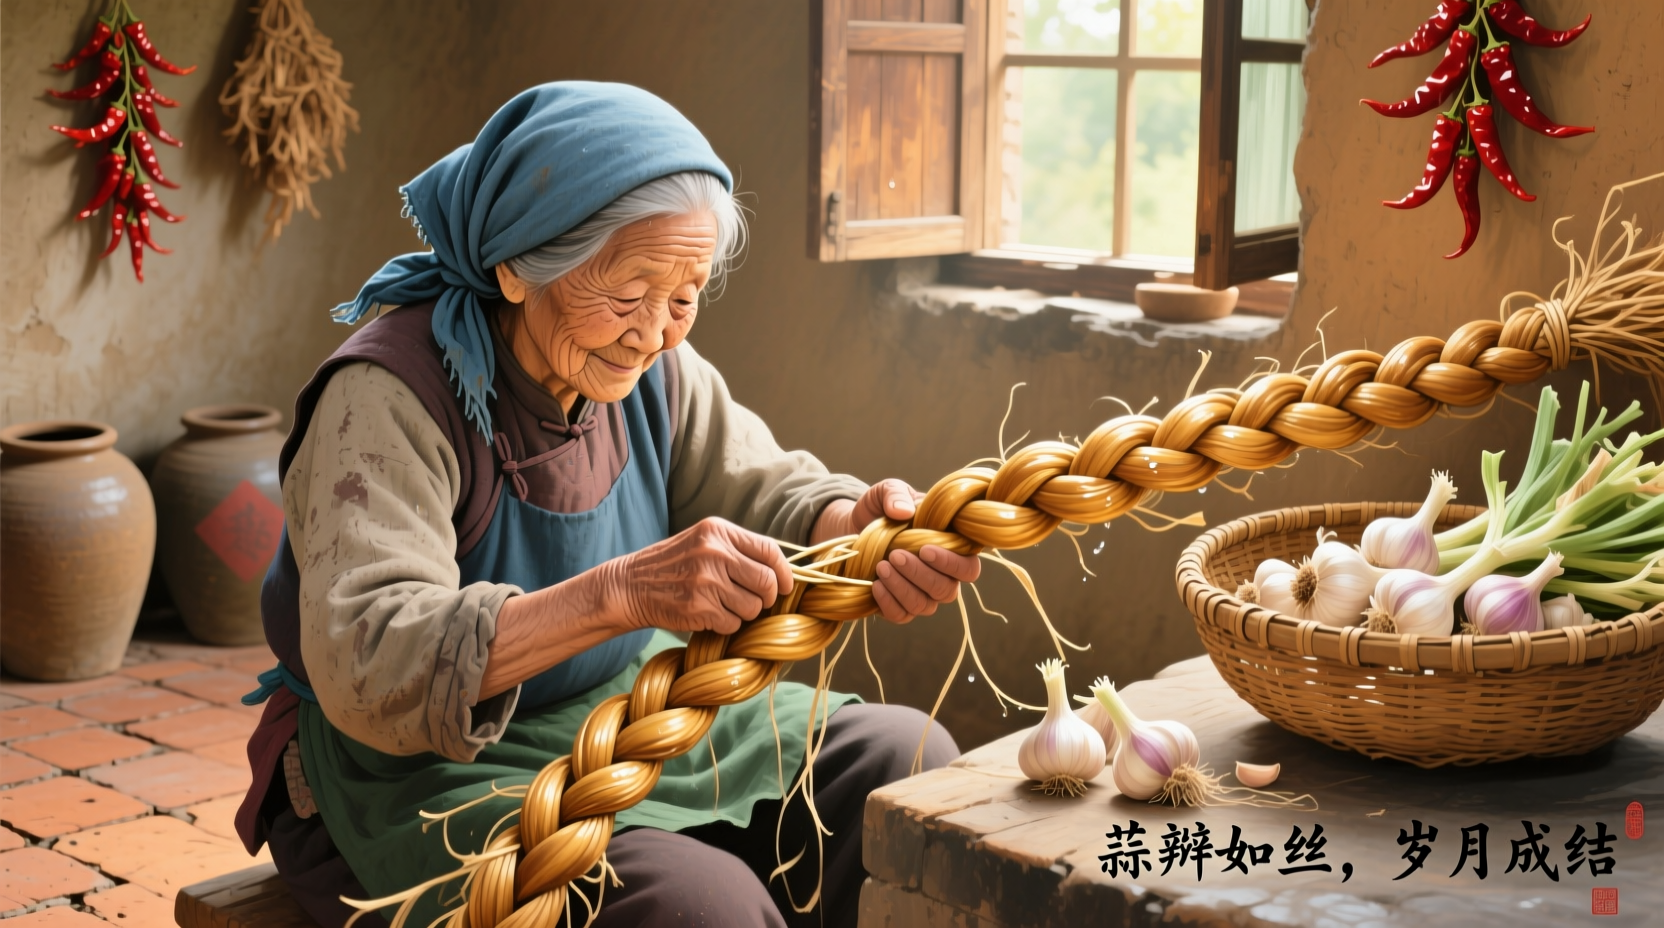
Garlic braiding isn't just a pretty kitchen decoration—it's a centuries-old preservation technique that extends your harvest while showcasing nature's beauty. This traditional method, practiced across Mediterranean and Asian cultures for generations, transforms your homegrown or market-bought garlic into both functional storage and rustic artwork. Whether you're a gardener looking to preserve your harvest or a cooking enthusiast wanting to add farmhouse charm to your kitchen, mastering garlic braiding delivers practical benefits alongside visual appeal.
Why Garlic Braiding Works: Science Meets Tradition
When properly executed, garlic braiding creates ideal storage conditions by allowing air circulation while protecting bulbs from direct light. The University of California Cooperative Extension confirms that properly cured and braided garlic maintains quality for 6-8 months—significantly longer than loose storage. This preservation method works because the braid structure prevents moisture buildup while the natural drying process halts enzymatic decay.
Your Garlic Braiding Preparation Checklist
Before you begin braiding, proper preparation ensures success. This phase determines whether your braid will last months or spoil prematurely.
Selecting the Right Garlic
Not all garlic varieties braid equally well. Softneck varieties with flexible stalks work best, while stiff-necked hardnecks require special handling. The USDA Agricultural Research Service identifies these top braiding varieties:
| Garlic Variety | Braiding Suitability | Storage Duration | Flavor Profile |
|---|---|---|---|
| Silverskin | Excellent | 8-10 months | Mild, sweet |
| Artichoke | Very Good | 6-8 months | Robust |
| Rocambole | Fair (requires conditioning) | 4-6 months | Complex, rich |
| Porcelain | Poor | 3-4 months | Intense heat |
Perfecting the Curing Process
Harvest timing and curing determine braiding success. According to Cornell University's gardening experts, garlic needs 2-3 weeks of proper curing before braiding:
- Harvest when: 1/3 of leaves turn brown (typically late July-August in northern climates)
- Curing environment: Dark, well-ventilated space at 75-85°F (24-29°C) with 60-70% humidity
- Pre-braiding check: Stalks should feel papery but remain flexible—snap test confirms readiness
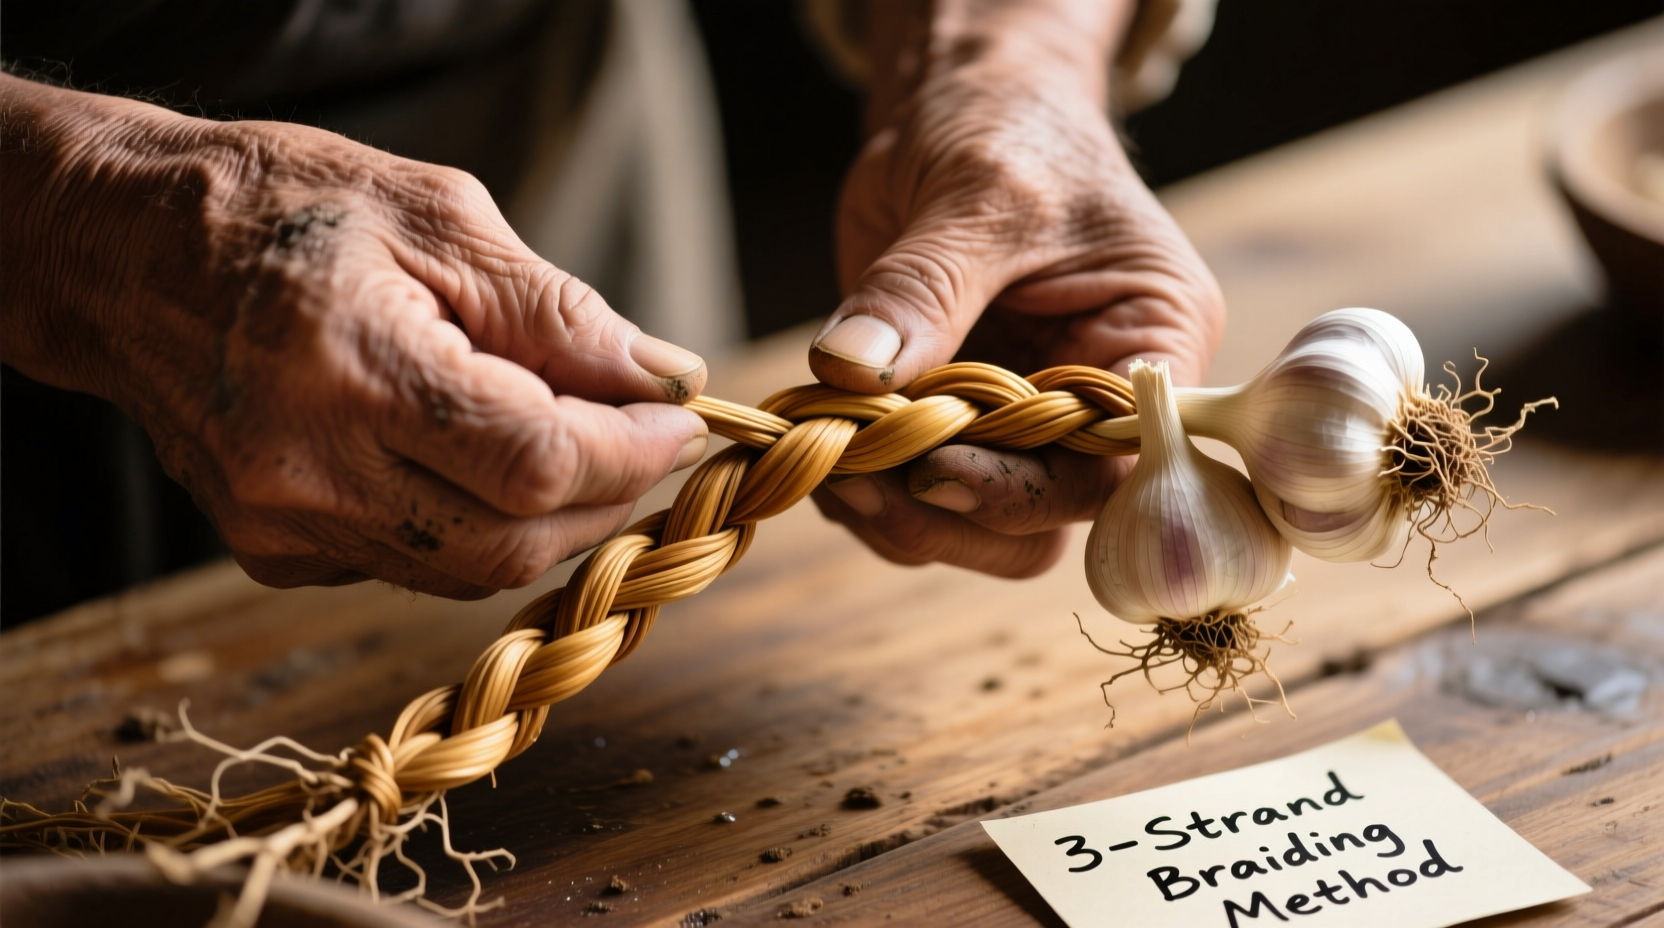
The Braiding Process: Step-by-Step Technique
Professional chefs and experienced gardeners use this three-strand method that creates both functional and decorative braids. The entire process takes 20-30 minutes once your garlic is properly prepared.
Step 1: Prepare Your Workspace and Materials
Gather these essentials before starting:
- 8-12 cured garlic bulbs (enough for 3 strands of 3-4 bulbs each)
- Cotton twine (avoid synthetic materials that restrict airflow)
- Scissors
- Work surface with good lighting
Step 2: Create the Foundation
- Trim roots to 1/4 inch and stems to 6 inches
- Divide bulbs into three equal groups
- Tie groups together 2 inches from bulb bases using twine
- Braid the top 4 inches of stems tightly to create anchor point
Step 3: Build Your Braid
This alternating technique maintains even tension throughout the braid:
- Add one bulb to the left strand, positioning it base-up against existing braid
- Cross left strand over middle strand
- Add bulb to right strand, positioning base-up
- Cross right strand over new middle position
- Repeat, maintaining consistent tension and alignment
- Secure each addition with gentle twisting of the stalks
Step 4: Finish and Decorate
Complete your braid with these professional touches:
- Tie off with twine 2 inches from bottom bulbs
- Trim excess stalks at 45-degree angle for visual appeal
- Optional: Weave in dried herbs like rosemary for fragrance and color
- Hang in kitchen away from direct sunlight and heat sources
Storage Guidelines for Maximum Freshness
Your braid's longevity depends on proper storage conditions. The National Center for Home Food Preservation specifies these ideal parameters:
- Temperature: 55-65°F (13-18°C) - cooler than room temperature but above refrigeration
- Humidity: 60-70% - prevents both mold growth and excessive drying
- Airflow: Allow space around braid (minimum 2 inches clearance)
- Light exposure: Complete darkness extends shelf life
Check your braid monthly for any soft or moldy bulbs. Remove affected bulbs immediately to prevent spread. When properly stored, each bulb maintains peak flavor for 6-8 months, with usable quality extending to 10 months.
Common Mistakes to Avoid
Based on analysis of gardening forums and extension service reports, these errors compromise braid quality:
- Insufficient curing: Bulbs with moisture content above 65% will mold (test by squeezing stalks—they should crackle)
- Over-tight braiding: Restricts airflow and damages bulb wrappers
- Using green garlic: Immature bulbs lack proper drying and won't store well
- Refrigeration: Cold temperatures trigger sprouting in cured garlic
Advanced Braiding Techniques
Once you've mastered the basic braid, try these professional variations:
Garlic Wreaths
Create circular arrangements by braiding in a continuous loop. Start with 15-20 bulbs and work in a circular pattern, securing with floral wire covered in twine. These make beautiful seasonal decorations that function as practical storage.
Herb-Infused Braids
Weave in dried rosemary, thyme, or bay leaves during the braiding process. The University of Vermont Extension notes that rosemary's natural antifungal properties may extend garlic's shelf life by 2-3 weeks while adding subtle flavor notes.
Decorative Finishes
Professional chefs often add these finishing touches:
- Dip bottom bulb tips in beeswax for decorative effect
- Weave in colored twine for holiday-themed arrangements
- Create multi-tiered braids with varying bulb sizes
Troubleshooting Your Garlic Braid
Address these common issues promptly to save your braid:
- Mold development: Remove affected bulbs immediately; increase airflow around remaining braid
- Excessive drying: Move to slightly more humid location (but avoid moisture above 70%)
- Loose strands: Carefully re-braid affected section without removing bulbs
- Sprouting: Use affected bulbs immediately—they remain edible but won't store further


 浙公网安备
33010002000092号
浙公网安备
33010002000092号 浙B2-20120091-4