
The perfect homemade pickled ginger (gari) recipe requires just 4 ingredients: 1 cup thinly sliced young ginger, 1 cup rice vinegar, 1/2 cup sugar, and 1/4 teaspoon salt. Simmer for 5 minutes, cool, then store in a sterilized jar for 3-5 days before serving. This authentic Japanese recipe yields naturally pink-tinted ginger without artificial coloring, ideal for sushi accompaniment or digestive aid.
Making authentic pickled ginger at home is simpler than you might think, and the results far surpass store-bought versions. This traditional Japanese preparation, known as gari, serves as the perfect palate cleanser between sushi pieces and offers notable digestive benefits. Unlike commercial varieties that often contain artificial coloring and preservatives, homemade pickled ginger develops a delicate natural pink hue from the reaction between young ginger's anthocyanins and vinegar.
Why Homemade Pickled Ginger Beats Store-Bought
Commercial pickled ginger frequently contains additives like sodium benzoate and artificial red dye to achieve its characteristic pink color. When you prepare homemade gari recipe yourself, you control the ingredients and achieve superior flavor. The natural pink tint develops during the pickling process when using young ginger, which contains anthocyanin pigments that react with the acidic vinegar solution. This authentic approach delivers cleaner taste and eliminates unnecessary preservatives.
Essential Ingredients for Authentic Pickled Ginger
The beauty of this traditional Japanese pickled ginger recipe lies in its simplicity. You'll need only four quality ingredients:
| Ingredient | Quantity | Why It Matters |
|---|---|---|
| Young ginger (shin-shoga) | 1 cup, thinly sliced | Contains natural anthocyanins for pink color; milder flavor than mature ginger |
| Rice vinegar | 1 cup | Milder acidity than white vinegar; traditional Japanese ingredient |
| Granulated sugar | 1/2 cup | Preserves texture; balances vinegar's sharpness |
| Sea salt | 1/4 teaspoon | Enhances flavor; helps maintain crispness |
For the best ginger for pickling, seek out young ginger at Asian markets or specialty grocery stores. It has a pinkish blush on the skin, thinner texture, and less fibrous interior than mature ginger. If unavailable, regular ginger works but won't develop the same natural pink color.
Step-by-Step Pickled Ginger Preparation
Follow these precise steps for perfect homemade gari recipe results:
- Prepare the ginger: Peel young ginger using a spoon (gentler than a peeler). Slice paper-thin (1/16 inch) using a mandoline or sharp knife. Thinner slices absorb flavors better and become more tender.
- Create the pickling liquid: In a non-reactive saucepan, combine rice vinegar, sugar, and salt. Heat over medium until sugar dissolves completely (do not boil).
- Blanch the ginger: Place sliced ginger in a heatproof bowl. Pour 1 cup boiling water over ginger, let sit 1 minute, then drain. This removes excess sharpness while preserving texture.
- Simmer: Return ginger to saucepan with pickling liquid. Simmer gently for 5 minutes (do not boil vigorously).
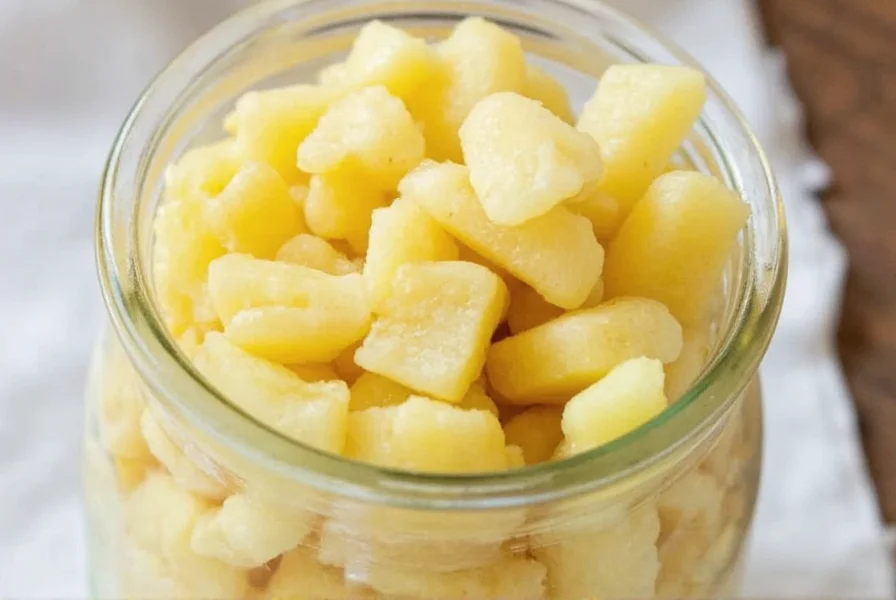
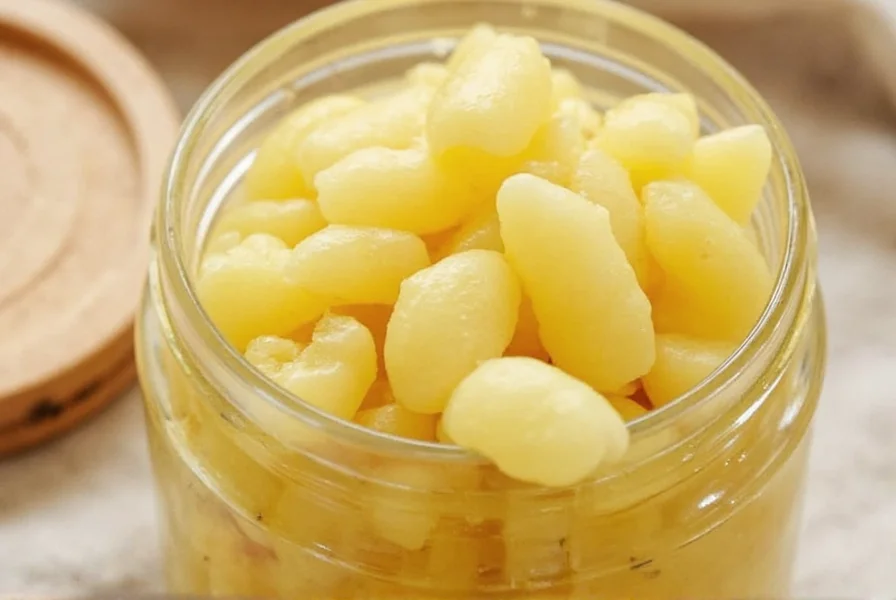
- Cool and store: Transfer ginger and liquid to sterilized glass jar. Cool to room temperature, then refrigerate.
- Wait for perfection: Allow flavors to develop for 3-5 days before serving. The ginger will gradually turn pale pink.
Pro Tips for Perfect Pickled Ginger Every Time
Master the quick pickled ginger without vinegar alternative and avoid common pitfalls with these professional techniques:
- Slice thickness matters: Use a mandoline for consistent 1/16-inch slices. Thicker pieces remain too fibrous; thinner pieces become mushy.
- Temperature control: Never boil the ginger vigorously. Simmering preserves texture while allowing flavor absorption.
- Patience pays: While you can eat it immediately, waiting 3-5 days dramatically improves flavor complexity and color development.
- Vinegar substitution: For quick pickled ginger without vinegar, use equal parts apple cider vinegar and water, but expect slightly different flavor profile.
- Color enhancement: Add 1 teaspoon pickling spice or a small slice of beet for deeper pink hue if using mature ginger.
Storage Guidelines and Shelf Life
Properly stored, your how long does homemade pickled ginger last question has an excellent answer. Keep your pickled ginger in an airtight container in the refrigerator for up to 6 months. The flavor continues developing for the first month, then stabilizes. Always use clean utensils when serving to prevent contamination. For longer storage, freeze in ice cube trays then transfer to freezer bags (up to 1 year), though texture changes slightly upon thawing.
Delicious Variations to Try
Once you've mastered the traditional Japanese pickled ginger recipe, experiment with these creative adaptations:
- Sweetness adjustment: Reduce sugar to 1/3 cup for less sweet, more traditional flavor.
- Spiced version: Add 1 star anise or 2 cardamom pods during simmering for aromatic complexity.
- Quick refrigerator pickled ginger: Skip the simmering step for crunchier texture (though color development is less pronounced).
- Golden variation: Use turmeric (1/8 teaspoon) for yellow-hued ginger with anti-inflammatory benefits.
Troubleshooting Common Issues
Even experienced cooks encounter challenges with how to make pickled ginger for sushi. Here's how to solve frequent problems:
- Ginger remains too sharp: Blanch slices in boiling water for 2 minutes instead of 1 to reduce pungency.
- No pink color development: You likely used mature ginger. Add a small beet slice or accept the natural beige color (still delicious).
- Mushy texture: Over-simmering or too-thin slicing. Reduce simmer time to 3 minutes next batch.
- Cloudy brine: Normal during fermentation. Strain and reheat with additional 1 tablespoon vinegar if concerned.
Perfect Pairings for Your Homemade Pickled Ginger
While traditionally served with sushi, your homemade gari recipe complements many dishes:
- As a palate cleanser between rich dishes
- Chopped in salad dressings for zesty kick
- With grilled fish or chicken for bright contrast
- As a digestive aid after heavy meals
- Finely minced in rice bowls for flavor dimension
Frequently Asked Questions
Why isn't my homemade pickled ginger turning pink?
Natural pink color comes from anthocyanins in young ginger reacting with vinegar. If using mature ginger (which lacks these pigments), your ginger will remain beige. This doesn't affect flavor - it's still authentic gari. For pink color with mature ginger, add a small slice of beet during pickling.
How long does homemade pickled ginger last in the refrigerator?
Properly stored in an airtight container in the refrigerator, homemade pickled ginger maintains best quality for 3-6 months. The flavor continues developing for the first month, then stabilizes. Always use clean utensils when serving to prevent contamination and extend shelf life.
Can I make pickled ginger without sugar?
While sugar is traditional in Japanese gari for balance and preservation, you can substitute with honey or maple syrup (1/3 cup). For sugar-free version, use 1/4 cup erythritol plus 1 tablespoon lemon juice, though texture and preservation will differ. Note that authentic gari always contains some sweetness.
What's the difference between gari and beni shoga?
Gari is thinly sliced young ginger pickled in sweet vinegar, served with sushi. Beni shoga uses red shiso to achieve bright red color and has a stronger, spicier flavor profile. Gari should be pale pink and mildly sweet, while beni shoga is distinctly red and more pungent, typically used with yakisoba or okonomiyaki.
Why do I need to blanch the ginger before pickling?
Blanching removes excess sharpness and enzymes that could affect texture while preserving the ginger's crispness. It also helps the ginger absorb the pickling liquid more evenly. Skipping this step results in overly pungent ginger that may become too soft during pickling.


 浙公网安备
33010002000092号
浙公网安备
33010002000092号 浙B2-20120091-4