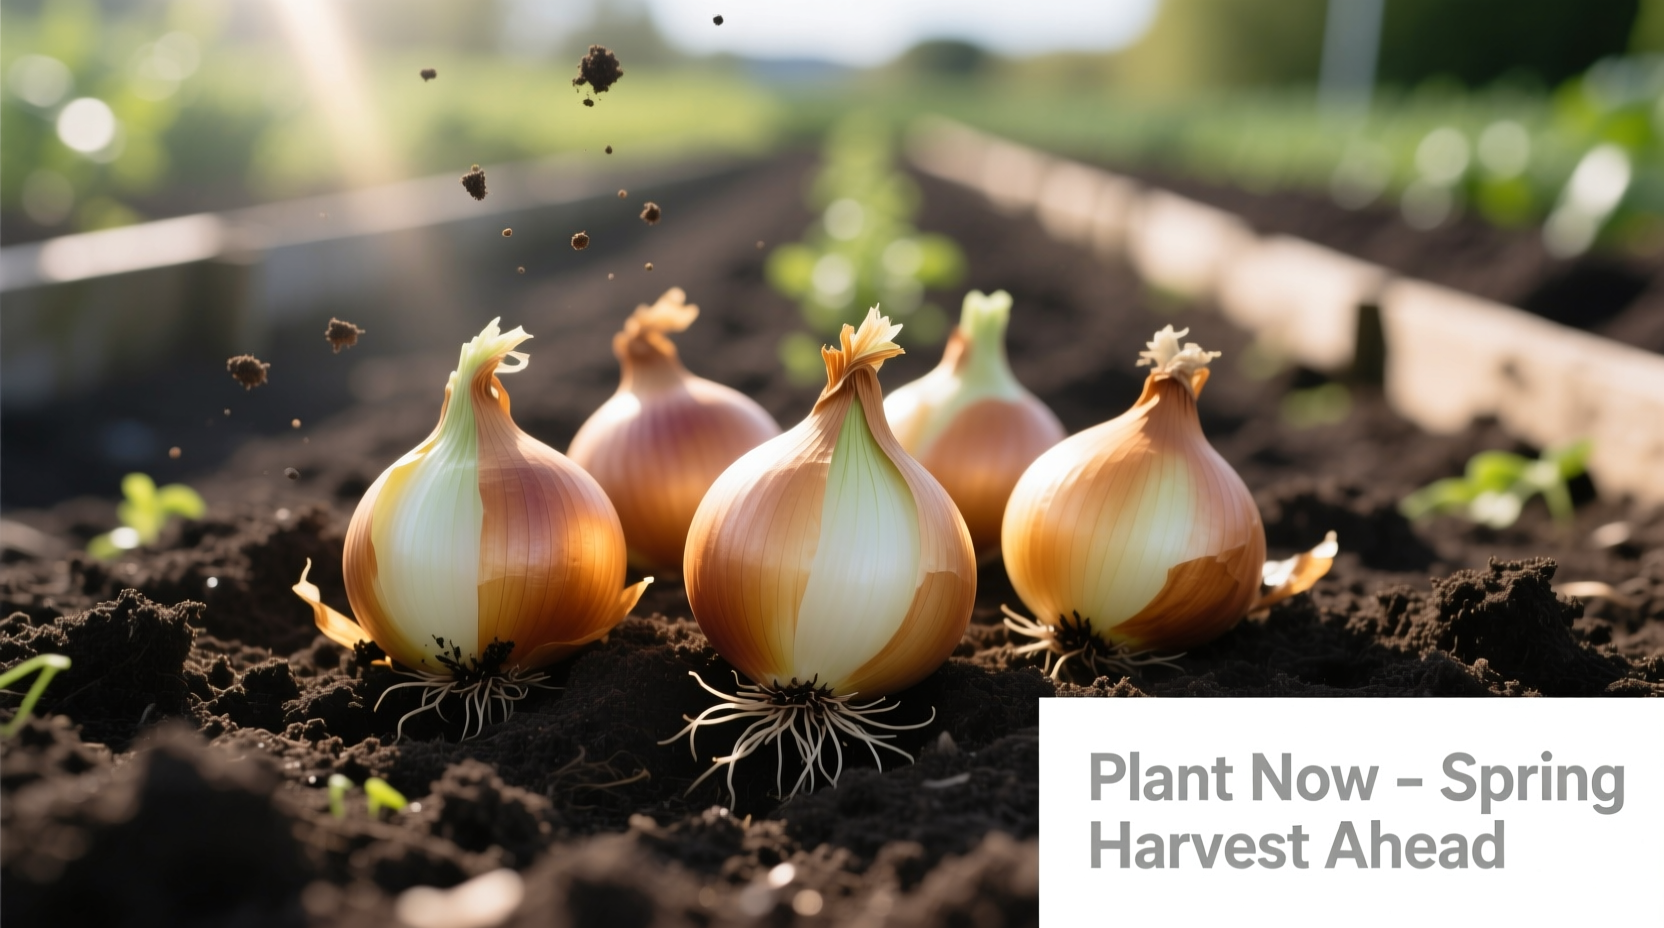
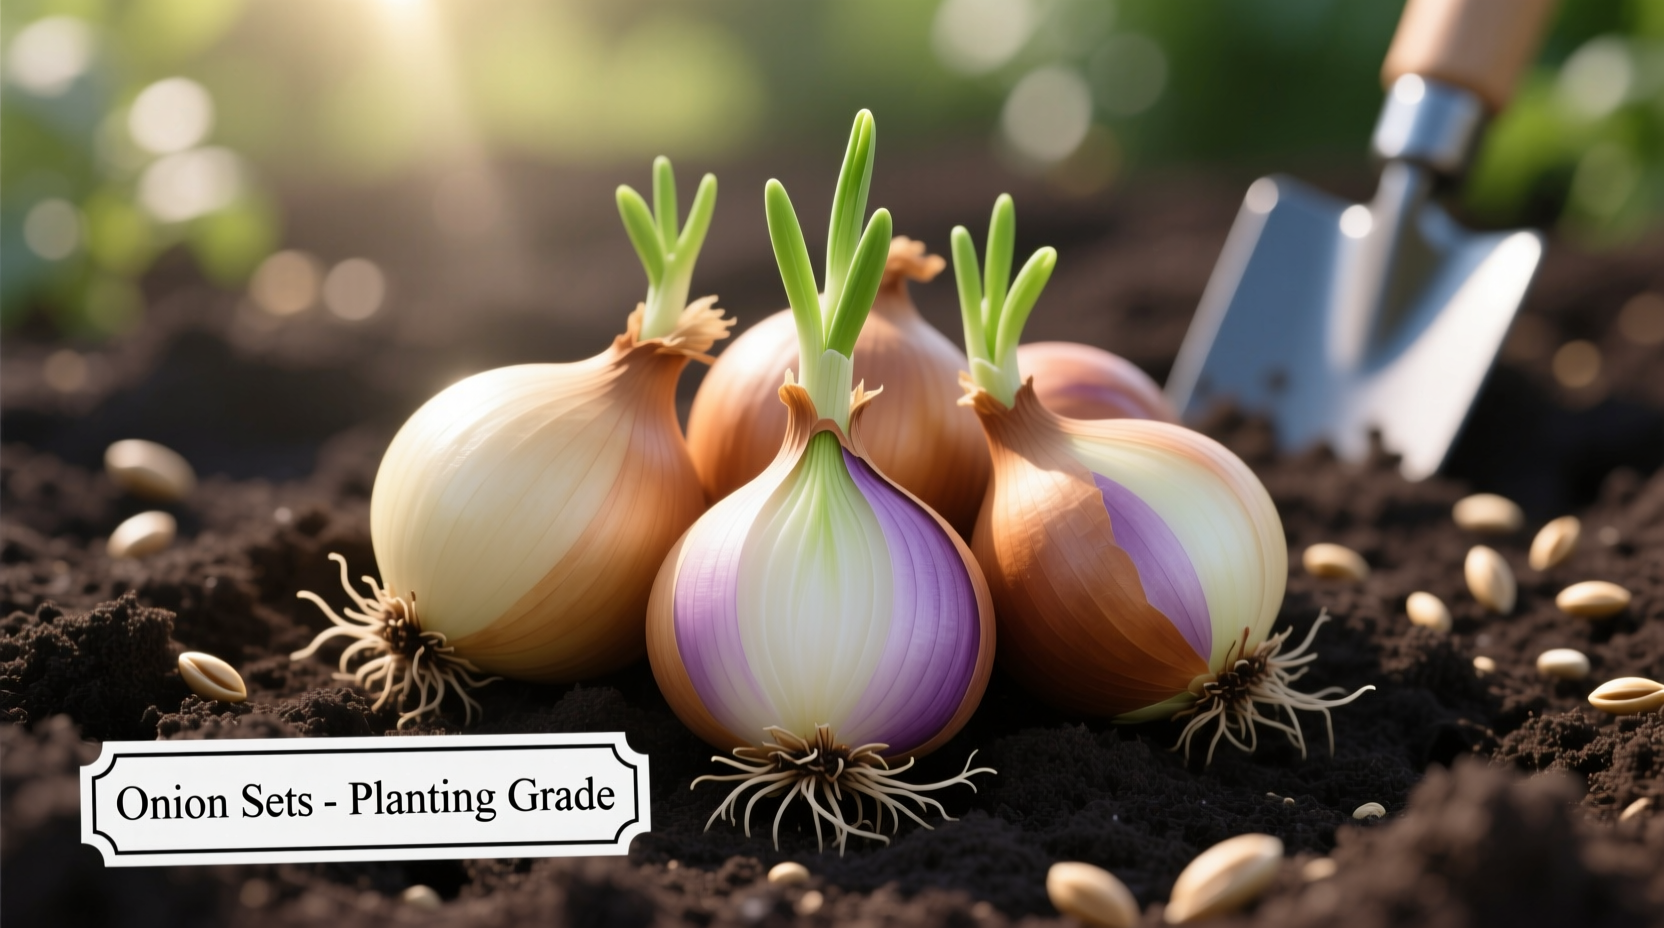
Onion sets are small, partially grown onion bulbs specifically cultivated for planting, offering home gardeners a faster, more reliable harvest than seeds with less effort than transplants. They're ready to plant in early spring as soon as soil can be worked, typically yielding mature onions in 80-100 days with proper care.
Ready to grow your own flavorful onions with minimal fuss? Onion sets provide the perfect solution for both beginner and experienced gardeners seeking a reliable harvest. Unlike starting from seeds that require indoor germination months in advance, or delicate transplants that need careful handling, onion sets deliver a head start that significantly increases your success rate while reducing common growing challenges.
Why Choose Onion Sets Over Seeds or Transplants?
Understanding your planting options is crucial for garden success. While seeds offer the widest variety selection and transplants provide established growth, onion sets strike the ideal balance for most home gardeners. Let's examine the key differences that make sets the preferred choice for reliable results.
| Planting Method | Time to Harvest | Difficulty Level | Success Rate | Best For |
|---|---|---|---|---|
| Onion Sets | 80-100 days | Easy | High (85-90%) | Beginners, short growing seasons |
| Seeds | 100-120 days | Difficult | Medium (60-70%) | Experienced gardeners, variety selection |
| Transplants | 90-110 days | Moderate | Medium-High (70-80%) | Gardeners with greenhouse access |
According to research from the University of California Cooperative Extension, onion sets demonstrate significantly higher establishment success rates compared to other planting methods, particularly in regions with shorter growing seasons or unpredictable spring weather. The partially developed bulb structure provides essential energy reserves that help the plant establish quickly even in less-than-ideal conditions.
Optimal Planting Timeline by Climate Zone
Timing your onion set planting correctly makes all the difference between a bountiful harvest and disappointing results. The following timeline provides specific guidance based on your USDA hardiness zone, ensuring you plant at the perfect moment for maximum growth potential.
| USDA Zone | Soil Temperature | Recommended Planting Window | First Frost Date |
|---|---|---|---|
| 3-4 | 40-45°F (4-7°C) | Early to mid-April | September 15-30 |
| 5-6 | 40-45°F (4-7°C) | Mid to late March | October 1-15 |
| 7-8 | 40-45°F (4-7°C) | February to early March | October 15-30 |
| 9-10 | 45-50°F (7-10°C) | January to February | Rare frost |
As documented by the USDA Plant Hardiness Zone Map, planting too early when soil remains cold and wet leads to rot, while planting too late prevents bulbs from reaching optimal size before summer heat. The ideal planting window occurs when soil temperature consistently reaches 40°F (4°C) at a 2-inch depth, typically 2-4 weeks before your last expected frost date.
Preparing Your Garden Bed for Success
Proper soil preparation creates the foundation for healthy onion growth and maximum bulb development. Onions thrive in specific conditions that many gardeners overlook, leading to disappointing harvests despite proper planting timing.
Start by testing your soil pH 2-3 weeks before planting. Onions prefer slightly acidic to neutral soil with a pH between 6.0 and 7.0. If your soil tests below 6.0, amend with garden lime according to package instructions. For soils above 7.0, incorporate elemental sulfur to lower the pH gradually.
Work 2-3 inches of well-rotted compost into the top 6-8 inches of soil. Avoid fresh manure which can cause excessive leaf growth at the expense of bulb development. For heavy clay soils, add coarse sand or perlite to improve drainage—onion roots cannot tolerate waterlogged conditions. Raised beds 6-8 inches high provide excellent drainage in problem soils.

Step-by-Step Planting Guide for Maximum Yield
Following these precise planting steps ensures your onion sets establish properly and develop into full-sized bulbs. Many gardeners make critical mistakes during planting that compromise their entire harvest.
- Sort your sets by size before planting—use sets ½ to 1 inch in diameter. Discard any that feel soft or show signs of mold. Larger sets (over 1 inch) tend to bolt (send up flower stalks) prematurely.
- Prepare planting holes using a trowel or dibber, making them 1-1½ inches deep. Space holes 4-6 inches apart in rows 12-18 inches apart.
- Position sets correctly with the pointed end up. Planting upside down significantly delays growth and reduces final bulb size.
- Cover with soil but leave the very top of the set exposed—about ¼ inch should remain visible above the soil line.
- Water thoroughly after planting to settle the soil around the sets, providing about ½ inch of water.
Research from Cornell University's Department of Horticulture shows that proper planting depth directly impacts bulb formation. Sets planted too deep produce smaller bulbs, while those too shallow may dry out before establishing roots. The 1-1½ inch depth provides optimal conditions for root development while protecting the developing bulb.
Essential Care Practices After Planting
What happens after planting determines whether you'll harvest scallions or full-sized storage onions. Consistent care during the critical growth period makes the difference between average and exceptional results.
Watering requirements: Onions need consistent moisture, particularly during bulb formation (late spring to early summer). Provide 1 inch of water weekly, either through rainfall or irrigation. During dry spells, increase to 1½ inches weekly. Use a moisture meter to ensure soil remains moist to a 6-inch depth without becoming waterlogged.
Fertilization schedule: Apply a balanced fertilizer (10-10-10) three weeks after planting, then again when bulbs begin forming. Avoid high-nitrogen fertilizers during bulb formation, which promotes leaf growth at the expense of bulb development. For organic options, use fish emulsion or compost tea every 2-3 weeks.
Weed management: Hand-pull weeds carefully to avoid damaging shallow onion roots. Apply 2 inches of straw mulch after plants are established to suppress weeds and maintain consistent soil moisture. Avoid cultivating deeply near established plants.
Troubleshooting Common Onion Growing Problems
Even with proper planting, gardeners often encounter challenges that affect onion development. Recognizing these issues early allows for timely intervention and saves your harvest.
Bolting (flowering): When sets larger than 1 inch in diameter experience prolonged cold after planting, they may bolt. Remove flower stalks immediately to redirect energy to bulb development. To prevent bolting, select appropriate set sizes and plant at the correct time for your climate zone.
Purple blotch disease: This fungal disease appears as water-soaked lesions that turn purplish-brown. Prevent it by ensuring proper spacing for air circulation and avoiding overhead watering. If detected, remove affected leaves and apply copper-based fungicide according to label instructions.
Thrips damage: These tiny insects cause silvery streaks on leaves. Control with insecticidal soap sprays every 5-7 days during dry periods. Encourage beneficial insects like ladybugs and lacewings by planting companion flowers such as alyssum near your onion patch.
According to the National Onion Association's growing guidelines, approximately 30% of home gardeners experience bolting issues due to improper set selection or planting timing. Choosing sets within the recommended size range and planting at the appropriate soil temperature significantly reduces this problem.
Harvesting and Curing for Long-Term Storage
Knowing when and how to harvest determines whether your onions last through winter or spoil within weeks. Proper curing transforms field-fresh onions into storage-ready bulbs.
Begin harvesting when approximately 50% of the tops naturally fall over and turn yellow. Stop watering 7-10 days before harvest to allow bulbs to mature properly. Carefully lift bulbs with a garden fork, taking care not to bruise them.
Cure onions in a warm, dry, well-ventilated area for 2-3 weeks. Ideal curing conditions are 75-80°F (24-27°C) with 70-80% humidity. Spread bulbs in a single layer on wire racks, ensuring good air circulation around each onion. After curing, trim tops to 1 inch and roots to ¼ inch.
Store cured onions in mesh bags or wooden crates in a cool, dry location between 32-45°F (0-7°C) with 65-70% humidity. Properly cured and stored onions can last 4-6 months. Check monthly for any soft or sprouting bulbs and remove them immediately.


 浙公网安备
33010002000092号
 浙B2-20120091-4