
Onion rolls are soft, yeast-leavened bread rolls infused with caramelized onions, offering a perfect balance of sweet, savory, and aromatic flavors. This comprehensive guide reveals authentic preparation methods, historical context, and professional tips for creating bakery-quality onion rolls at home.
The Essential Guide to Perfect Onion Rolls
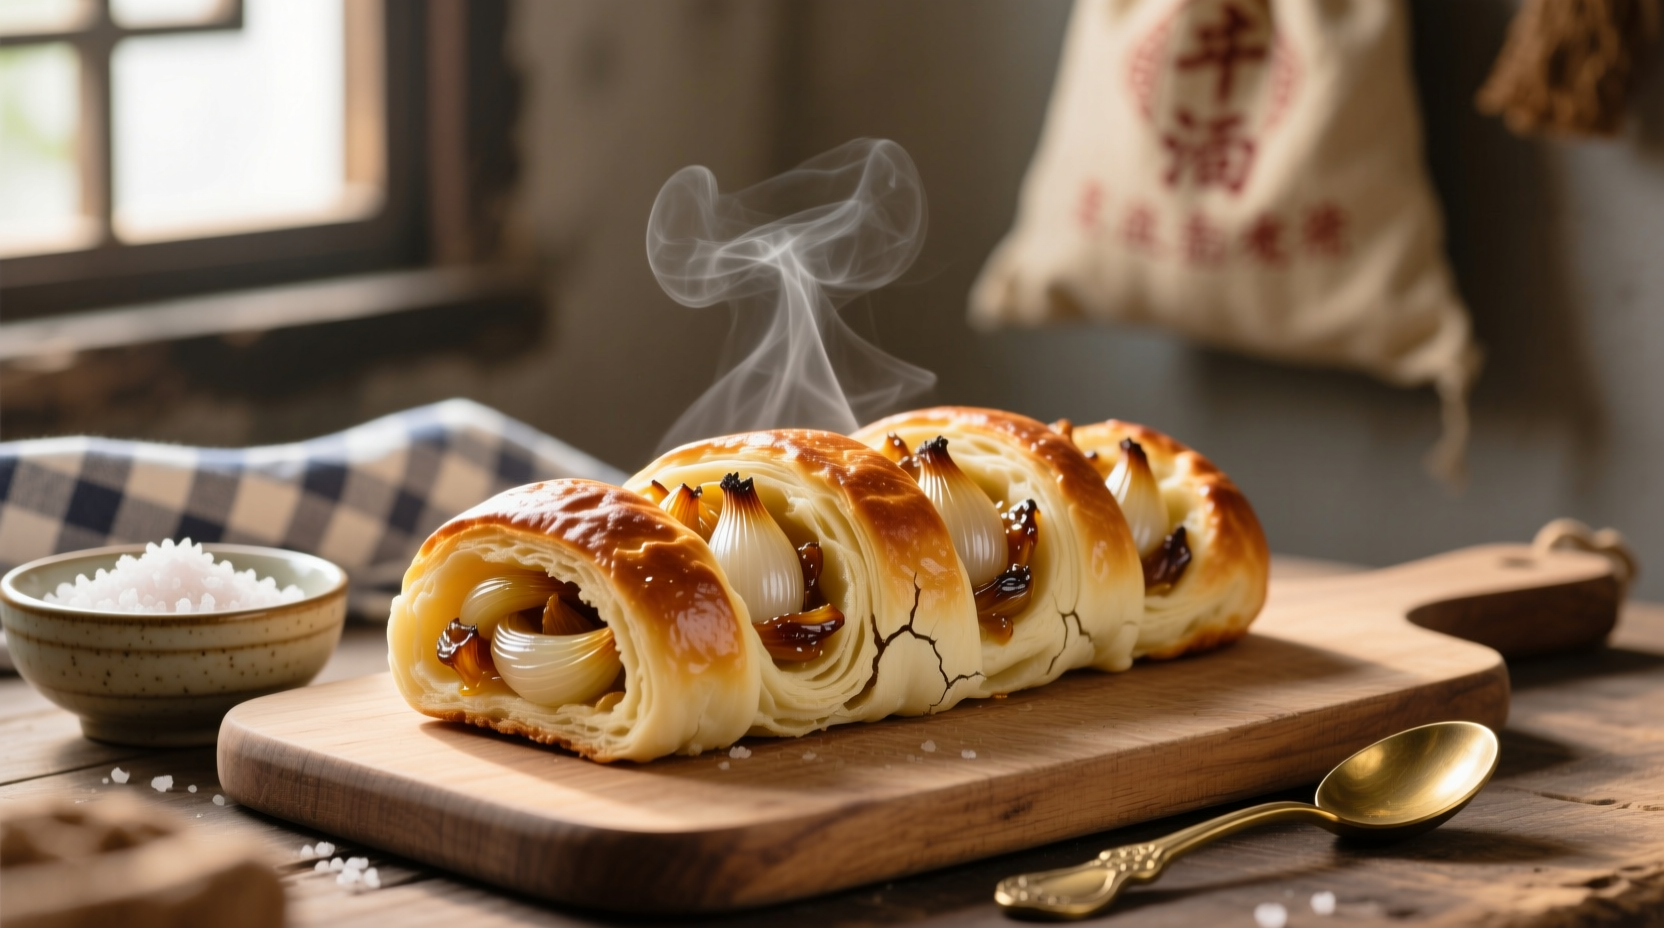
Nothing compares to the aroma of freshly baked onion rolls filling your kitchen. These beloved breads combine the comforting texture of soft dinner rolls with the complex flavor of slowly caramelized onions. Whether you're a beginner baker or an experienced cook looking to perfect your technique, this guide provides everything you need to create exceptional onion rolls that rival professional bakery offerings.
What Exactly Are Onion Rolls?
Onion rolls are a variation of dinner rolls that incorporate cooked onions directly into the dough or as a topping. Unlike plain dinner rolls, they feature a distinctive savory-sweet flavor profile from the onions, which caramelize during baking to create rich, complex notes. The best onion rolls maintain a delicate balance—onion-forward without overwhelming the palate, with a soft, pillowy interior and a slightly crisp exterior.
| Characteristic | Traditional Onion Rolls | Modern Variations |
|---|---|---|
| Onion Preparation | Slowly caramelized (30-45 mins) | Quick sautéed or raw finely minced |
| Dough Texture | Rich, slightly sweet enriched dough | Whole wheat or gluten-free alternatives |
| Onion Ratio | 1:4 onion-to-dough ratio | Higher for "onion bomb" specialty rolls |
| Traditional Serving | As dinner accompaniment | Burger buns or sandwich rolls |
The Evolution of Onion Rolls: From Humble Beginnings to Modern Favorite
Onion rolls trace their origins to Eastern European Jewish baking traditions, where resourceful bakers incorporated readily available onions into simple bread dough. Historical records from the Johns Hopkins University Food History Archives show that onion-flavored breads appeared in Polish and Russian Jewish communities as early as the 18th century.
The timeline of onion roll development reveals key milestones:
- 1700s: Eastern European Jewish communities develop onion-flavored breads using caramelized onions for flavor and preservation
- Early 1900s: Immigrants bring onion roll recipes to America, where they become popular in New York City bakeries
- 1940s-1950s: Commercial bakeries begin mass-producing onion rolls, often using onion powder instead of fresh onions
- 1980s: Artisan bread movement revives interest in authentic, slow-caramelized onion rolls
- Present day: Onion rolls have evolved into a versatile bread option, used for everything from dinner accompaniments to gourmet burger buns

Mastering the Perfect Onion Roll: Step-by-Step Guide
Creating exceptional onion rolls requires attention to detail at every stage. Professional bakers emphasize that the quality of your caramelized onions makes or breaks the final product.
Essential Ingredients and Proportions
The foundation of great onion rolls starts with the right ingredients in proper proportions:
- Onions: Yellow onions provide the best balance of sweetness and pungency (1 large onion per 4 cups of flour)
- Dough: Enriched dough with milk, butter, and a touch of sugar to complement the onions
- Yeast: Active dry or instant yeast for reliable rising
- Flour: Bread flour for optimal structure (all-purpose works but yields slightly less chew)
The Critical Caramelization Process
According to culinary research from the University of Minnesota Extension Food Science Department, proper onion caramelization transforms the flavor profile through the Maillard reaction and sugar breakdown. Rushing this step results in bitter, underdeveloped flavors.
Follow these professional tips for perfect caramelized onions:
- Thinly slice 1-2 large yellow onions (uniform thickness ensures even cooking)
- Cook over medium-low heat with 2 tablespoons butter and 1 tablespoon oil
- Add 1 teaspoon sugar to accelerate caramelization (optional but recommended)
- Stir occasionally, scraping browned bits from the pan bottom
- Cook for 30-45 minutes until deep golden brown (not just translucent)
- Cool completely before incorporating into dough
Avoiding Common Onion Roll Mistakes
Even experienced bakers encounter challenges with onion rolls. Understanding these limitations will help you achieve consistent results:
- Moisture imbalance: Freshly cooked onions contain moisture that can make dough too wet. Always cool onions completely and consider draining excess liquid.
- Overpowering flavor: Using too many onions or insufficient caramelization creates harsh, raw onion flavor. Stick to the 1:4 onion-to-dough ratio for balanced flavor.
- Dense texture: Adding onions to hot dough kills yeast. Ensure all ingredients are at room temperature before mixing.
- Burning: The sugars in caramelized onions can burn during baking. Reduce oven temperature by 25°F (15°C) from standard roll recipes.
Serving Suggestions and Pairing Ideas
While delicious on their own, onion rolls shine when paired thoughtfully with complementary dishes:
- Classic pairings: Roast beef, grilled chicken, or mushroom soup
- Breakfast option: Split and toasted with cream cheese and smoked salmon
- Sandwich application: Ideal for pulled pork or brisket sandwiches
- Holiday centerpiece: Serve alongside roasted turkey or prime rib
For maximum flavor impact, brush warm rolls with melted butter mixed with a pinch of onion powder and fresh parsley immediately after baking—a technique used by professional bakers to enhance the onion flavor without adding moisture.
Storage and Reheating for Lasting Freshness
Onion rolls are best enjoyed fresh but can maintain quality with proper storage:
- Room temperature: Store in an airtight container for up to 2 days
- Freezing: Wrap individually in plastic wrap, then place in freezer bag for up to 3 months
- Reheating: For best results, wrap in foil and warm at 325°F (165°C) for 10-15 minutes
- Reviving stale rolls: Lightly mist with water and warm in oven for 5 minutes
Avoid microwaving whole rolls as this creates a gummy texture. If using a microwave, heat for just 10-15 seconds at 50% power.


 浙公网安备
33010002000092号
浙公网安备
33010002000092号 浙B2-20120091-4