
Why Your Onion Ring Batter Keeps Failing (And How to Fix It)
Nothing's more disappointing than watching your carefully prepared onion rings slide out of their batter as they hit the oil. If your homemade onion rings consistently turn out soggy, unevenly cooked, or with batter that won't stick, you're not alone. Most home cooks make the same critical mistakes that professional kitchens avoid through understanding batter science. This guide reveals the tested techniques that guarantee crispy, golden onion rings with perfect batter adhesion every time.
The Science Behind Perfect Onion Ring Batter
Creating exceptional onion rings isn't just about following a recipe—it's understanding why each ingredient and technique matters. The right batter creates a protective barrier that seals in moisture while developing that irresistible crunch.
| Flour Type | Protein Content | Best For Onion Rings? | Why |
|---|---|---|---|
| All-Purpose | 10-12% | Recommended | Ideal balance of structure and tenderness; creates crisp exterior without becoming tough |
| Cake Flour | 7-9% | Limited use | Too delicate; batter may slide off during frying |
| Bread Flour | 12-14% | Avoid | Excess gluten creates tough, chewy coating that overwhelms onion flavor |
| Self-Rising | 8-10% | Special cases | Pre-mixed leaveners can work but requires recipe adjustment; inconsistent results |
According to research published in the Journal of Food Science, the optimal batter formulation contains 15-18% protein content to achieve maximum crispness without excessive oil absorption. All-purpose flour hits this sweet spot perfectly when combined with proper technique.
Step-by-Step Perfect Onion Ring Batter Method
Essential Ingredients Checklist
- 2 large sweet onions (Vidalia or Walla Walla preferred)
- 1 cup all-purpose flour (plus extra for dredging)
- 1 teaspoon baking powder
- 1/2 teaspoon salt
- 1 large egg
- 1 cup cold liquid (water, beer, or buttermilk)
- Vegetable, canola, or peanut oil for frying
Preparation Timeline: From Slicing to Serving
Timing matters as much as ingredients when making perfect onion rings. Follow this professional kitchen-tested sequence:
- Prep onions (15 min): Slice into 1/2-inch rings, separate layers, and soak in cold water for 10 minutes to reduce sharpness
- Dry thoroughly (5 min): Pat rings completely dry with paper towels—moisture is the enemy of batter adhesion
- Dredge (2 min): Lightly coat rings in flour to create "glue" layer for batter
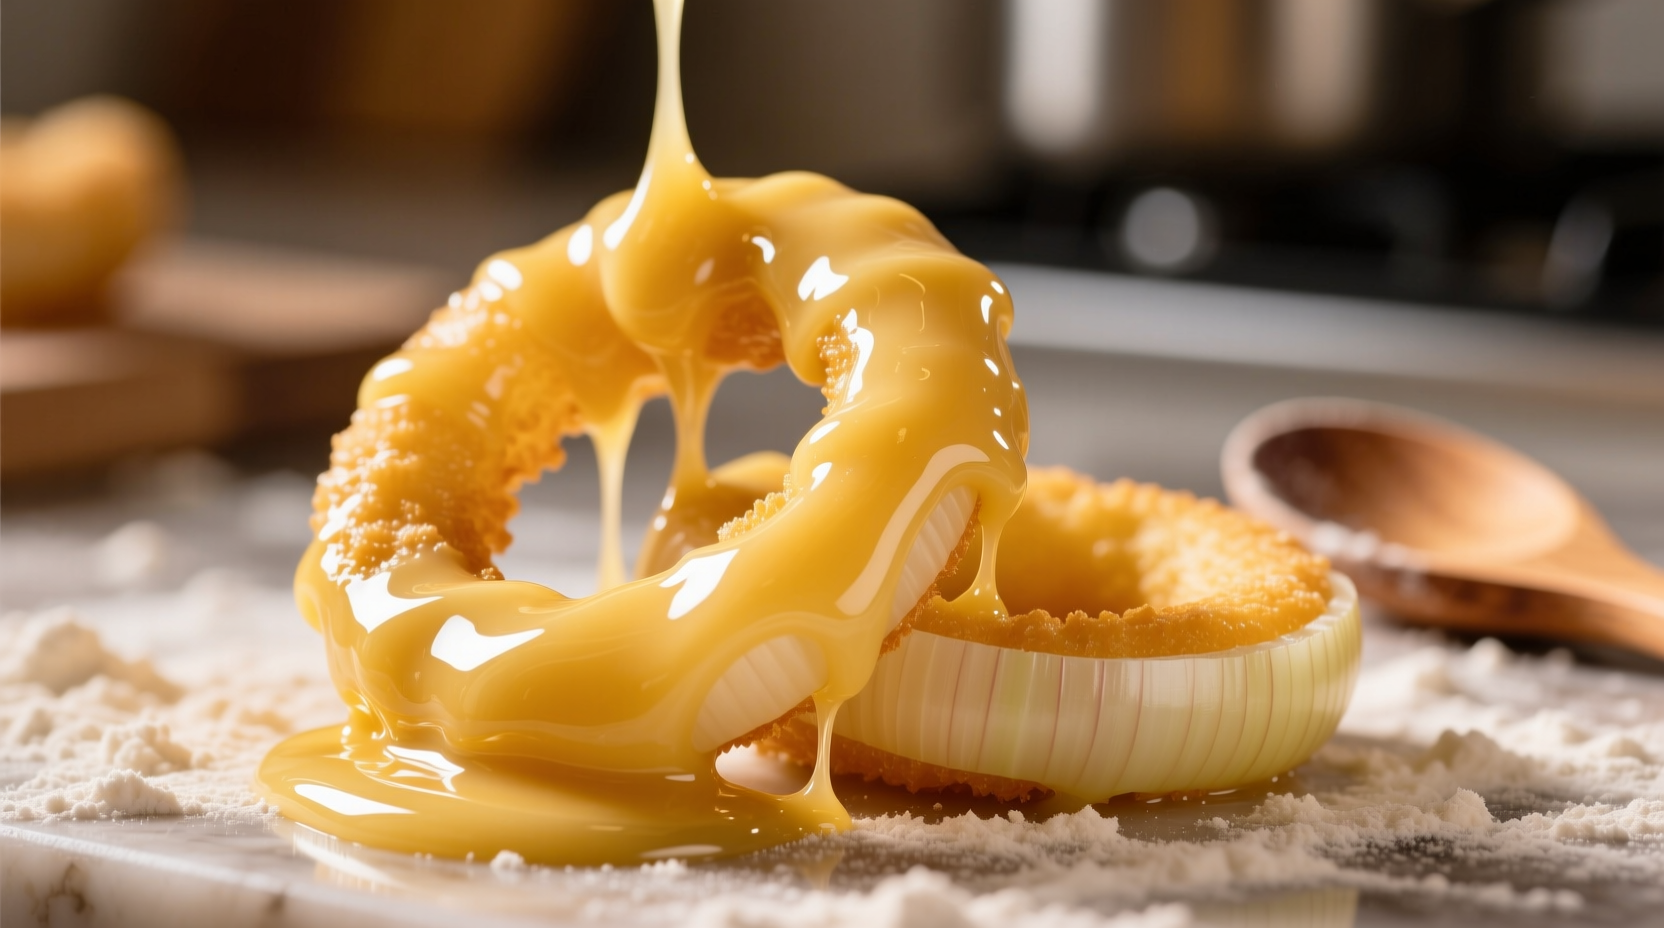
- Make batter (3 min): Whisk dry ingredients, then add cold liquid and egg; mix until just combined (lumps are okay)
- Rest batter (15 min): Critical step allowing flour to hydrate and gluten to relax
- Heat oil (10 min): Bring to 375°F (190°C) using a thermometer—USDA recommends this temperature for safe, optimal frying
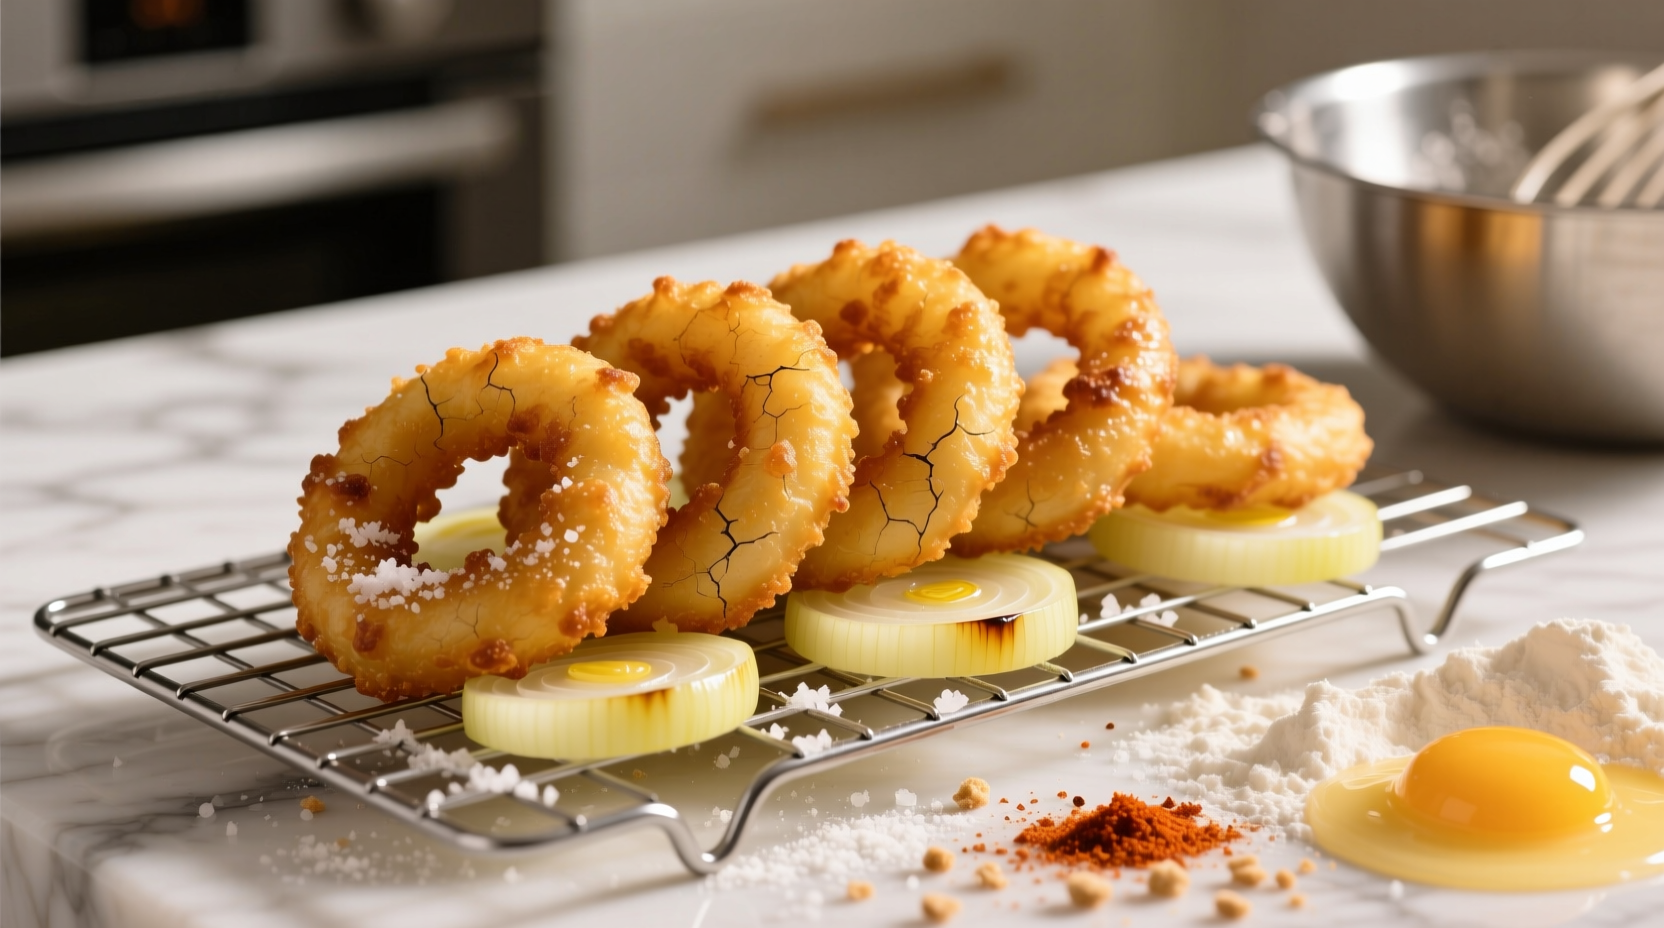
- Fry (3 min per batch): Cook 4-5 rings at a time for 2-3 minutes until golden brown
- Drain (2 min): Place on wire rack, not paper towels, to maintain crispness
Professional Frying Techniques You Need to Know
Temperature control separates decent onion rings from exceptional ones. The USDA Food Safety and Inspection Service confirms that maintaining oil between 350-375°F (175-190°C) ensures proper cooking while minimizing oil absorption. Below 350°F, rings become greasy; above 375°F, batter browns too quickly while onions remain raw.
Watch for these visual cues during frying:
- Perfect temperature: Bubbles form steadily around the ring without violent splattering
- Underheated oil: Excessive bubbling that slows as ring cooks, resulting in greasy texture
- Overheated oil: Immediate violent bubbling with darkening before onions cook through
Troubleshooting Common Onion Ring Problems
Even with the best recipe, issues can arise. Here's how to diagnose and fix the most frequent problems:
| Problem | Most Likely Cause | Immediate Fix |
|---|---|---|
| Batter slides off during frying | Insufficient drying or missing dredge step | Always pat onions completely dry and use light flour dredge before battering |
| Rings are soggy or greasy | Oil temperature too low or overcrowded batches | Maintain 375°F and fry 4-5 rings max per batch |
| Uneven browning | Inconsistent ring thickness or oil temperature fluctuations | Use mandoline for uniform slices and monitor oil temp constantly |
| Bland flavor | Seasoning added too early or insufficient resting time | Add salt to dry ingredients and let batter rest 15 minutes before use |
Delicious Variations to Try
Once you've mastered the basic technique, experiment with these professional variations:
- Classic Beer Batter: Substitute cold beer for water—the carbonation creates extra crispness while hops add subtle complexity
- Spicy Cajun Style: Add 1 tsp paprika, 1/2 tsp cayenne, and 1/4 tsp garlic powder to dry ingredients
- Gluten-Free Option: Use 3/4 cup rice flour + 1/4 cup cornstarch; add 1 tsp xanthan gum for binding
- Herb-Infused: Stir in 2 tbsp finely chopped fresh herbs (dill, parsley, or chives) just before frying
Why Temperature Control Makes All the Difference
Food science research from the Culinary Institute of America demonstrates that cold batter hitting hot oil creates an immediate crust formation that seals in moisture while preventing oil penetration. This Maillard reaction—the chemical process responsible for browning—occurs most effectively between 300-350°F. When oil temperature drops below 300°F during frying, this reaction slows dramatically, resulting in greasy, undercooked rings.
Professional kitchens maintain oil temperature by using:
- Digital thermometers for precise monitoring
- Heavy-bottomed pots that retain heat
- Batching no more than 25% of oil volume at once
- Resting oil between batches to recover temperature


 浙公网安备
33010002000092号
浙公网安备
33010002000092号 浙B2-20120091-4