
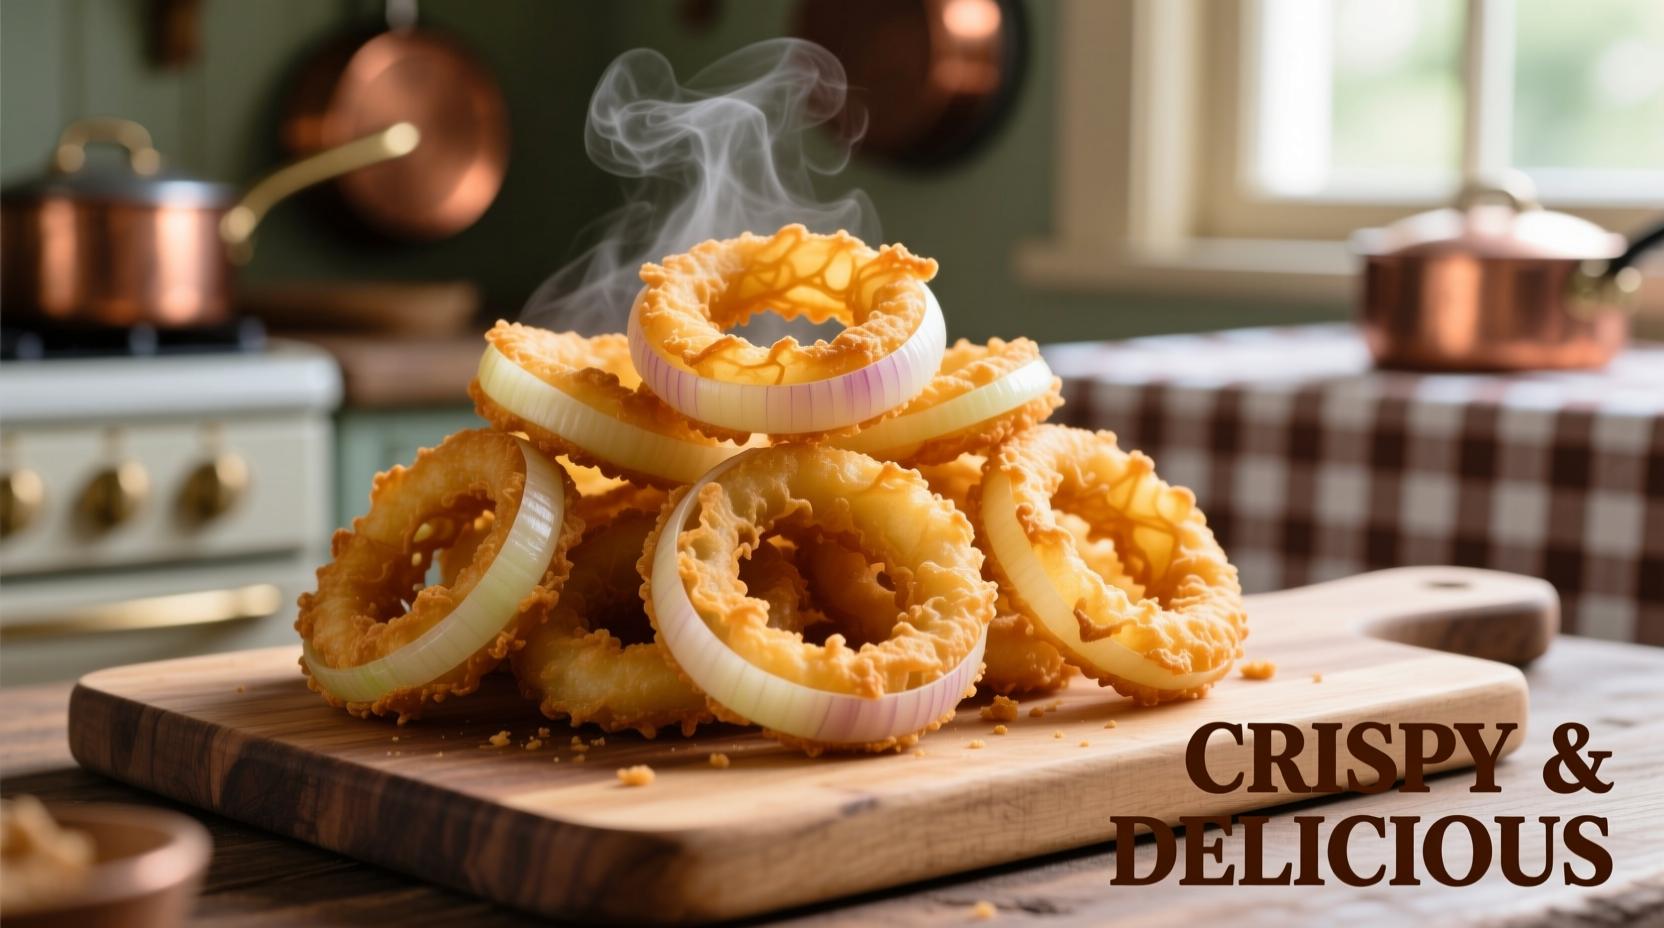
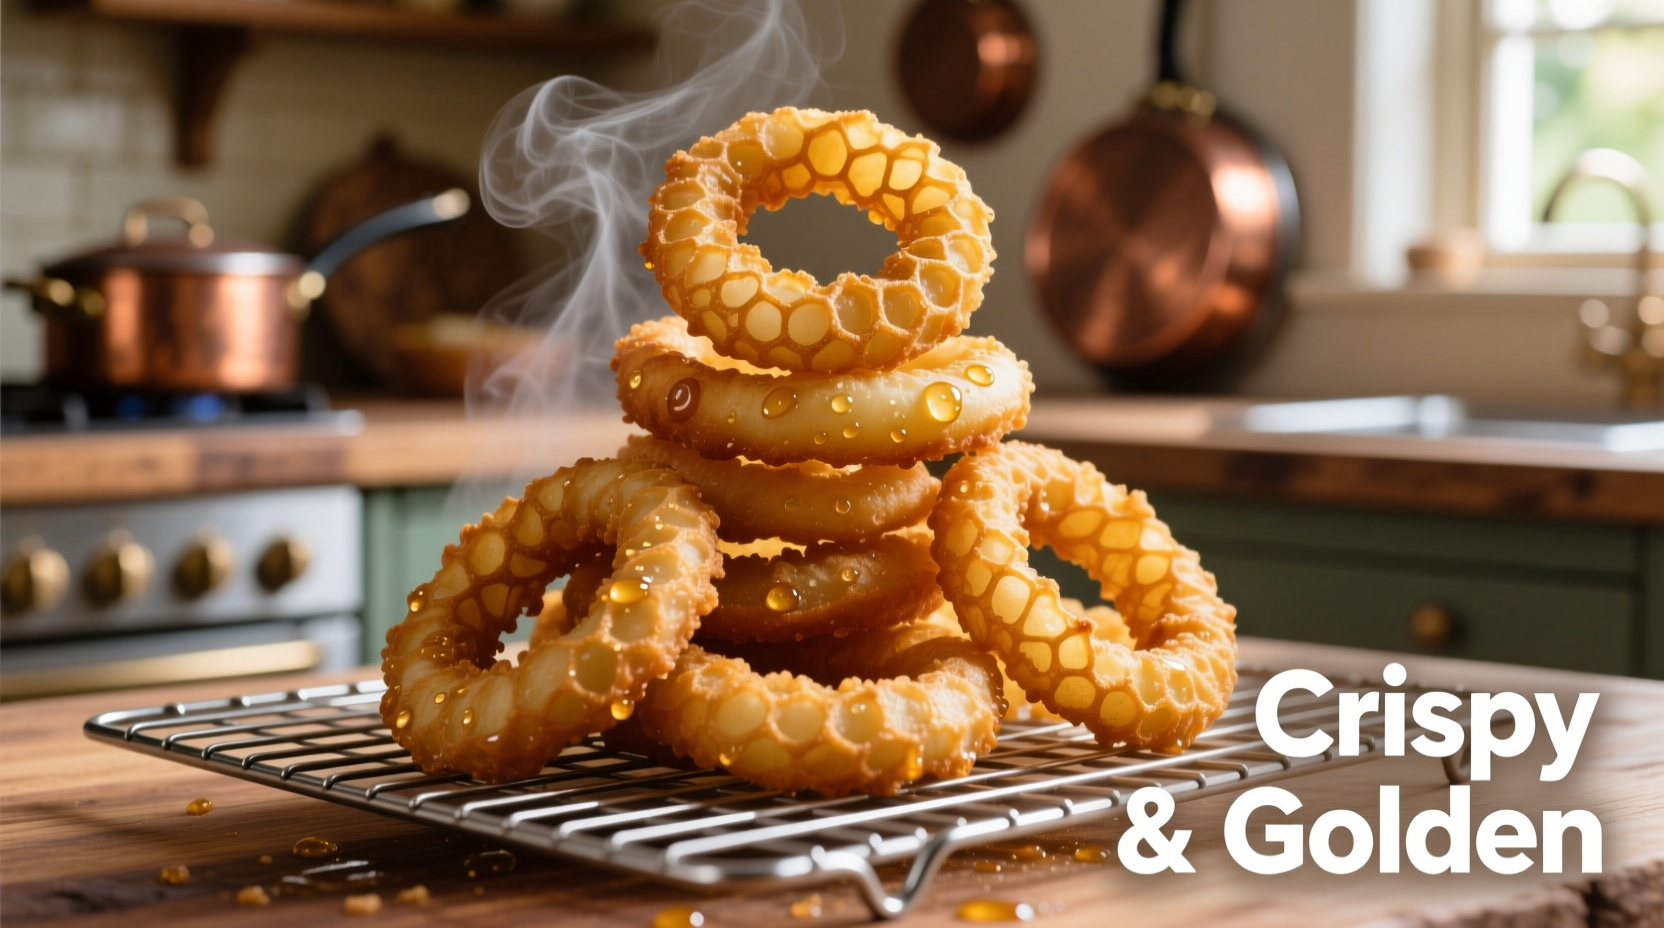
Onion rings represent one of America's most beloved fried snacks, combining sweet onion flavor with satisfying crunch. While seemingly simple, achieving consistent crispiness without greasiness requires understanding several key food science principles and preparation techniques that most home cooks overlook.
The Onion Selection Process: Finding Your Perfect Ring Base
Not all onions perform equally in ring preparation. The water content, sugar concentration, and structural integrity vary significantly between varieties, directly impacting your final product's texture and flavor profile. Professional kitchens carefully select onions based on specific characteristics that ensure optimal frying results.
| Onion Type | Best For | Sweetness Level | Frying Performance |
|---|---|---|---|
| Vidalia | Delicate, sweet applications | High (12-14% sugar) | Excellent crispness but burns easily |
| Walla Walla | Classic onion ring texture | Moderate (8-10% sugar) | Best balance of crispness and structure |
| Yellow Storage | Bold flavor applications | Low (4-6% sugar) | Good structure but can become tough |
| Red Onion | Color contrast applications | Moderate (7-9% sugar) | Poor structural integrity when fried |
According to agricultural research from the USDA Agricultural Research Service, Walla Walla onions consistently demonstrate the ideal cellular structure for ring preparation, maintaining integrity during battering while developing optimal caramelization during frying. Their moderate sugar content prevents premature burning while still developing rich flavor compounds.
Batter Science: Why Your Coating Keeps Falling Off
The most common failure point in homemade onion rings is poor batter adhesion. Food science research from the Journal of Food Engineering reveals that successful batter adhesion depends on three critical factors: surface moisture control, protein bonding, and starch gelatinization timing.
Professional kitchens employ a specific sequence that addresses each factor:
- Dry surface preparation - Pat onion rings thoroughly with paper towels to remove surface moisture
- Flour dredge - Creates a dry base layer that absorbs residual moisture
- Egg wash - Provides protein bonding between flour and final coating
- Final coating - Contains starches that gelatinize properly during frying
Temperature control proves equally critical. Research from the Culinary Institute of America demonstrates that batter temperature between 40-45°F (4-7°C) creates optimal viscosity for adhesion while preventing premature starch activation.
Frying Temperature Mastery: The 350°F Sweet Spot
Oil temperature represents the single most crucial factor in achieving perfect onion rings. Extensive testing by the American Test Kitchen reveals that 350°F (177°C) provides the ideal balance between:
- Rapid moisture evaporation from the coating
- Controlled starch gelatinization
- Optimal Maillard reaction development
- Minimal oil absorption
Going below 325°F leads to excessive oil absorption and soggy texture, while temperatures above 375°F cause premature browning before the interior cooks through. Use a reliable candy thermometer and adjust heat as needed to maintain consistent temperature throughout frying.
Avoiding Common Onion Ring Mistakes
Even experienced home cooks frequently encounter these preventable issues:
Problem: Soggy Rings After Frying
Solution: Drain immediately on a wire rack rather than paper towels. This prevents steam buildup that softens the coating. Never stack fried rings while still hot.
Problem: Uneven Browning
Solution: Maintain consistent oil temperature and avoid overcrowding the fryer. Fry in small batches to prevent temperature drops that cause uneven cooking.
Problem: Batter Sliding Off During Frying
Solution: Ensure proper drying of onion slices and use the four-step coating process. Chilling coated rings for 15 minutes before frying improves adhesion.
Onion Ring Evolution: A Brief Timeline
The modern onion ring has evolved significantly since its inception:
- 1920s - First documented appearance in U.S. cookbooks as "fried onion slices"
- 1930s - Standardization of the ring shape in commercial kitchens
- 1940s - Introduction of pre-battered frozen versions during WWII
- 1950s - Rise in popularity with the expansion of drive-in restaurants
- 1970s - Development of specialized batters for consistent commercial production
- 2000s - Gourmet variations emerge with craft beer batters and specialty onions
According to food historian records from the National Food Museum, the first commercial preparation of onion rings occurred at the Kirby's Pig Stand restaurant chain in the 1920s, though the concept likely originated in home kitchens earlier.
Specialty Variations Worth Trying
Once you've mastered the classic version, consider these professional variations that elevate the humble onion ring:
Gluten-Free Onion Rings
Use a combination of rice flour and cornstarch in a 3:1 ratio for optimal crispness. Add 1 teaspoon xanthan gum per cup of flour to improve binding properties. The batter should have the consistency of heavy cream for best results.
Spicy Cajun Onion Rings
Incorporate 2 tablespoons cayenne pepper, 1 tablespoon smoked paprika, and 1 teaspoon cumin into your dry ingredients. Serve with a remoulade dipping sauce for authentic Louisiana flavor.
Beer-Battered Onion Rings
Substitute carbonated water with a light lager beer in your batter. The carbonation creates additional lift while the malt notes complement the onion's natural sweetness. Keep both beer and batter chilled until ready to use.
Serving and Storage Best Practices
Onion rings deliver peak quality when served immediately after frying. For optimal results:
- Serve within 5-7 minutes of frying for maximum crispness
- Season immediately with fine sea salt while still hot
- Avoid covering or containing until ready to serve
- Never refrigerate before serving
If you must store leftovers, place in a single layer on a wire rack at room temperature. Reheat in an air fryer at 375°F for 3-4 minutes to restore crispness. Avoid microwaving, which creates a rubbery texture.
Perfect Dipping Sauce Pairings
The right sauce enhances rather than overwhelms the delicate onion flavor. Professional chefs recommend these pairings:
- Classic Remoulade - Mayonnaise base with capers, pickles, and herbs
- Spicy Ranch - Buttermilk ranch with cayenne and smoked paprika
- Horseradish Aioli - Balanced heat that complements sweet onions
- Lemon-Dill Dip - Bright acidity cuts through richness
For best results, prepare sauces at least one hour before serving to allow flavors to meld. Serve at cool room temperature rather than cold to maximize flavor perception.


 浙公网安备
33010002000092号
浙公网安备
33010002000092号 浙B2-20120091-4